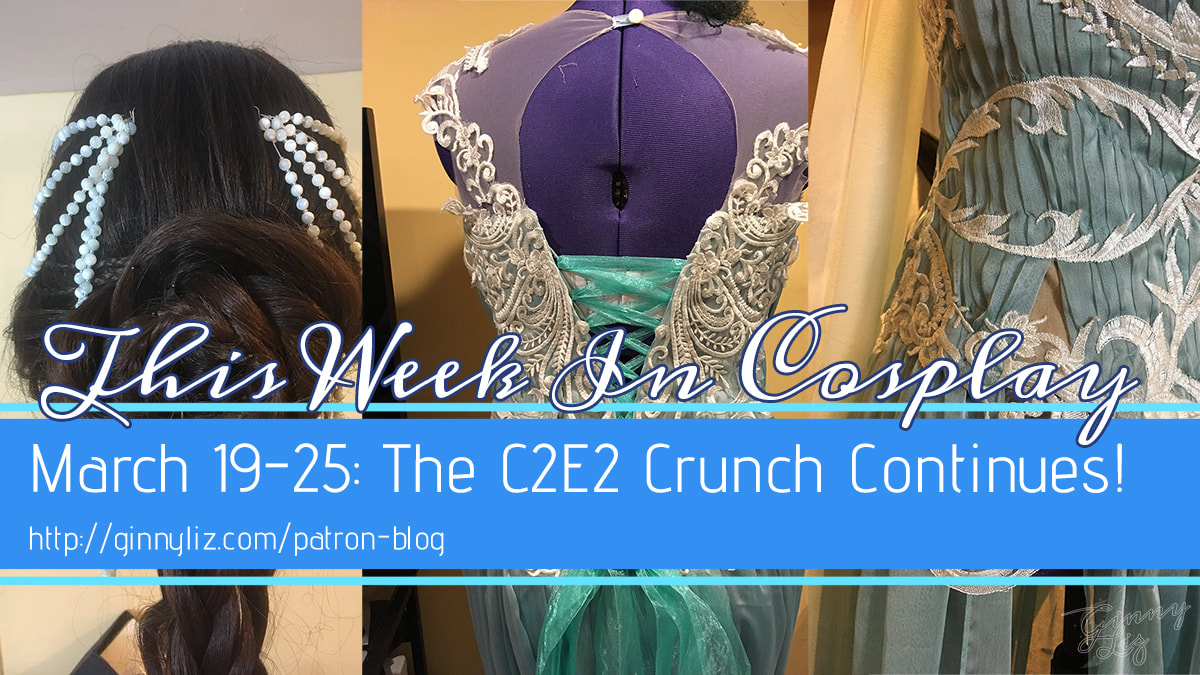
 Strap in, kiddos, this is going to be a long post. We're looking at all the last-minute stuff I finished up just in time to compete in the C2E2 Crown Championships of Cosplay! I'm combining the last week of March with the first week of April because it was all one frenzied blur of sewing. I'm not sure which things I did on which day anymore! Let's pick up where we left off! I'm out of witty hand sewing puns
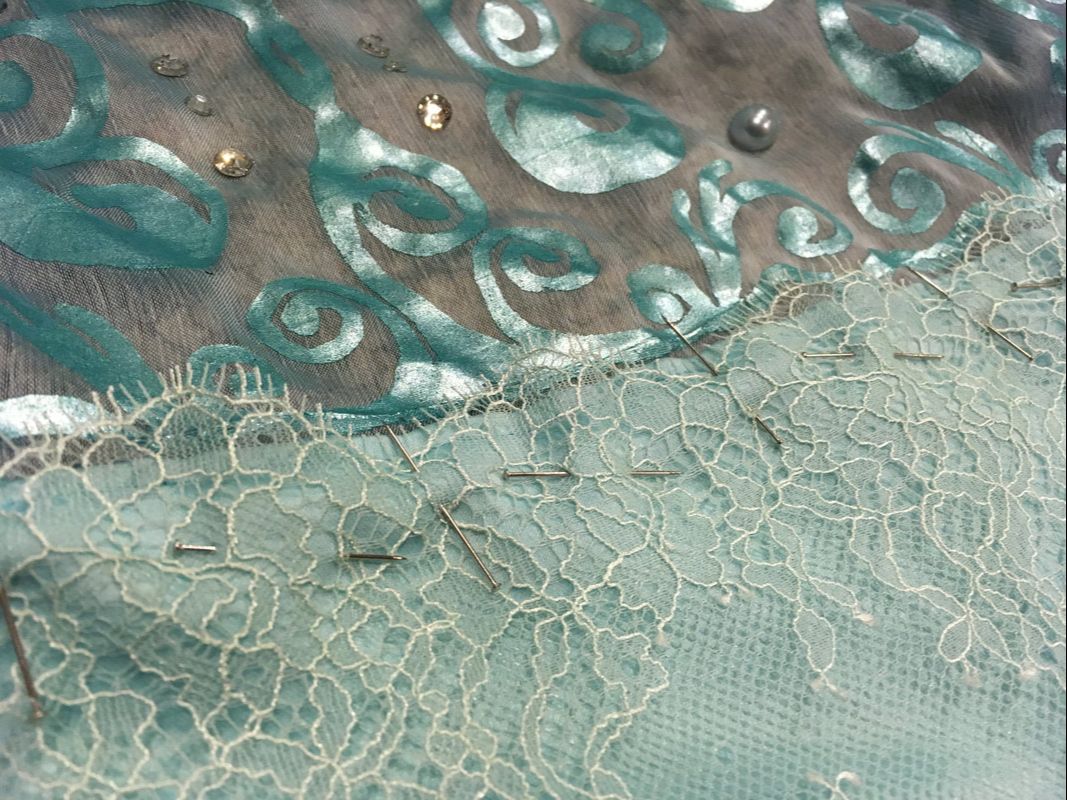
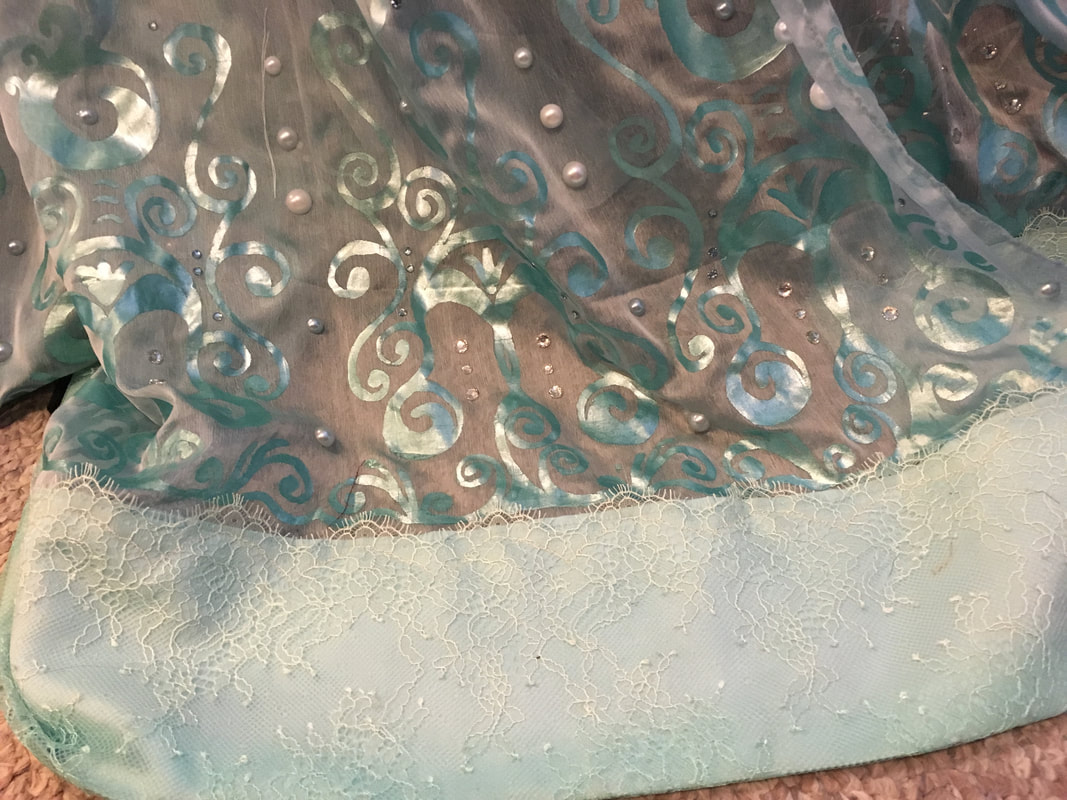
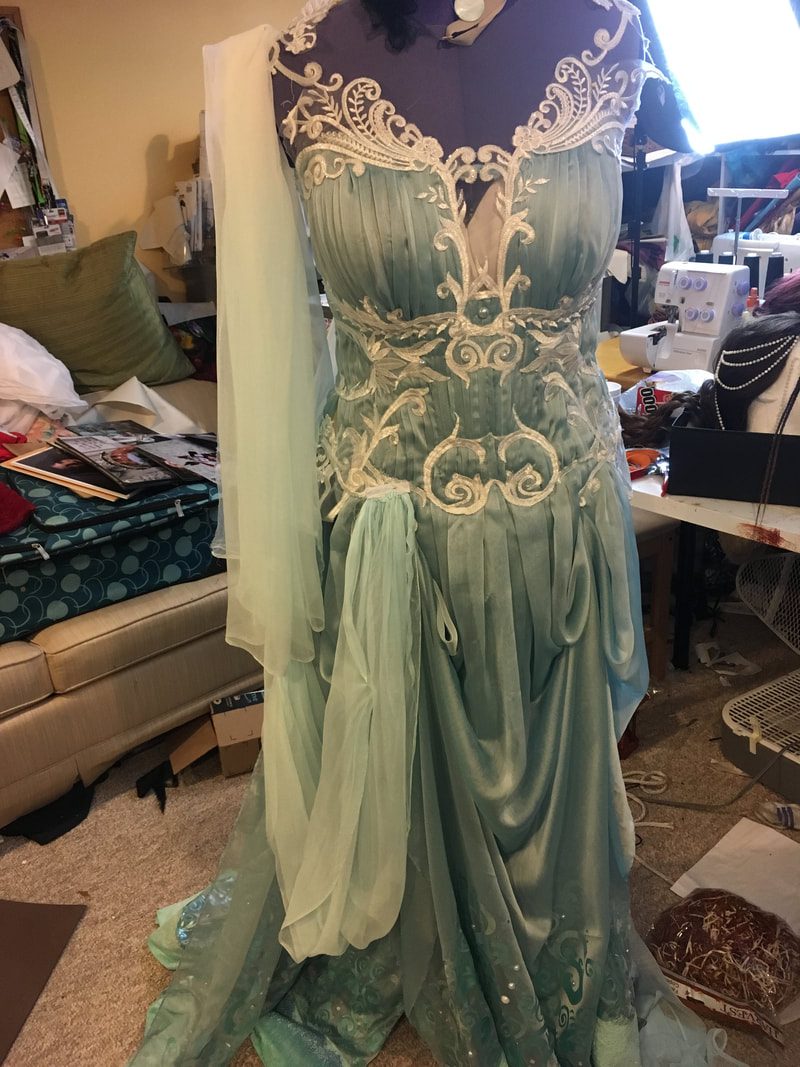
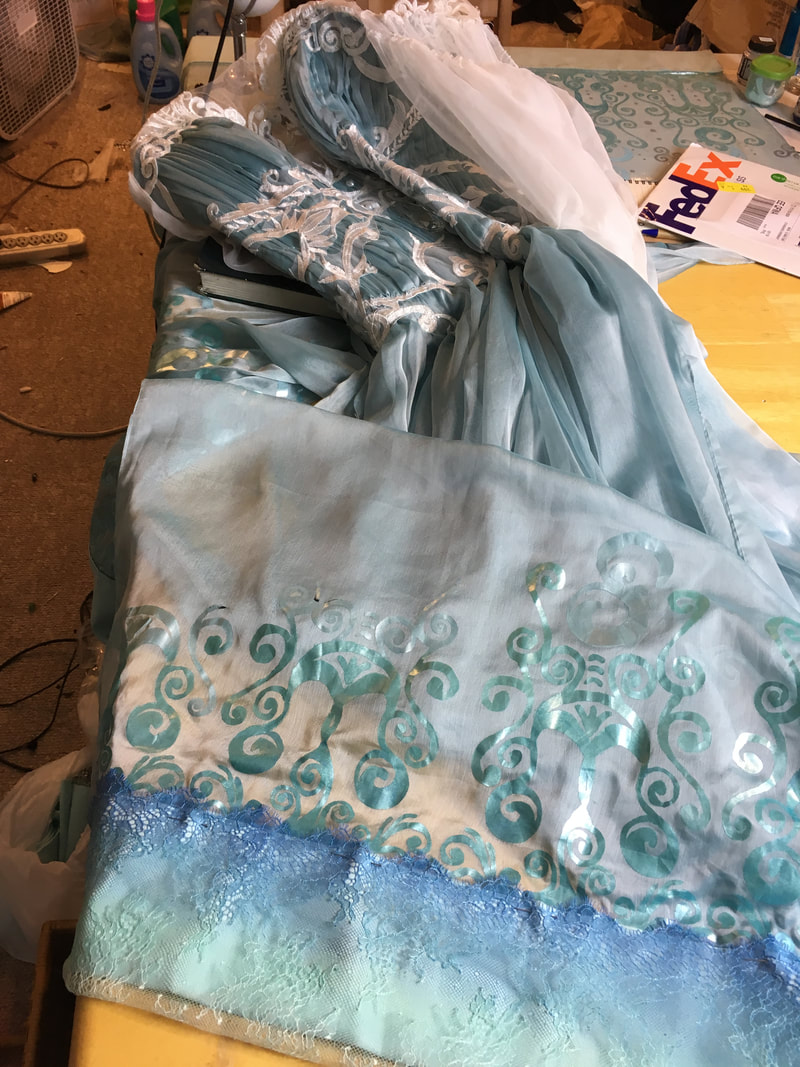
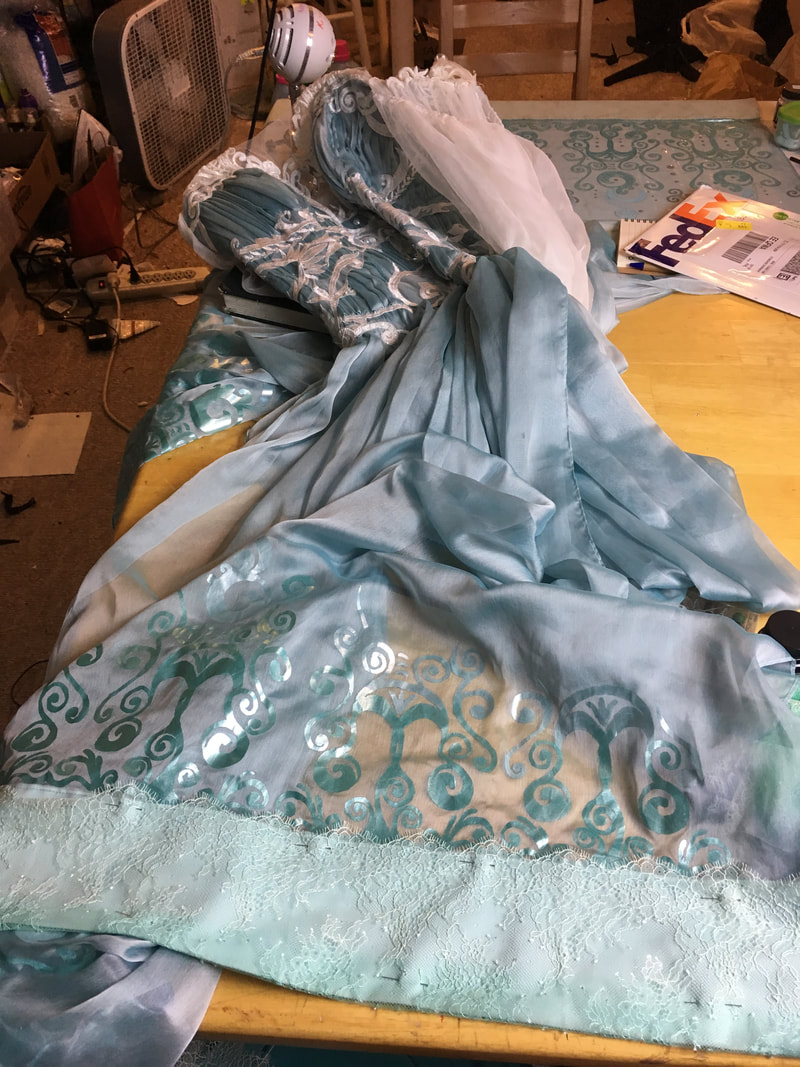
Lace PlacingI mentioned the new skirt trim I acquired a few weeks ago, and this week I actually applied it! I carefully pinned it to the satin along the bottom edge of the skirt, then sewed it down with a small zig-zag stitch (width 2, length 2) along the scalloped edge of the design, following the contours of the lace. You can barely see the stitching line!
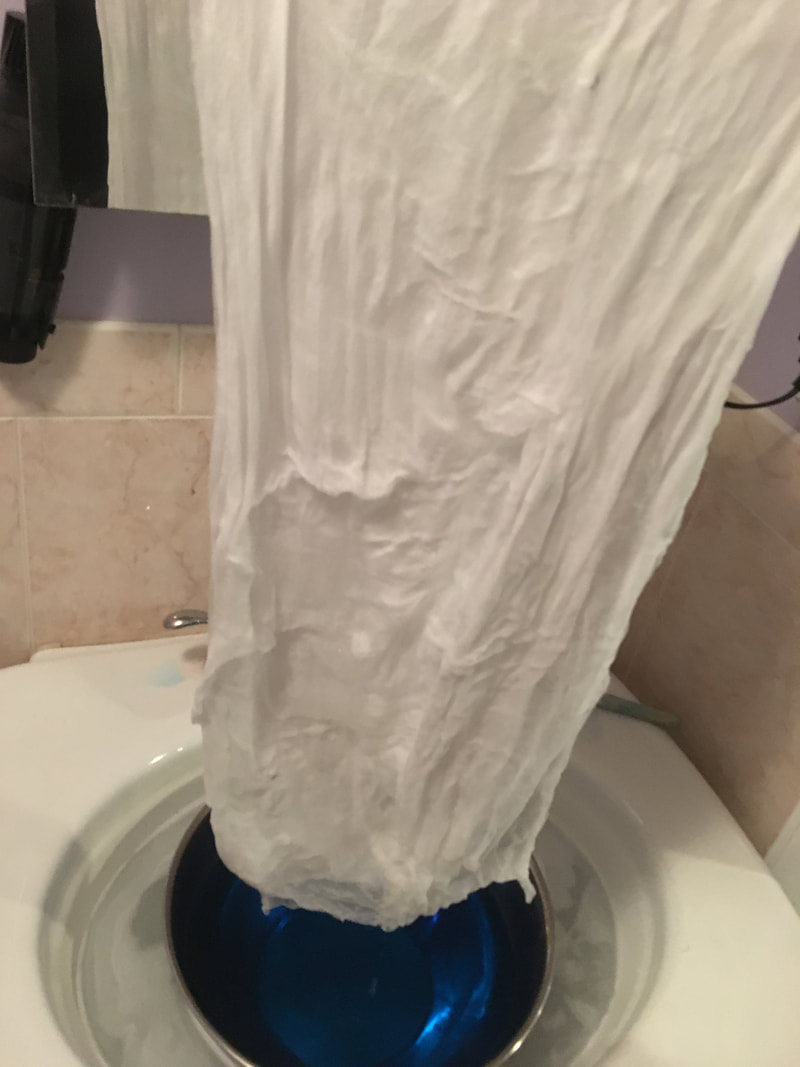
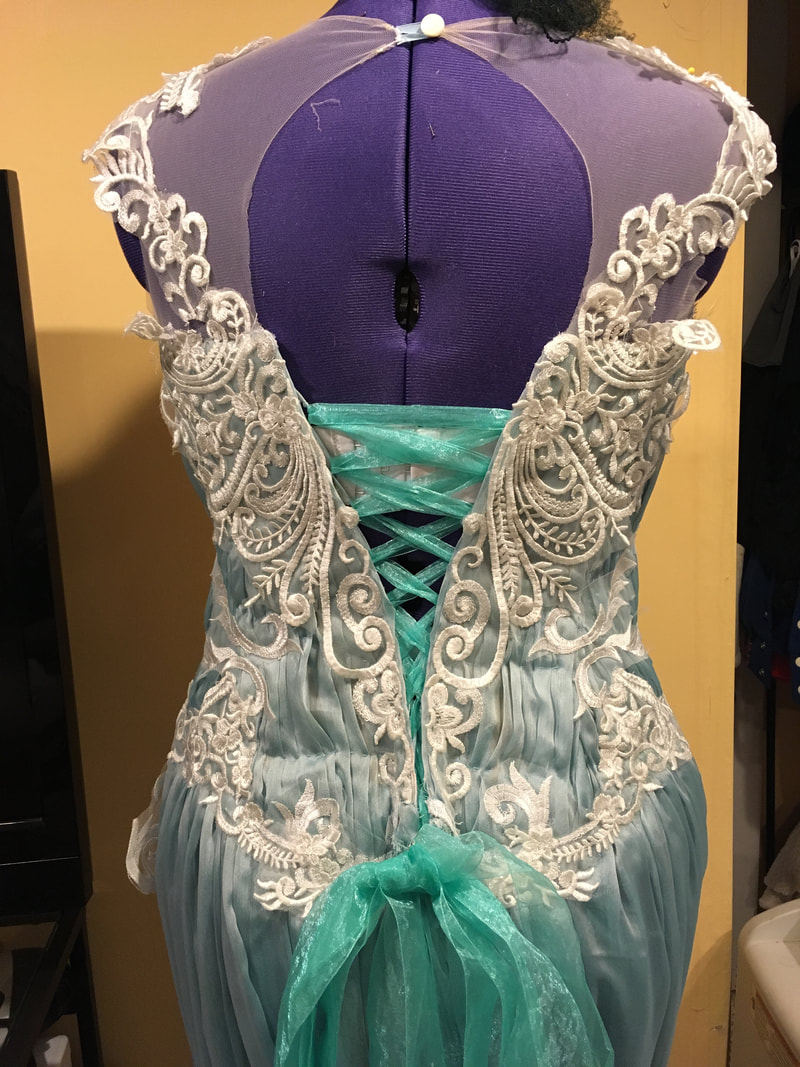
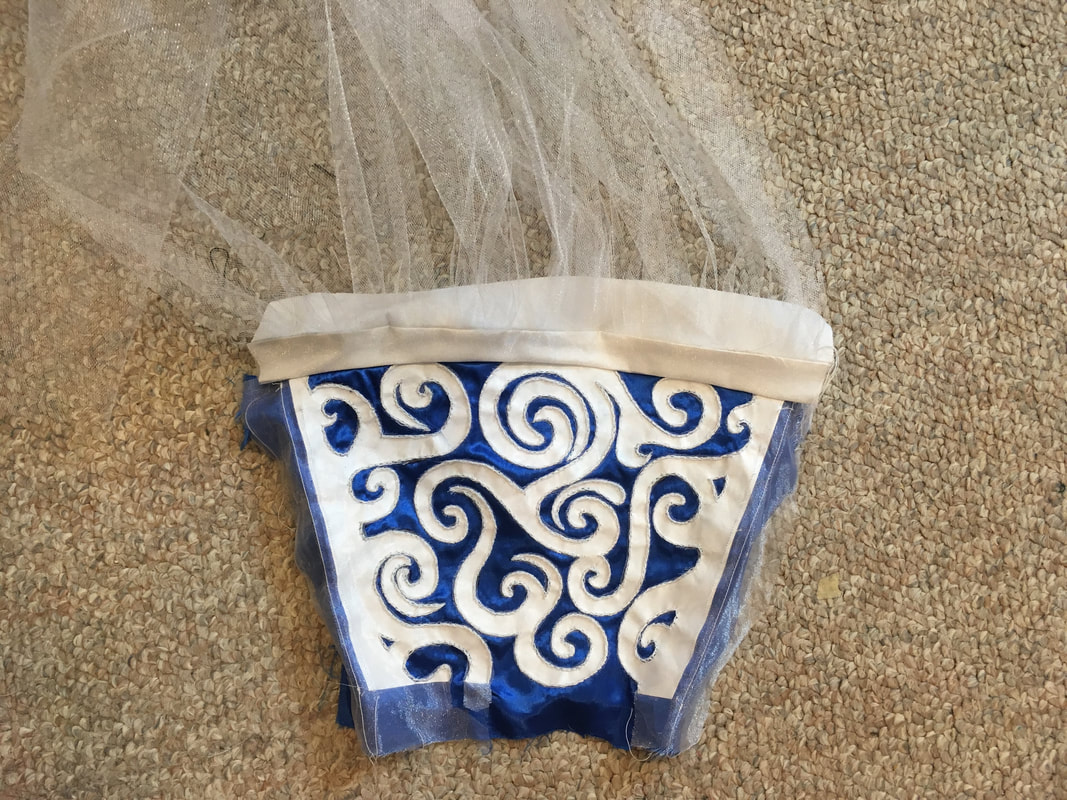
And here's the back of the skirt, folded all pretty! (Also note the extra lace decorations on the back of the illusion mesh and the new, pretty white organza ribbons!) 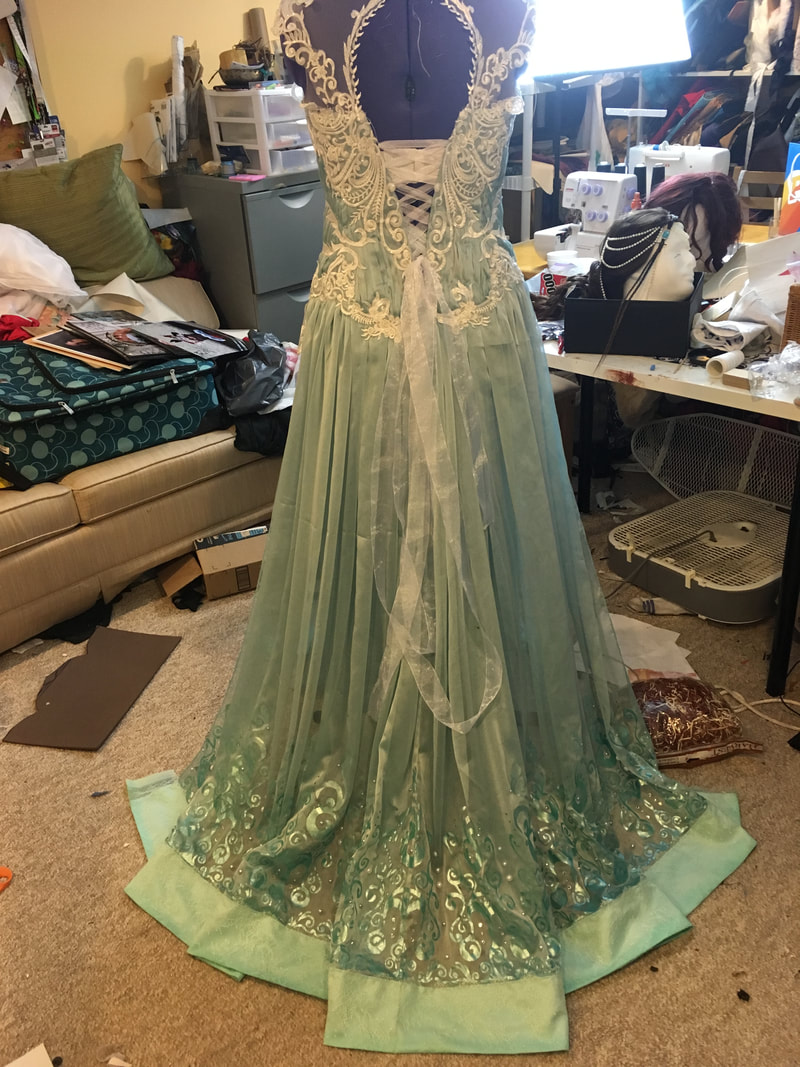 It's time to D-D-D-DYEI’ll admit that I tend to put off dyeing things until the last moment. Guilty as charged. But this dye job turned out to be relatively painless!
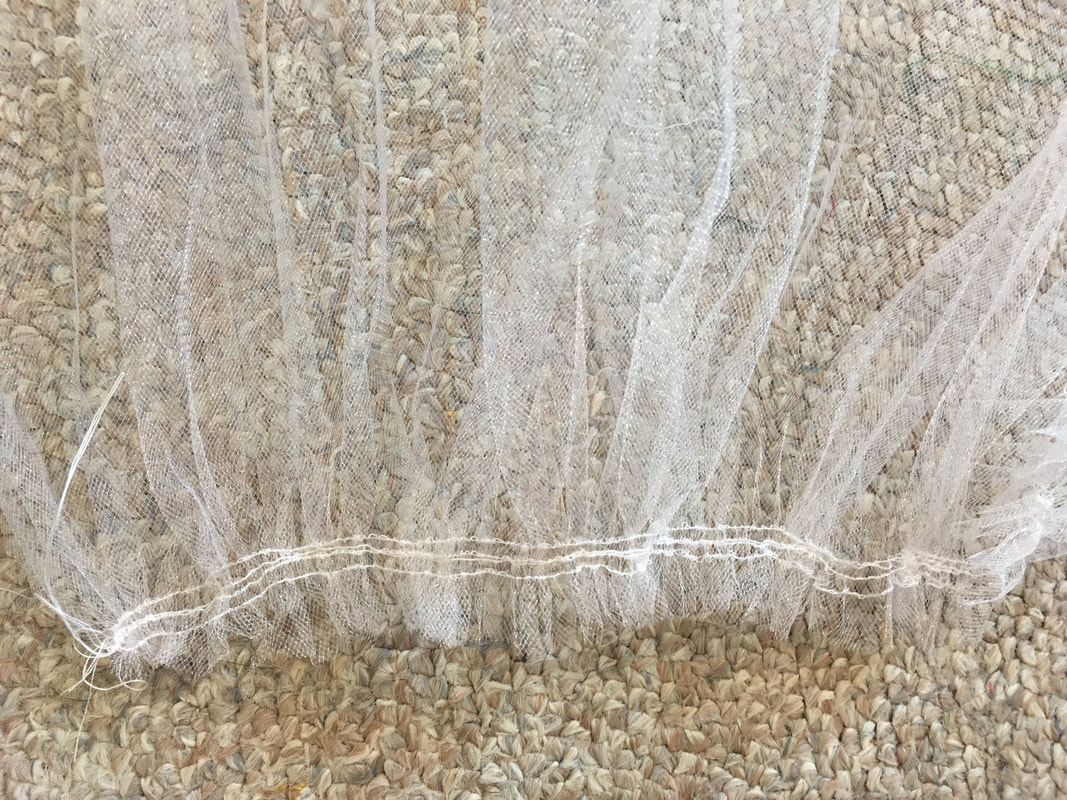
I wet the gauze, dunked it up and down concentrating on keeping the bottom fifth in the water. My method of dyeing is very qualitative; I dip the fabric up and down, keeping the lowest bit in the dye and only submerging all the way up to the top 1-2 times. 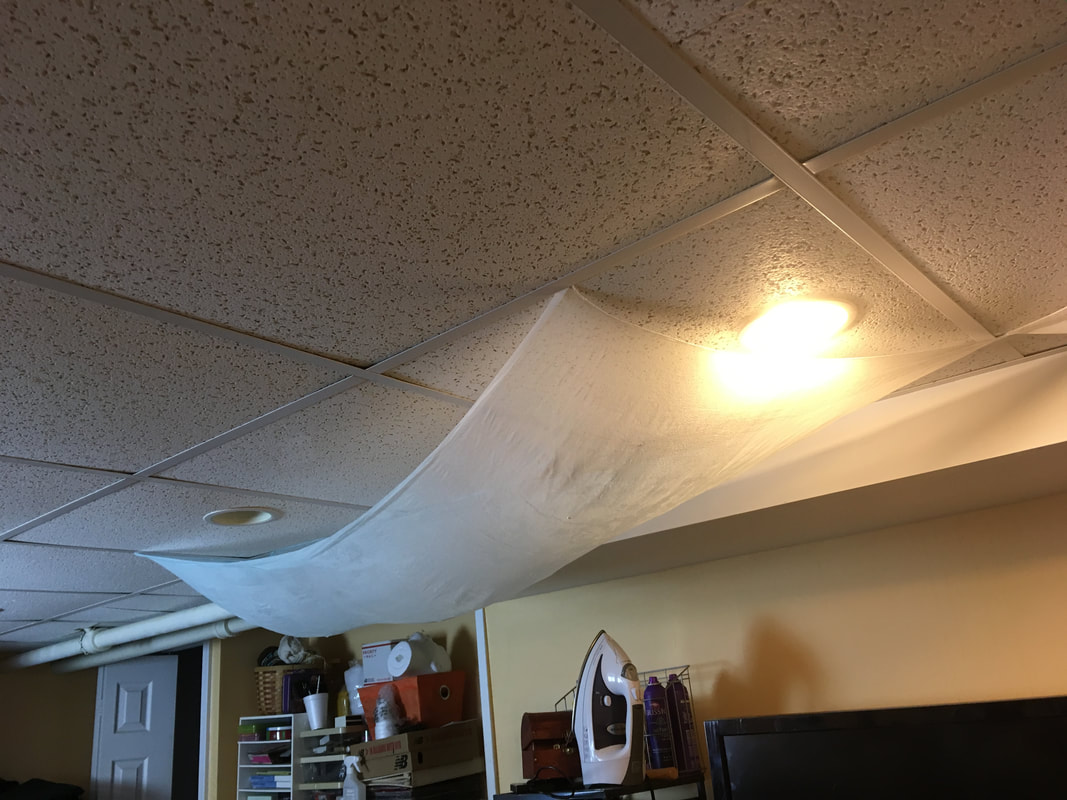 This is how I dry my dyed fabric -- by sticking it in my ceiling tiles! Sleeves are hardHold onto your butts, I'm going to try my best to explain my totally amateur method of flat-drafting gathered sleeves. To actually make the sleeves, I used my dress form to measure around the arm hole (18”), noting where the side and shoulder seams fell (splitting the sleeve into an 8” front section and 10’” back section). and how tall the armhole had to be (6”). I then made a rough pattern for the top of the sleeve with those measurements. I wanted the top of the sleeve slightly gathered, so I multiplied the distance around the armhole by two (18”x2 = 36”). I marked a piece of pattern paper 6” tall and 36” wide, put a marking at the shoulder seam (16” from the front, 20” from the back). I sketched out the curves of the pattern based on a non-extended sleeve pattern. The armhole didn’t have to be *too* precise, after all — gathering would get rid of the smaller errors. 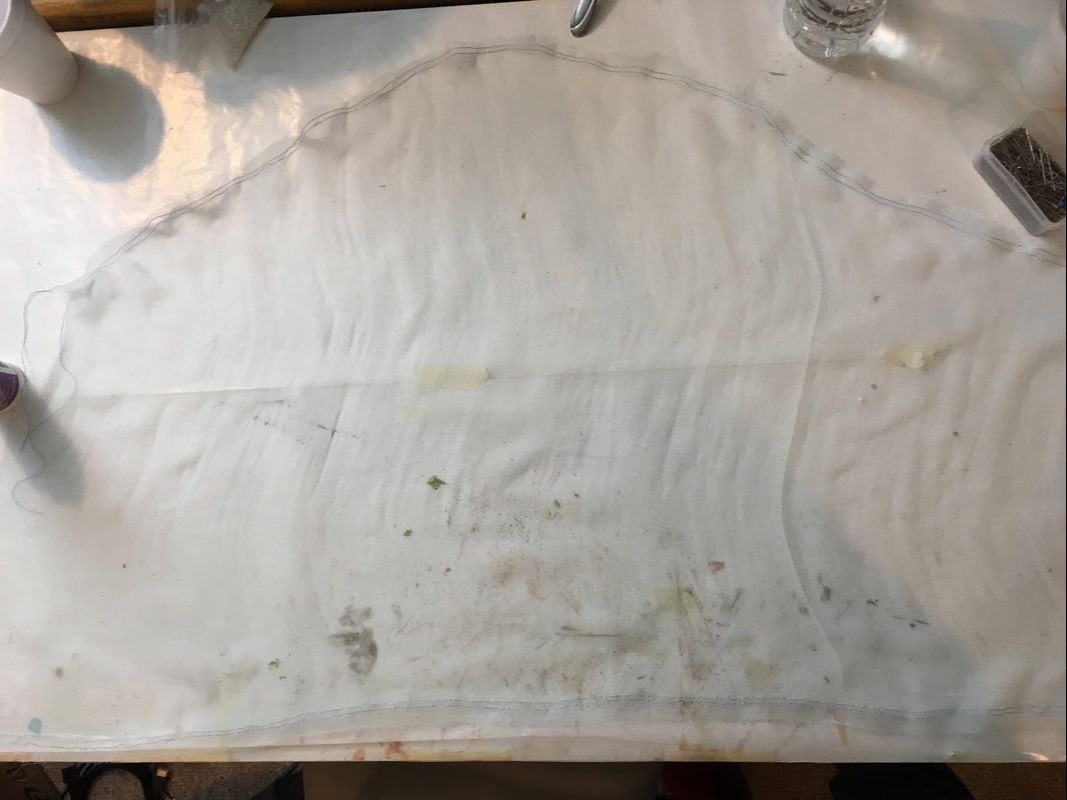
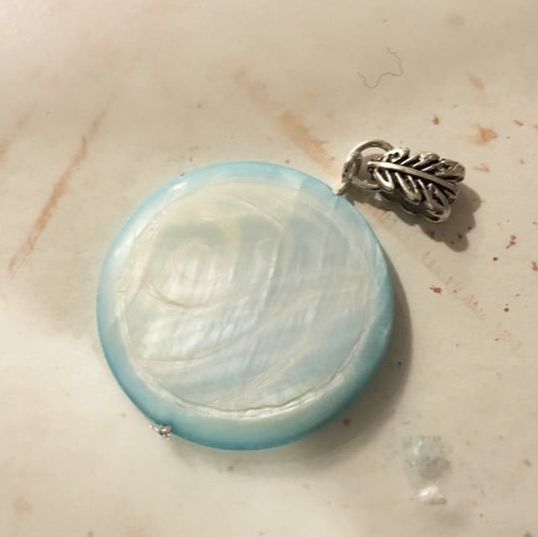
Jewelry? More like NEW-elry.One simple thing that can really take your cosplay up a notch is adding finished jewelry hardware to all your beads. Prior to this, I attached the dangling beads and necklace pendant by simply sewing them onto the dress and necklace. Time for an upgrade! All the techniques and connections I used are relatively simplistic, but they ooze sophistication. On the necklace, I threaded the pendant with a headpin and twisting the top into a loop. I connected this loop to a jump ring, which I then connected to a bail bead, which was then sewn on to the necklace.
For the dangling crystals attached to the dress, I simply used my jewelry pliers to bend a headpin threaded into the hole. I wrapped the end of the wire twice to get a nice secure loop, and I’ll be sewing them to the dress through that loop. Finally, I had to re-make the headdress. This thing fell apart at MAGFest and barely held it together through Katsucon! I needed to make the construction more sturdy. The first change was swapping out beeswax thread for Fireline, a plastic beading thread similar to fishing line. I stress-tested the thread by wrapping it around my fingers a few times and pulling as hard as I could—no breakage! 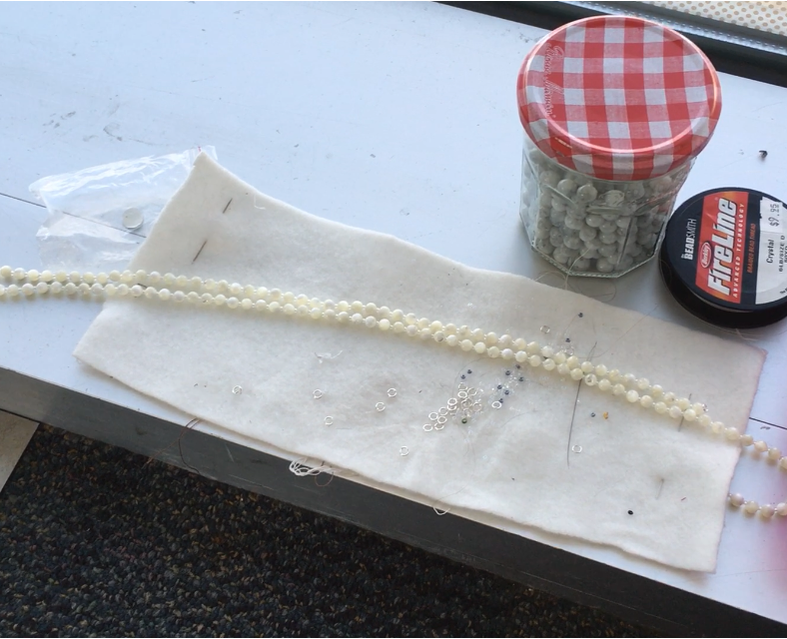 The next challenge came in how to thread the headdress. I settled for a configuration where I threaded the seed bead into the middle of a long strand of wire, double-knotted it, and then threaded the bead onto a jump ring. I used the doubled up thread through the rest of the strand, then tied a seed bead at the end, added another jump ring, and threaded a few inches of excess Fireline back through the last few beads of the strand. I also added a few small spiral seashells to the headdress! They really added a subtle something extra and I’m very glad I had them lying around. I made the bead strands on the dress in a very similar way, with the addition of handmade hooks latched onto the jump rings. These strands hook onto some nearly invisible thread chains hidden in the lace of the dress! My cat is very lucky she's cuteWe have to talk briefly about The Event.
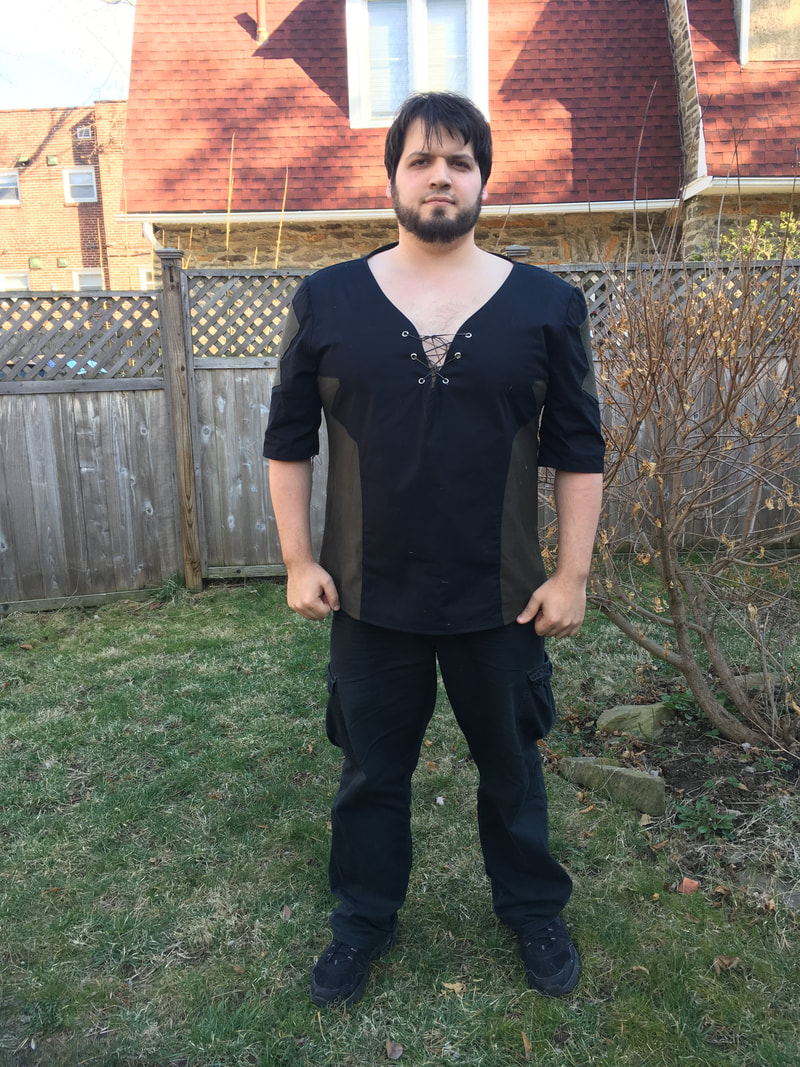
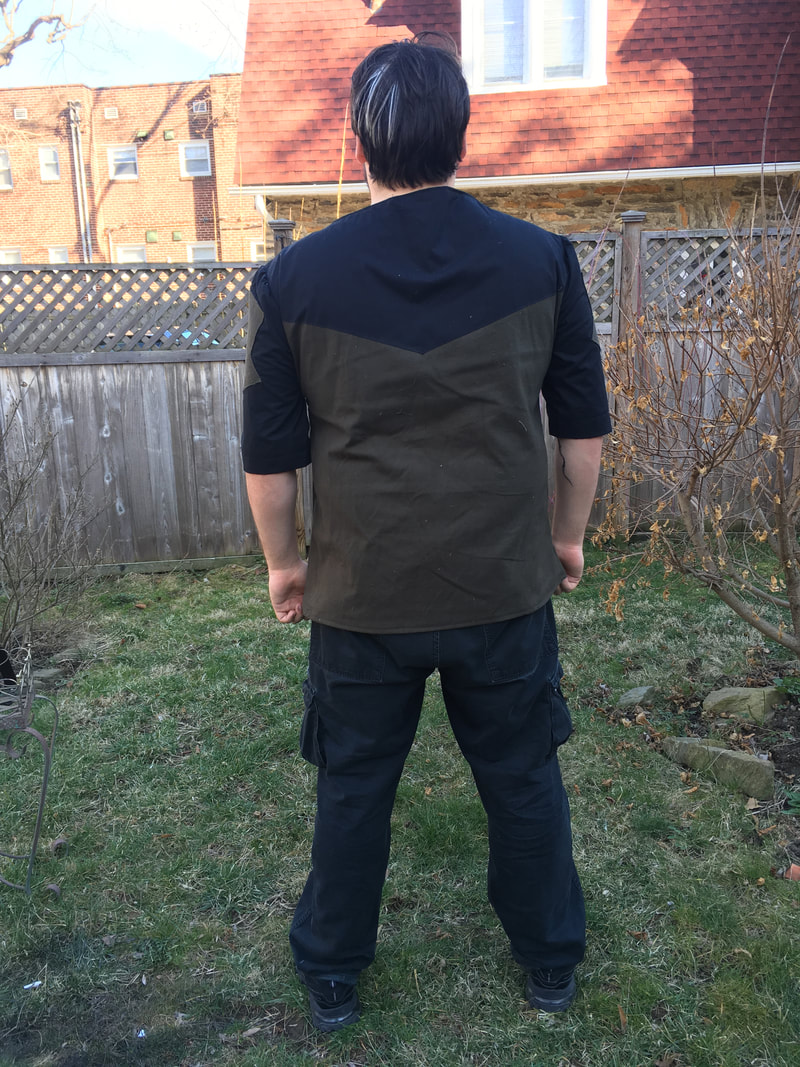
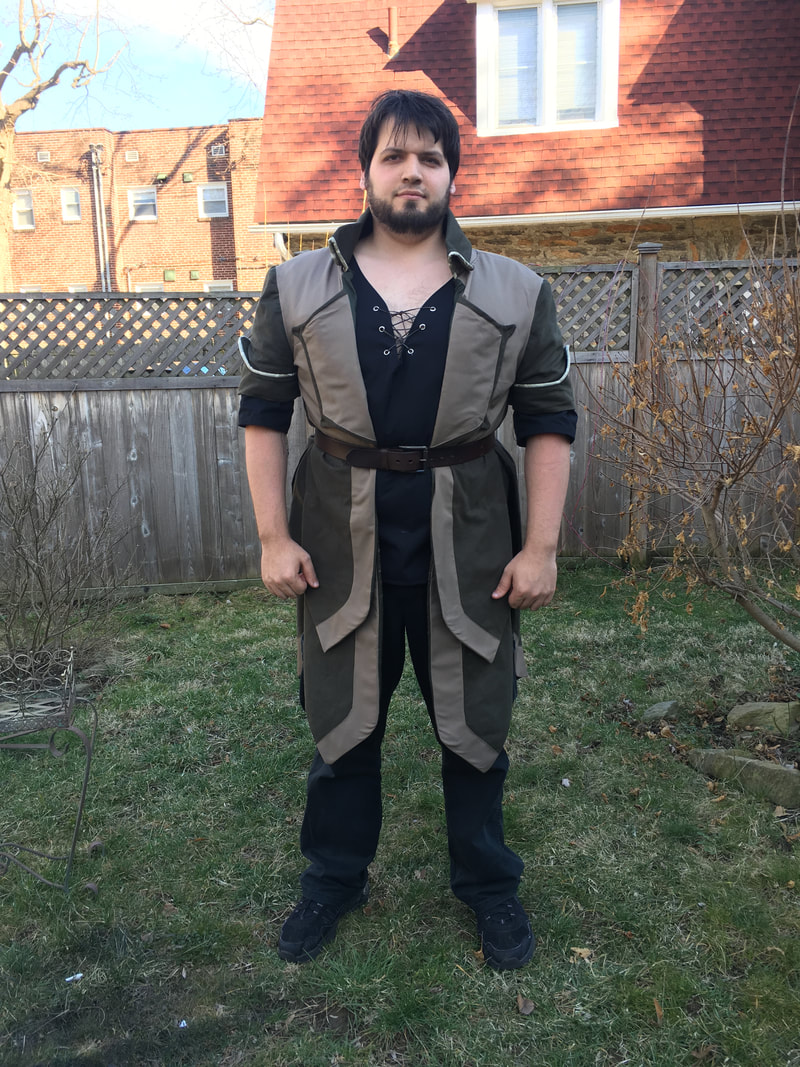
But thanks to the numerous wonderful people who sent me messages and good feels and support, I picked myself up. I did a very quick patch job with a hand needle. While it wasn’t the same, and I knew I’d have to remake it in the future, there was nothing I could do about it now. I grimaced and bore it, and still had a ton of fun wearing my costume! 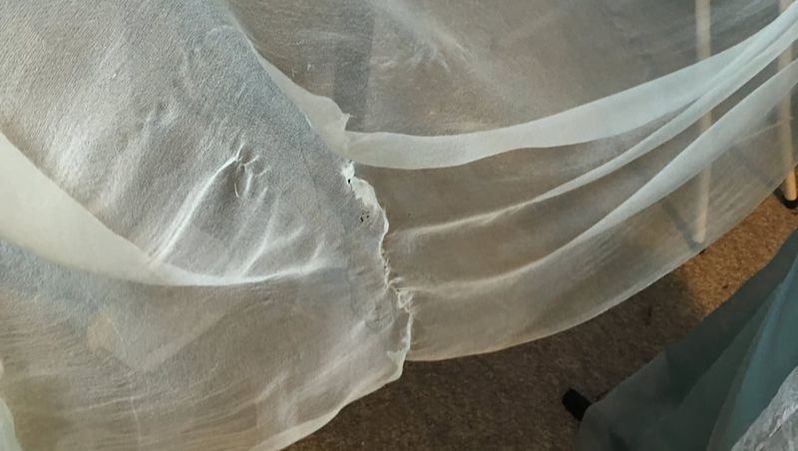 Sometimes you need that freakout moment. You need to hit a low point to rebound back up. And I’d say I rebounded pretty well for the contest! Shirt-ing My ResponsibilitiesOH YEAH. I also did another thing this week amongst the Katara madness! I took a break from chiffon, gauze, and glitz to make a shirt for my good friend Slippers Cosplay! He’s cosplaying Hazel at PAX East and commissioned me to make him a shirt to go with the jacket I made him a few months ago.
0 Comments
 EVERYTHING IN MY LIFE IS C2E2. Except, you know, grad school stuff. WHOOPS. Wiggle Wiggle Wiggle, yeah
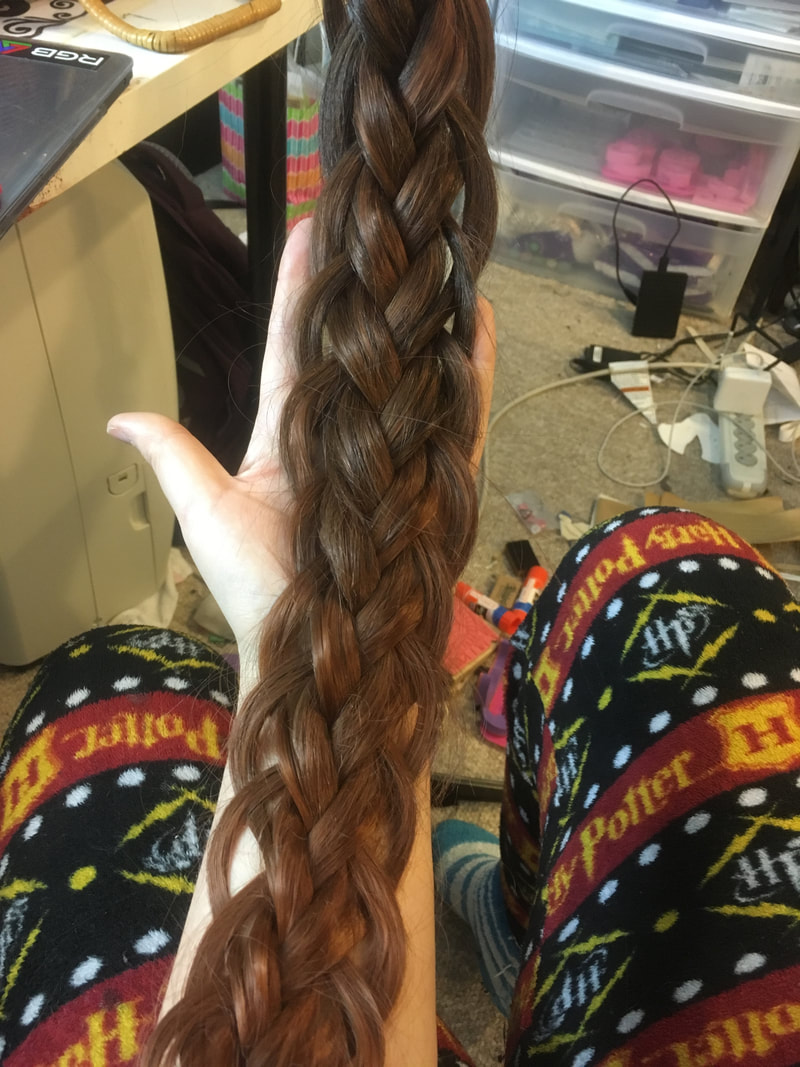
I changed up the styling slightly by switching from a five-strand braid to a loop braid and teaching myself how to do a hair flower (thanks, Youtube!). I’ve never tried one of these before, but it’s surprisingly easy to do!
The braid on the left is my first try, and the hair flower on the right is my second! When I'm actually styling these in the hotel, I plan to wet the hair a bit first to make it more manageable.
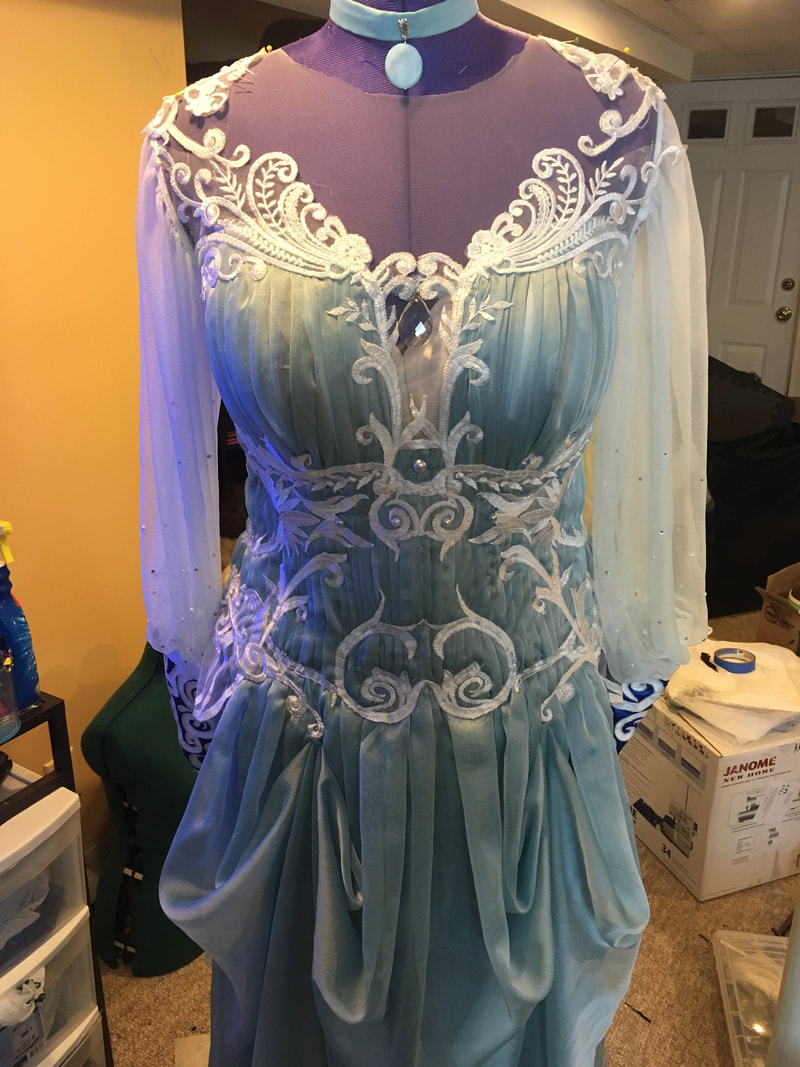
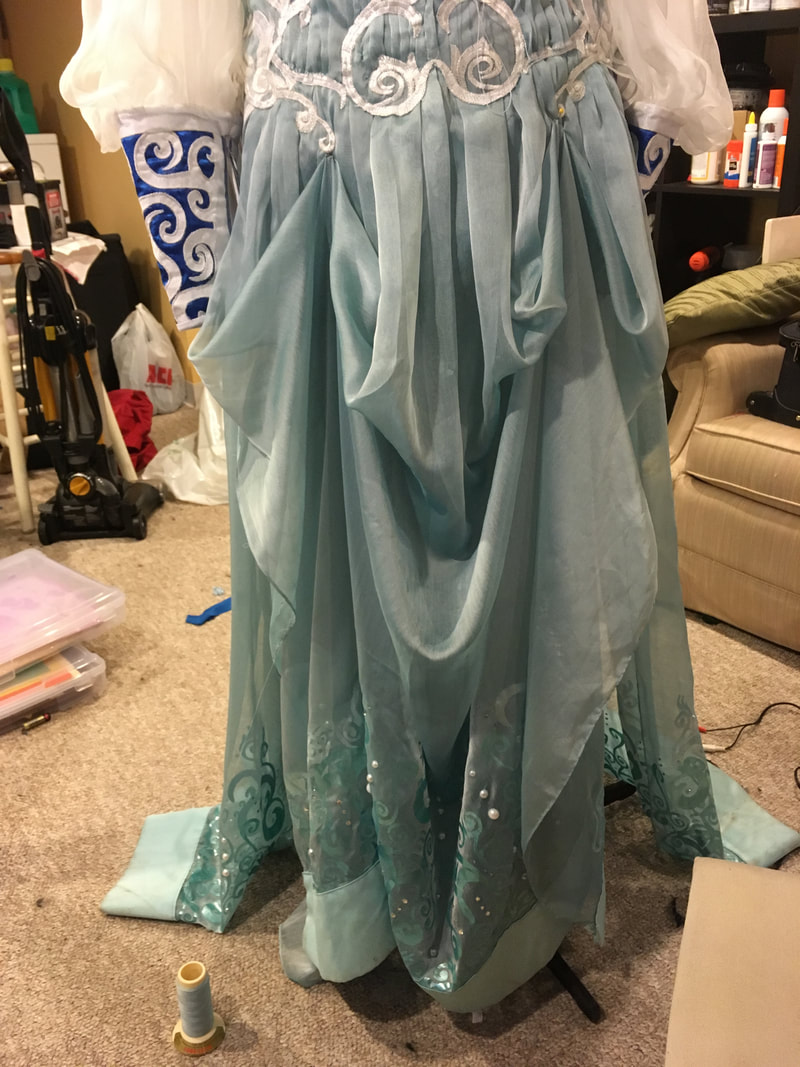
Erryday I'm bustlin'Onto the dress upgrades! I first tackled the front of the dress. While the dress is beautiful when it’s all spread out, it’s incredibly hard to walk and move about in without tripping over. To fix this, I decided to do a quick bustle. No fancy sewing tricks here; I just took a single pinch of skirt fabric and brought it up to the hip on each side. I sewed small hook and eye to each connection point, hiding the hooks underneath the white lace on the bodice. Now it takes just a few seconds to hook the skirt up and I can walk to my heart’s content!
I decided against bustling the back skirt; it’s just too much fabric, and I can pick up and move just the back skirt more easily than both the front and back skirts at the same time. Appreciate the little thingsThere are a few more subtle but important alterations I made to improve the overall look of the costume!
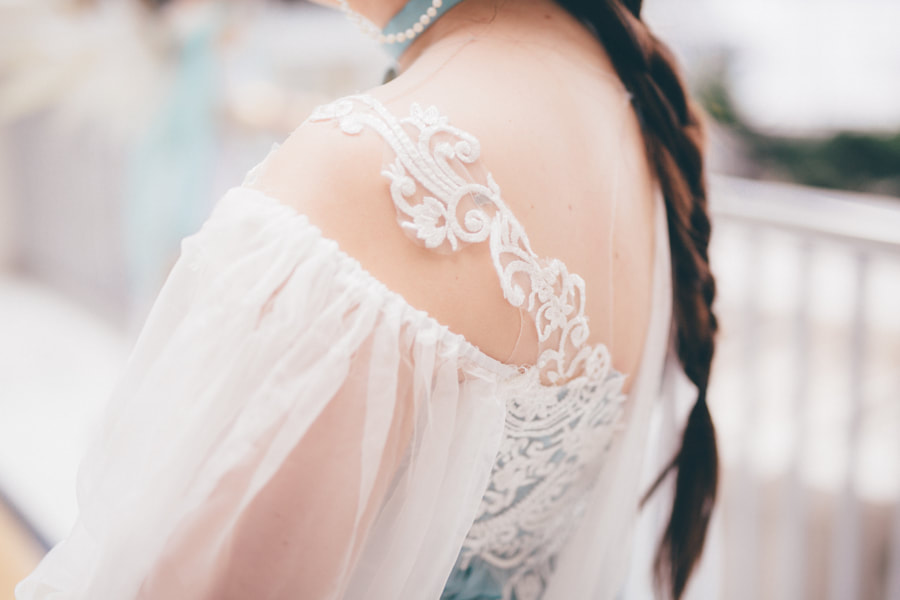
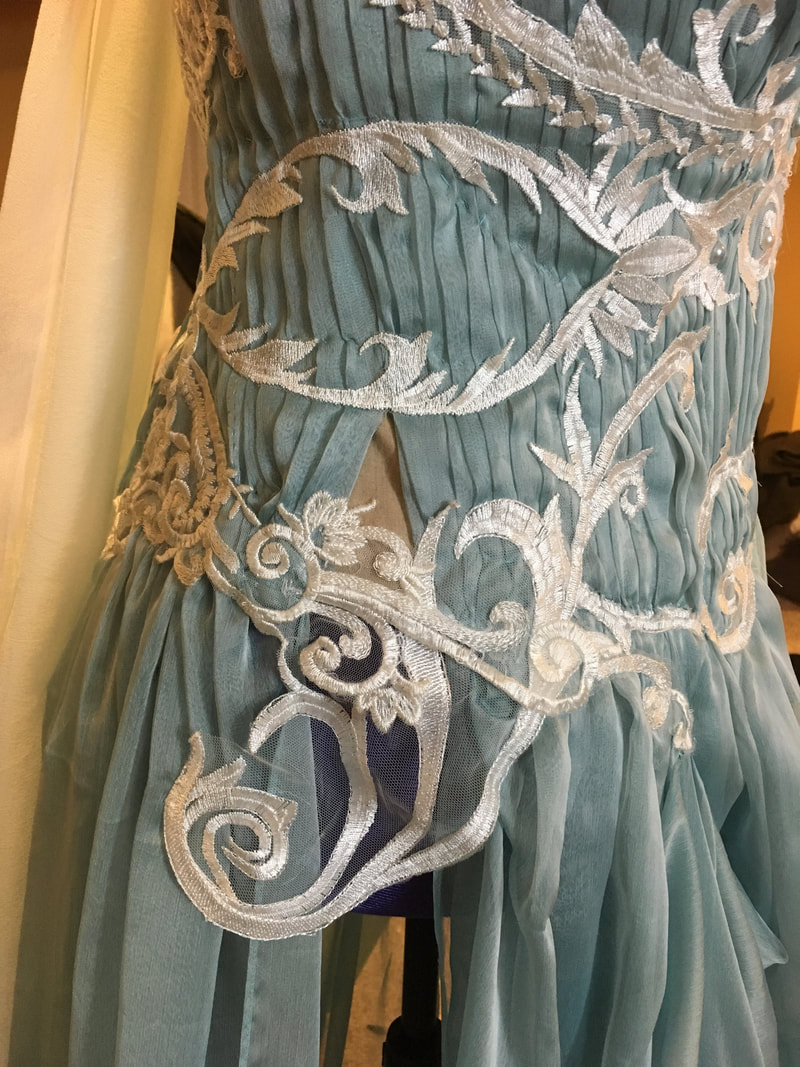
While all of the lace is currently anchored on the bodice, it requires a bit of cleaning up. I'm in the process of meticulously hand sewing several lines of lace that are currently anchored with a few haphazard stitches. I'm also snipping off the extra mesh around the lace. 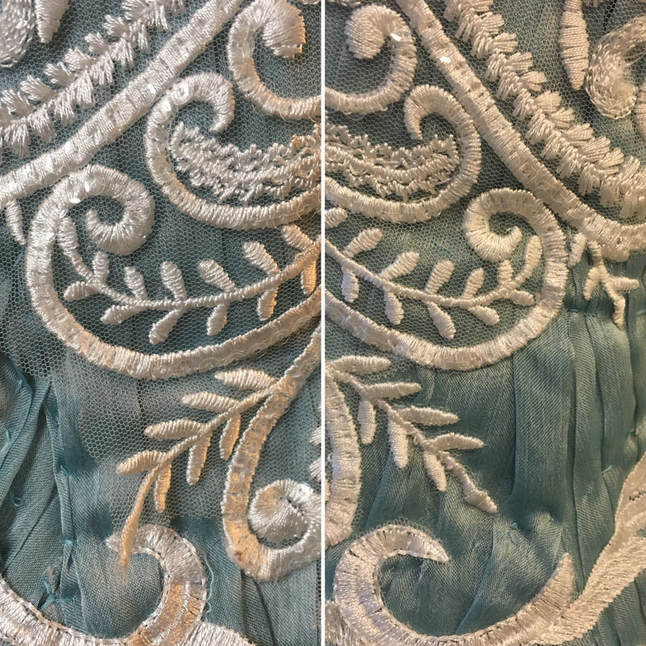 Here's a quick before & after, ENHANCED to show the difference. It's subtle, but results in a much more polished look! That's it for this week!Tune in next week for more hand sewing, rhinestones, lace, dye, and MOAR SPARKLES!
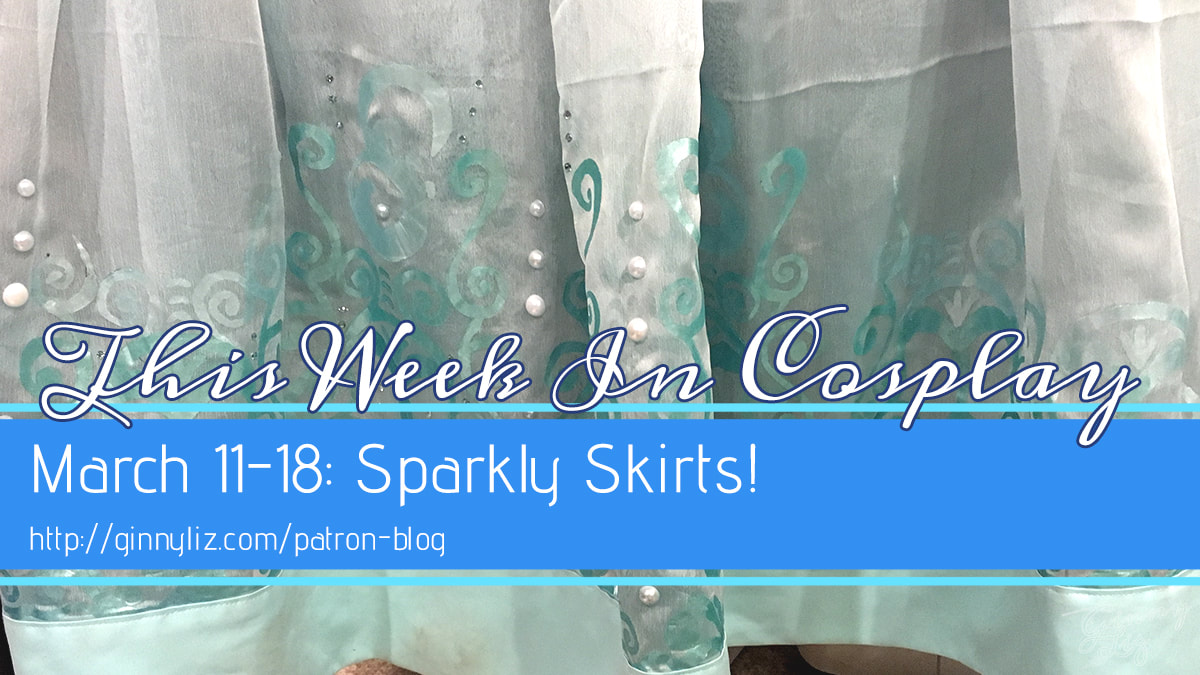 This week was fairly monotonous as far as cosplay progress is concerned. I got quite a bit done, but it’s several small details that take a significant amount of time.
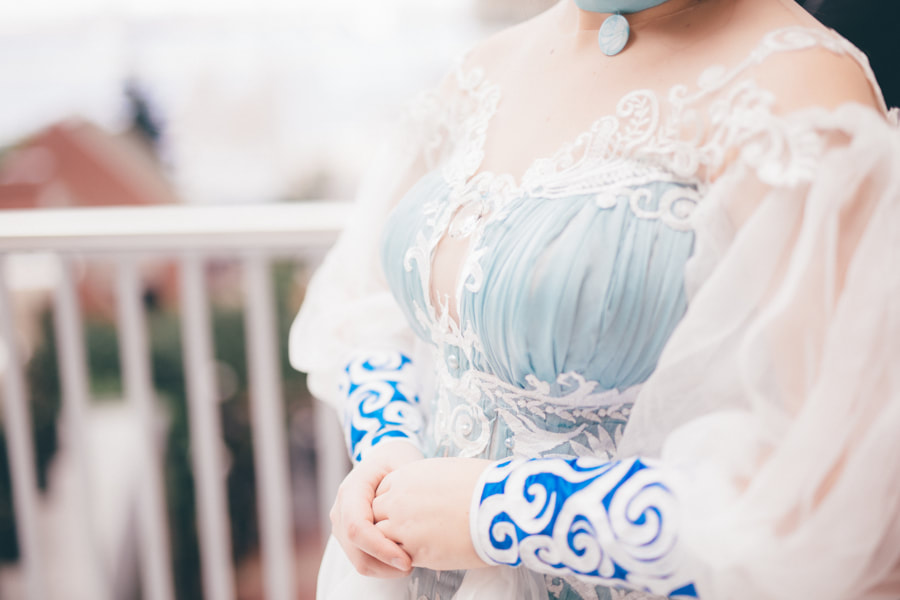
That is to say, this week I worked on finishing the first round of detailing on Katara’s skirt — first with hand painting, and then by adding rhinestones. The second custom mixture was MUCH more successful, and I got right back to painting! It took about 4 hours to paint each the remaining two iterations of each pattern, and then I was GLORIOUSLY DONE. Painting the whole skirt took about 25 hours, and MAN is it satisfying to finish a large part that detailing. Next it was onto the bling! I used a mixture of light blue and white halfback pearls (6-10mm), silver rhinestones (4-6mm), and light blue rhinestones (4mm) to add a bit of sparkle and movement to the skirt. 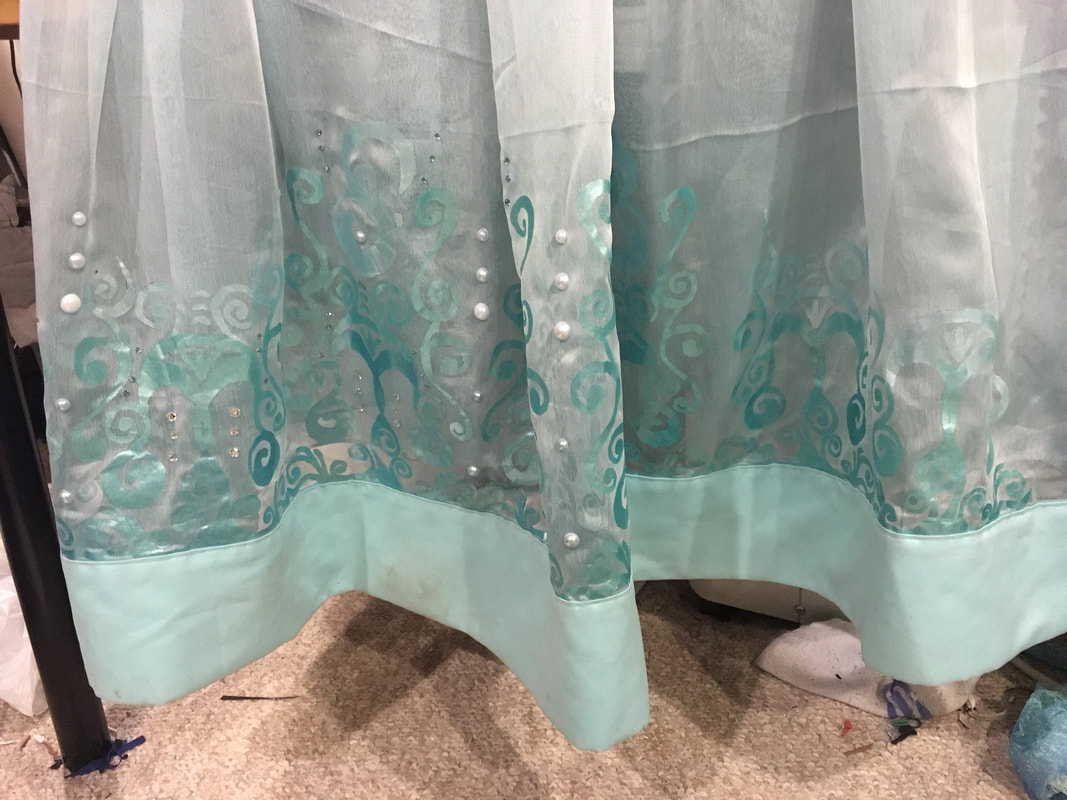 I place rhinestones by applying E6000 onto an old, dull pin and transferring it to the back of the rhinestone, then placing it carefully on the fabric. On a translucent fabric like chiffon, the glue will bleed through, so I made sure I was working on a laminated surface (my painting pattern). I scrubbed the dried E6000 off of the pattern in between sections to avoid glue buildup! Each section took about 30 minutes to apply 100 rhinestones and pearls, which I then let dry for 20-30 minutes. IT SPARKLE~ I also ordered some blue ombré lace through Etsy to fancy up the skirt. The lace is about 8” wide, or about twice as wide as the satin on the bottom edge of the skirt. I’m going to fold the lace over the edge, like a taco, and took some time decided which color gradient I liked more.
I think that the blue ombré photographs better, but the light teal looks better in person and is more accurate to the artwork— so I’m going with the latter. That’s it for this week! Next week will be MOAR KATARA UPGRADES!
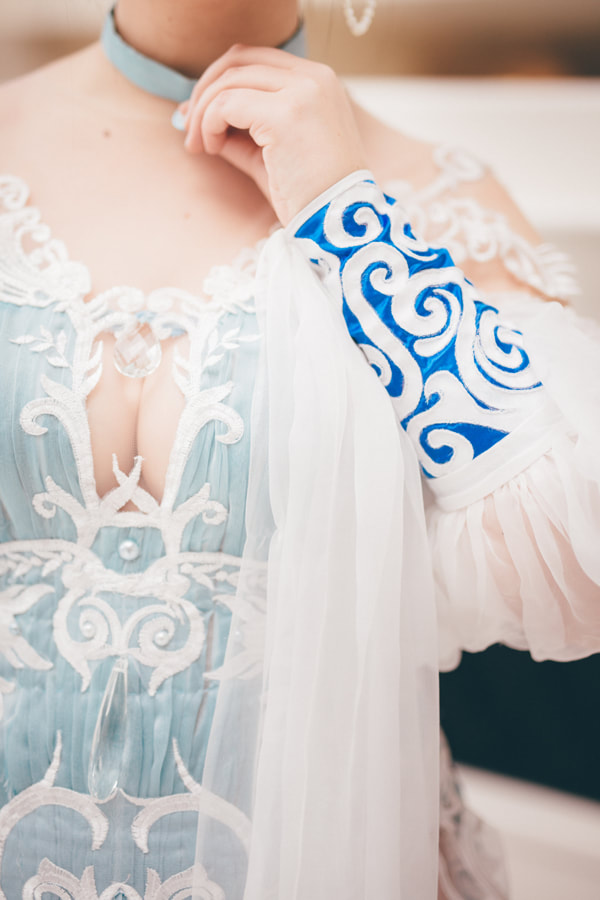
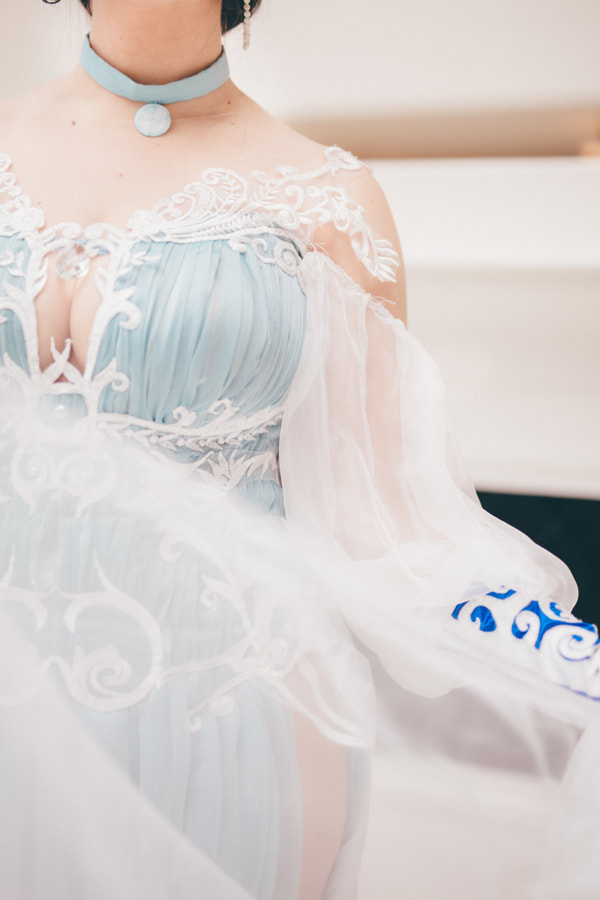
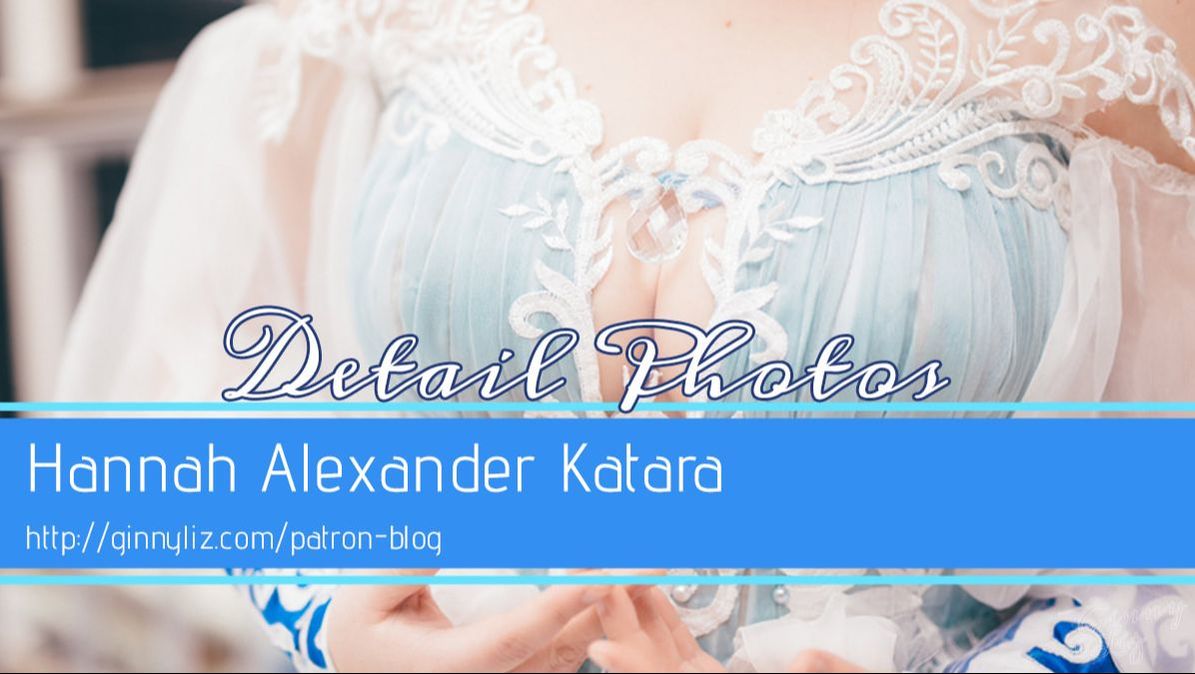 One of my favorite things about shooting Katara with Colfox Photography is her obsession with detail photos! She returned several close-up photos of my costume that are just... perfect. Enjoy! These photos were taken before I put another 50+ hours of work into the costume for C2E2, so I'll definitely re-do detail photos for ya'll soon <3 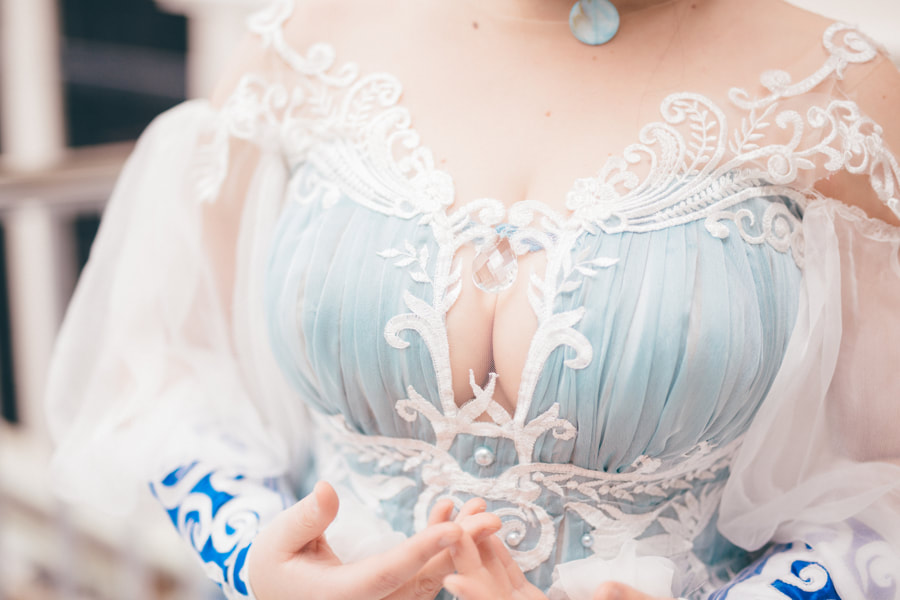
  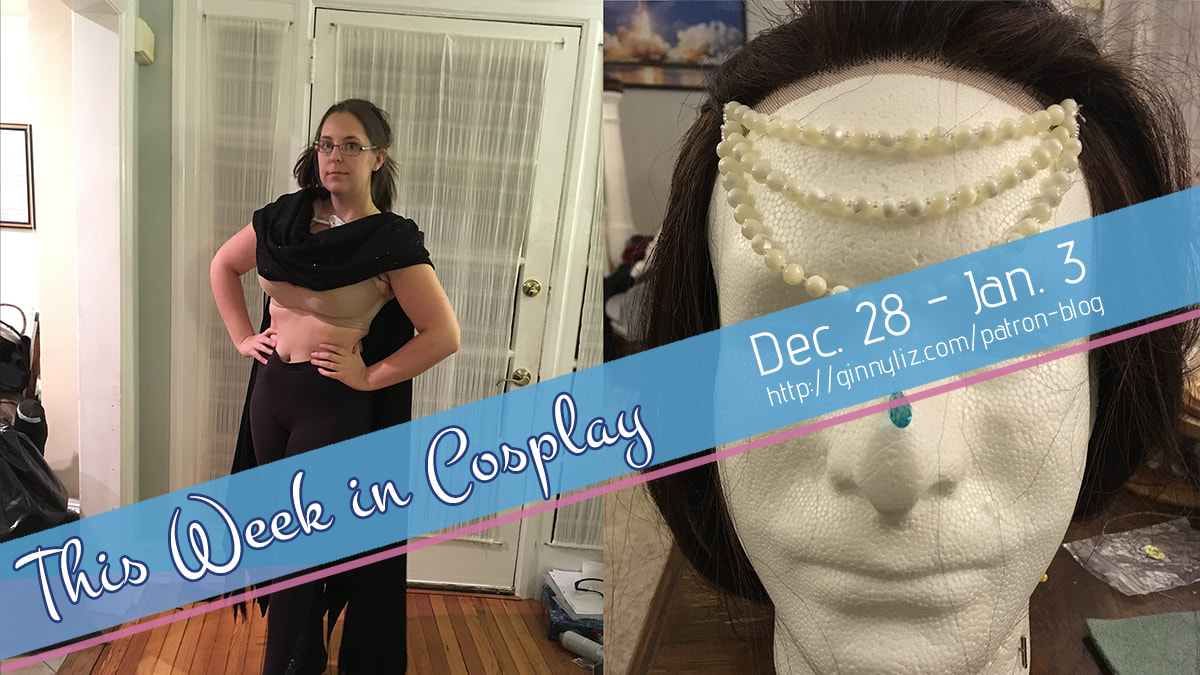 All right, so where did we leave off? That's right, I flew back home and landed in Philadelphia. My friend Ally picked me up at the airport, and then we went back to my house for a cosplay crafting filled few days! Ally has been spending a lot of time working on her Queen of the Dark Forest Barbie design, and you should definitely check out her progress! It's her first major costume build, and she's handling it like a CHAMP. GJ FAM <3 GET ME A COSTUME, YOU SWINEAs for me, I had decided to create a genderbent version of Voldemort from A Very Potter Musical. Why? More like WHY NOT. 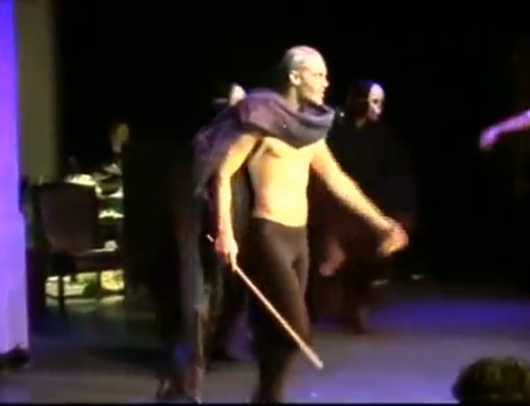 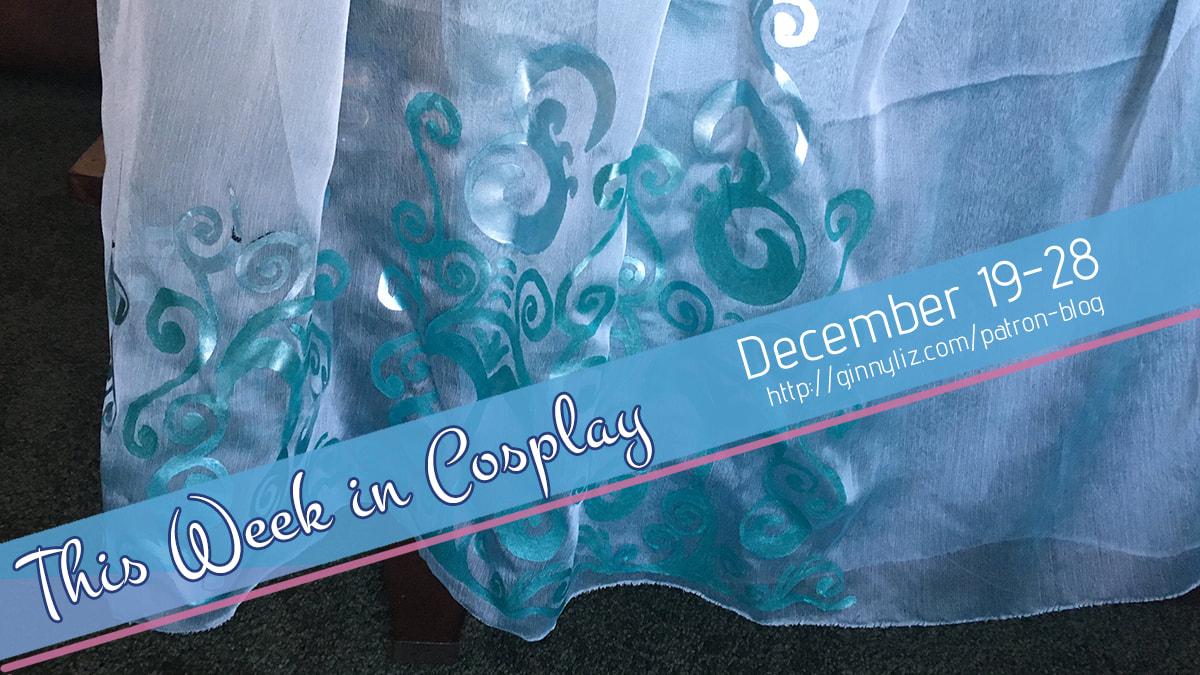 OKAY so, this past week and a half I was in South Dakota visiting family for the holidays! I spent the week sandwiching bits of cosplay progress in between spending quality time with my parents, sister, stepbrother, and other assorted family members. DON'T STOP BELIEVIN' -- wait, wrong Journey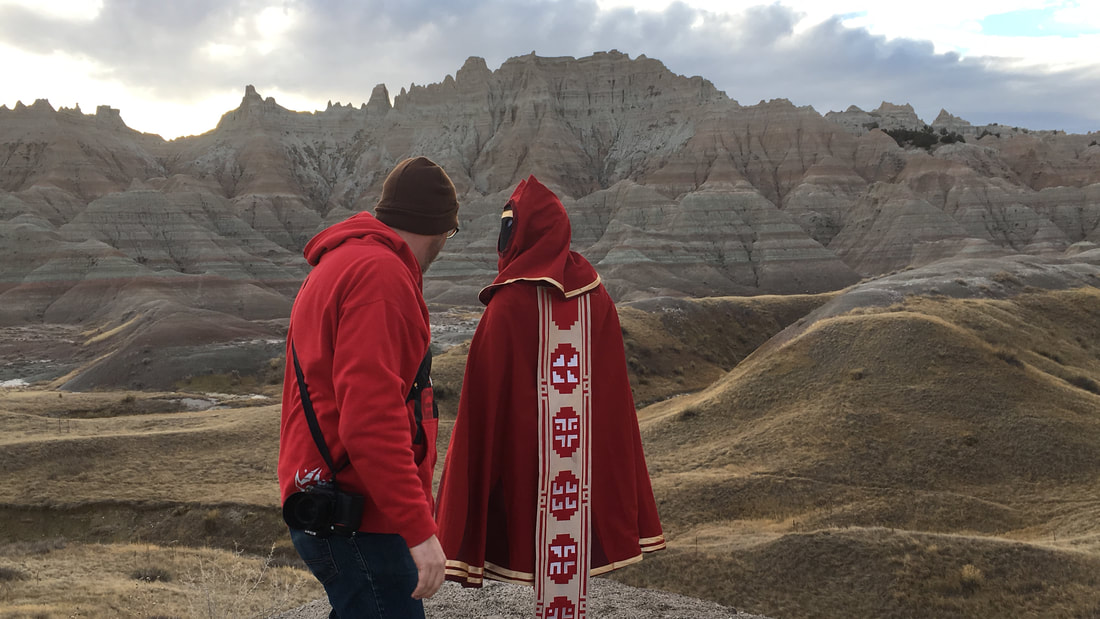 The day after I landed, Cameko Cosplay and I went to shoot my Journey cosplay in the Badlands! This was honestly a dream come true, and I still can't quite believe that it happened. Photos are slowly trickling in, and I will choose two to be next month's downloads for the $10 tier!
Welp, this has been... a week. 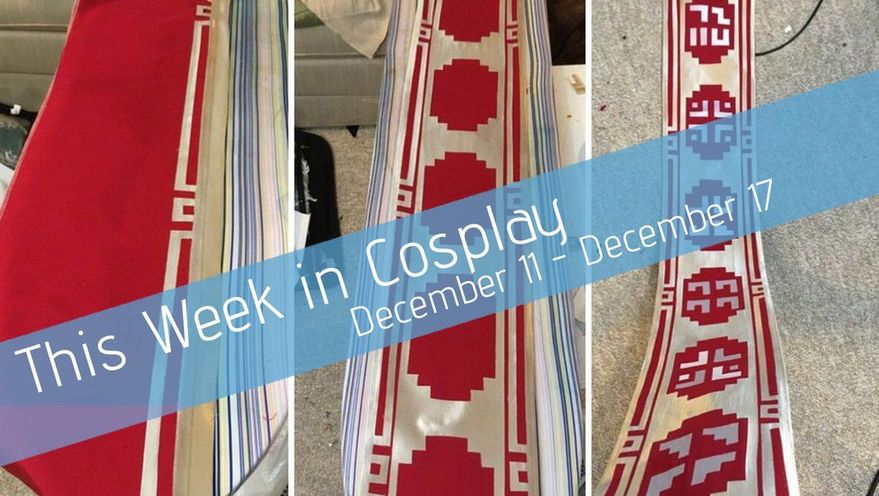 This costume will be the death of my fingersJust... keep... sewing! Katara's really starting to come together, but there are quite a few hours more of detail work before she's wearable! First and foremost: the white lace design on the bodice.
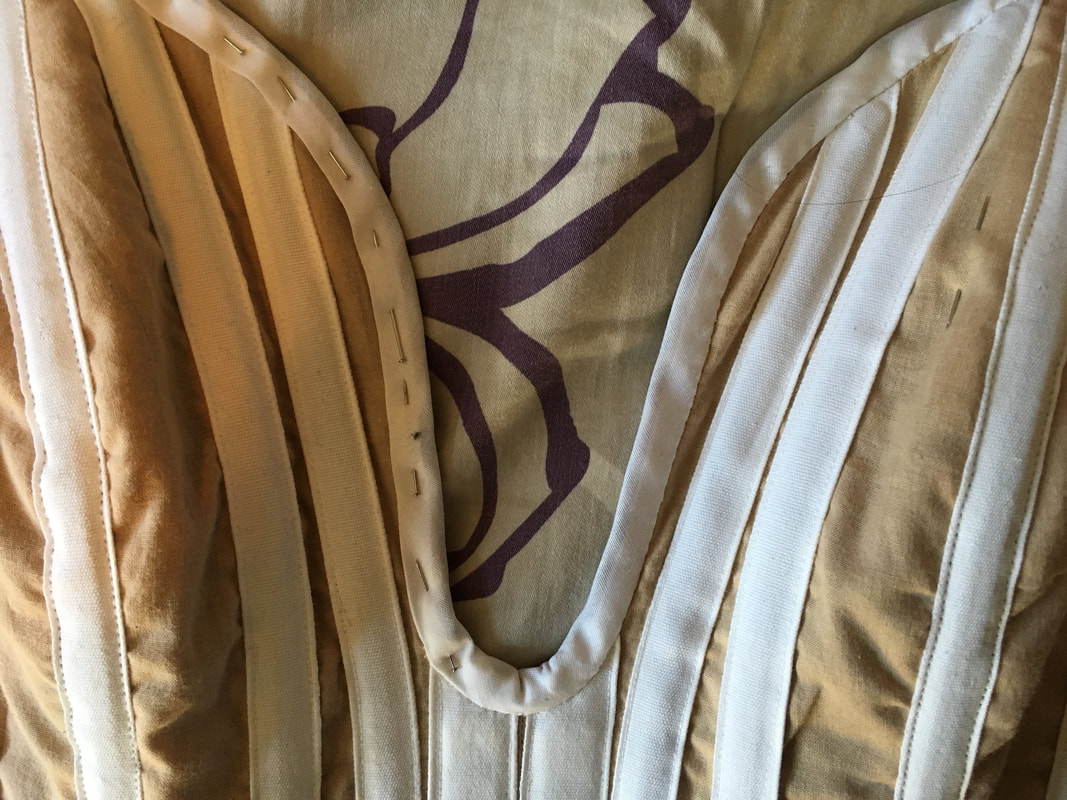
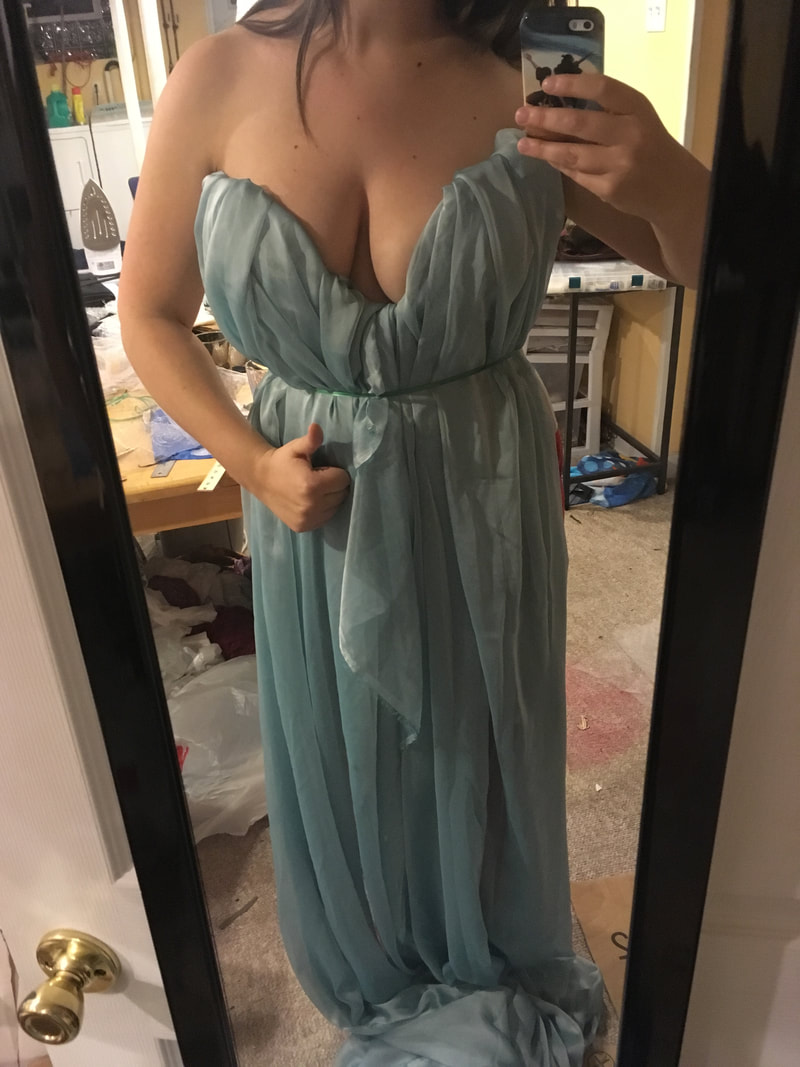
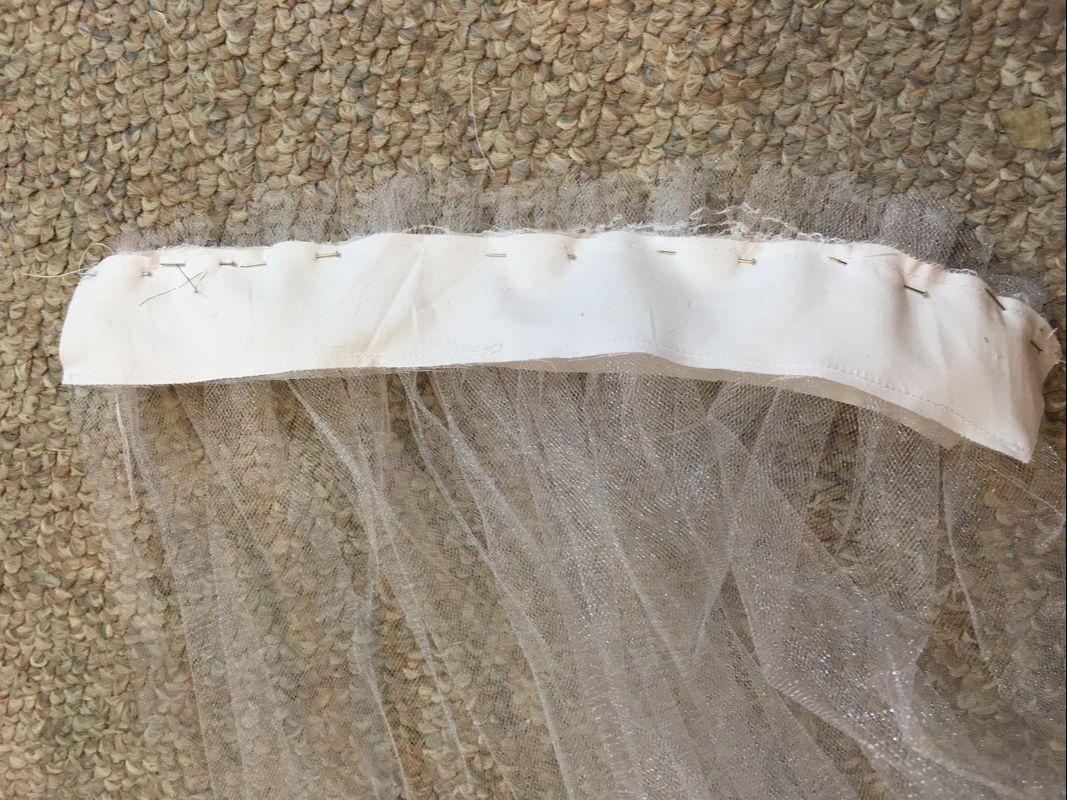
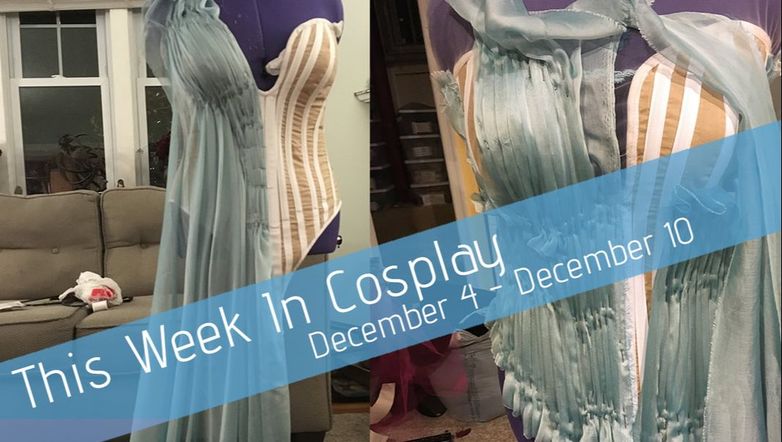 Pleat Save MeThis week, I started the long, tedious process of draping the chiffon on the bodice. Each section had to be individually pleated and pinned to the corset, so it was a bit of a project.
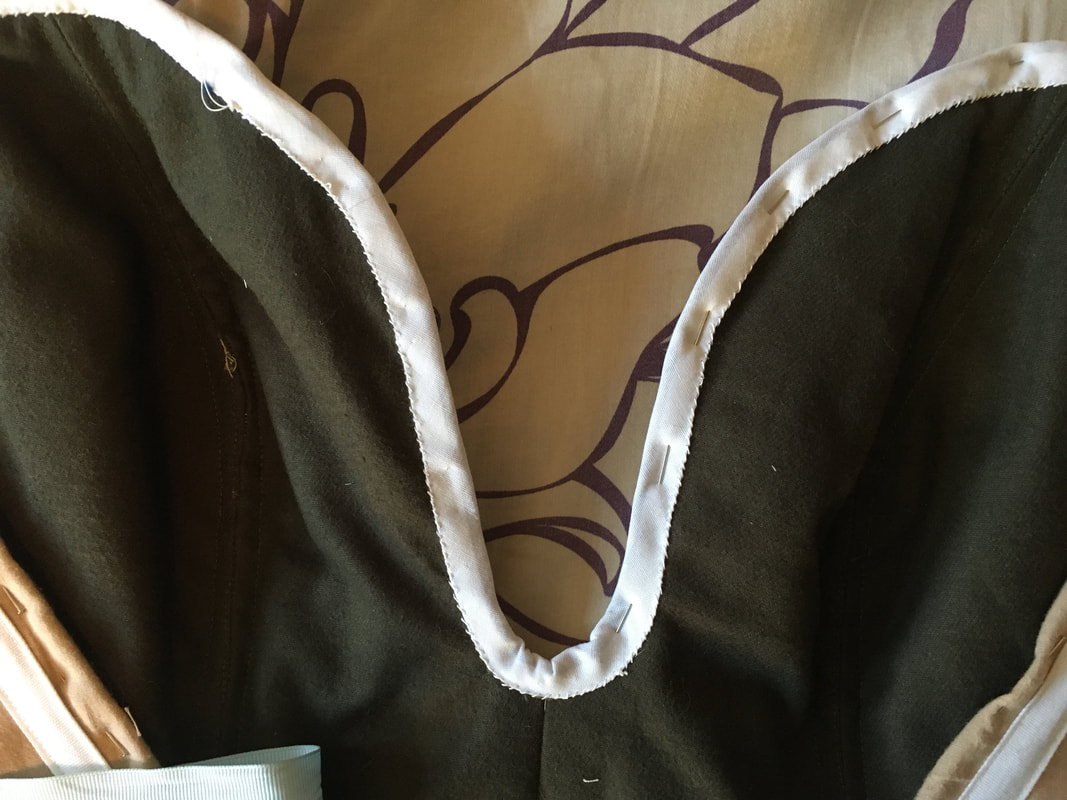
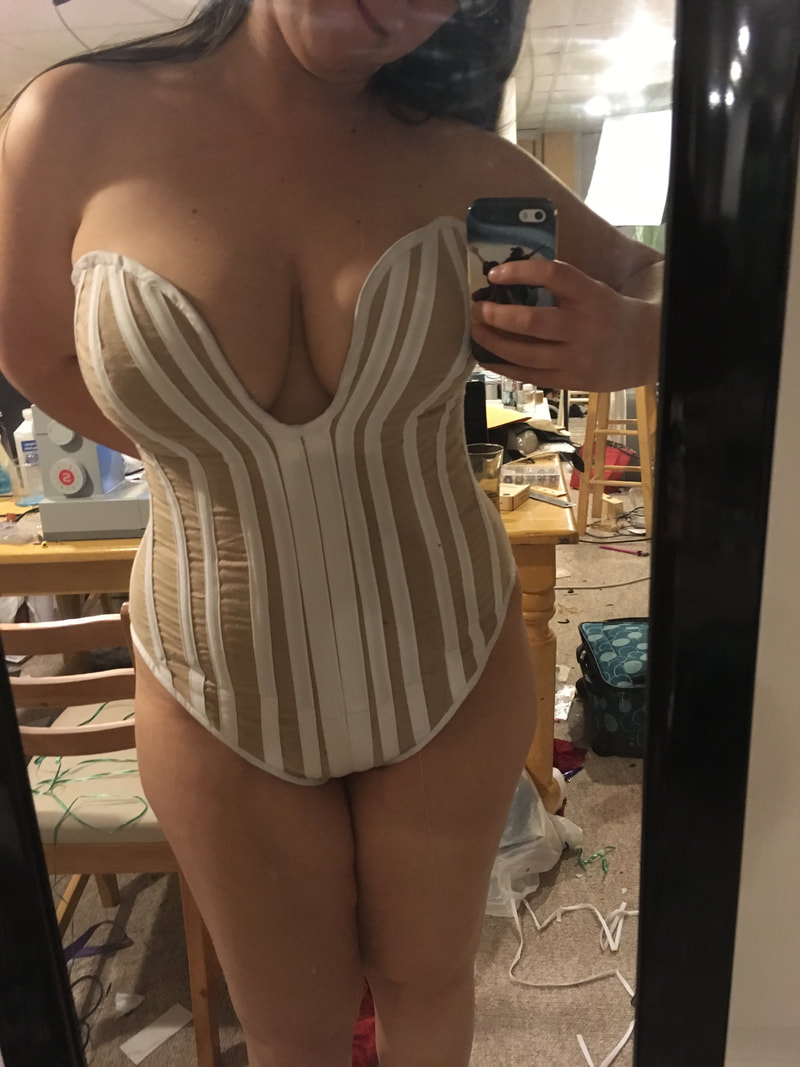
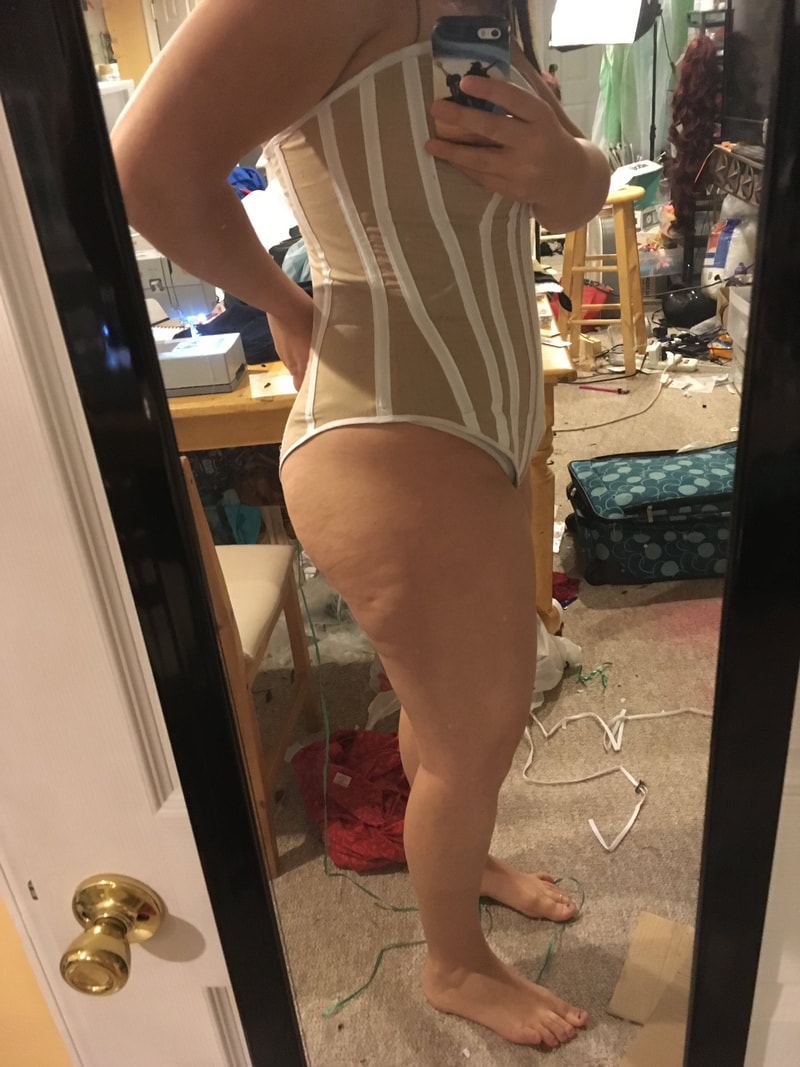
Welcome to the ~weekly recap~ of what I did this week! This week has been a bit of a trial. I’ve been waking up with a horrendously sore throat and stuffy nose, and getting up and moving is a challenge. BUT once I’m up and moving, I feel better on the surface (assuming I don’t talk too much and aggravate my throat). However, I have noticed that I got tired much more quickly this week as compared my normal self. But that didn’t stop me! I’m on a tight deadline with Katara — at the time of writing this, I have two weeks to finish her before I fly out for Christmas! It better darned fit after four mockups...The main focus of this week has been finishing up Katara’s foundation corset/bunnysuit, and making the sleeves! The first step was to finish up binding the top of the corset with extra-wide, single-fold bias tape. I hand-sewed all the bias tape on top because the bust curve is *insane* and I didn’t want any strange wrinkles or puckers. All in all, it took me about 5 hours and many, many needle stabs to sew the back and the front.
The back is sewn with a simple whip stitch; the front is sewn with an invisible backstitch. You can’t see *any* of the thread holding the front edge in place, and I call that a win!
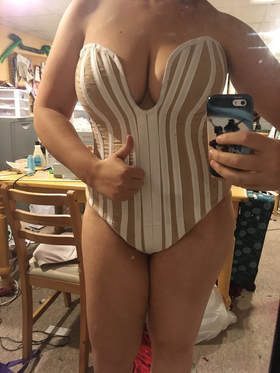
While I had the corset on, I grabbed my fabric and stuffed it down the front to get a rudimentary vision of what the final costume might look like. BEHOLD, THE VERY ESSENCE OF GRACE AND BEAUTY.
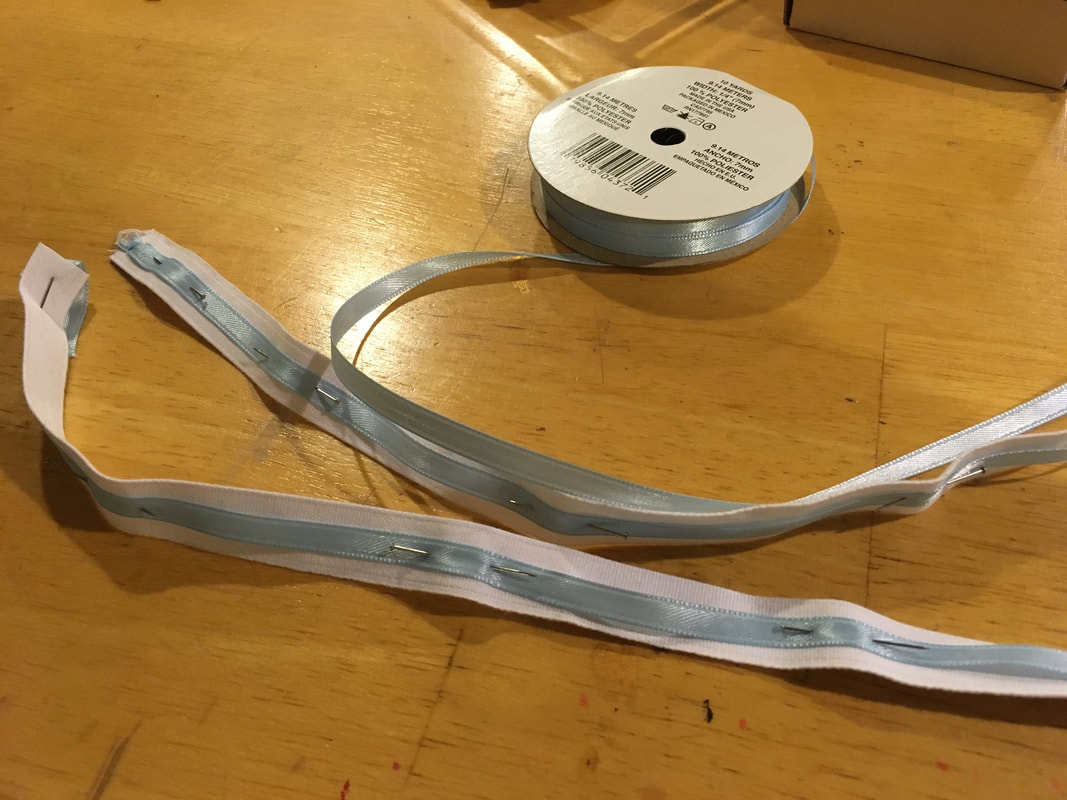
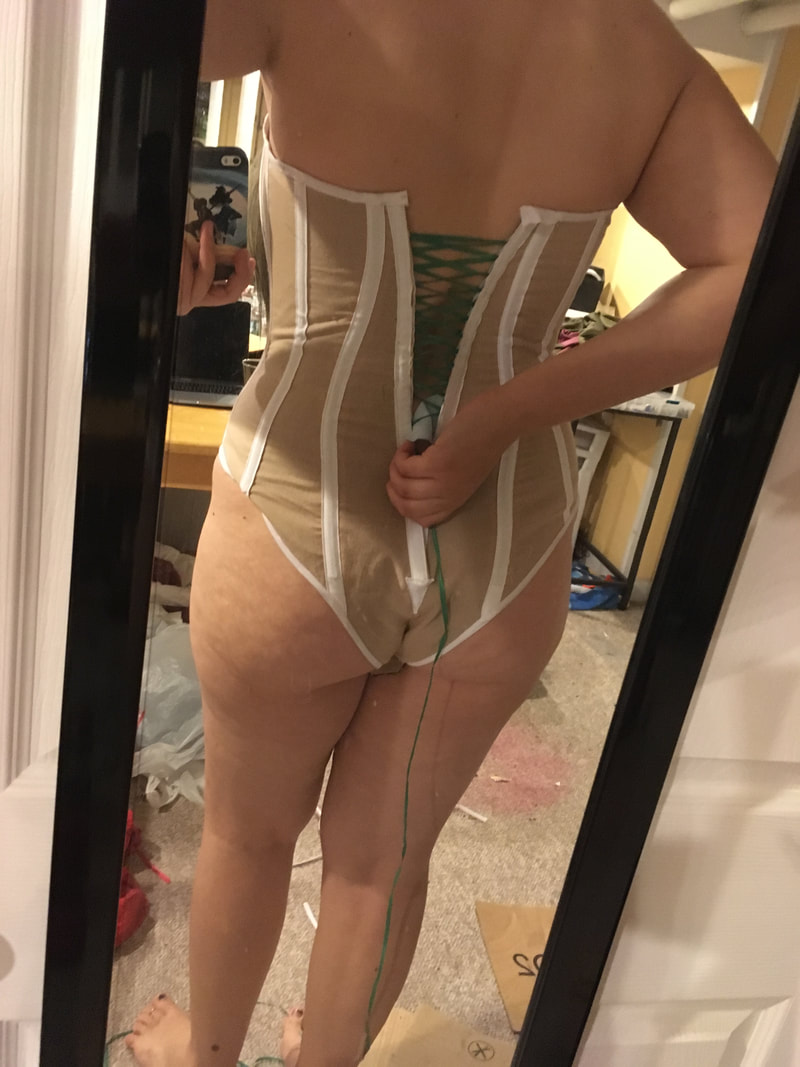
Next, I bound the leg holes in bias tape! I machine-stitched wide double-fold white bias tape I had on hand to the leggy holes. (The curves were much more manageable than the plunge neckline on the top half of the corset). The final touch was to add a clasp in the crotch region so I can, like… go to the bathroom without completely taking off the outfit and leaving it on the bathroom floor. I sacrificed an old bra for its clasps and attached them to the front and back. (I ended up having to take off almost two inches from the front; I definitely made the crotch strap too long). *rolls eyes* Okay, I’m done saying crotch now. You can stop giggling. Then… YAY, DONE! FINALLY! REJOICE!
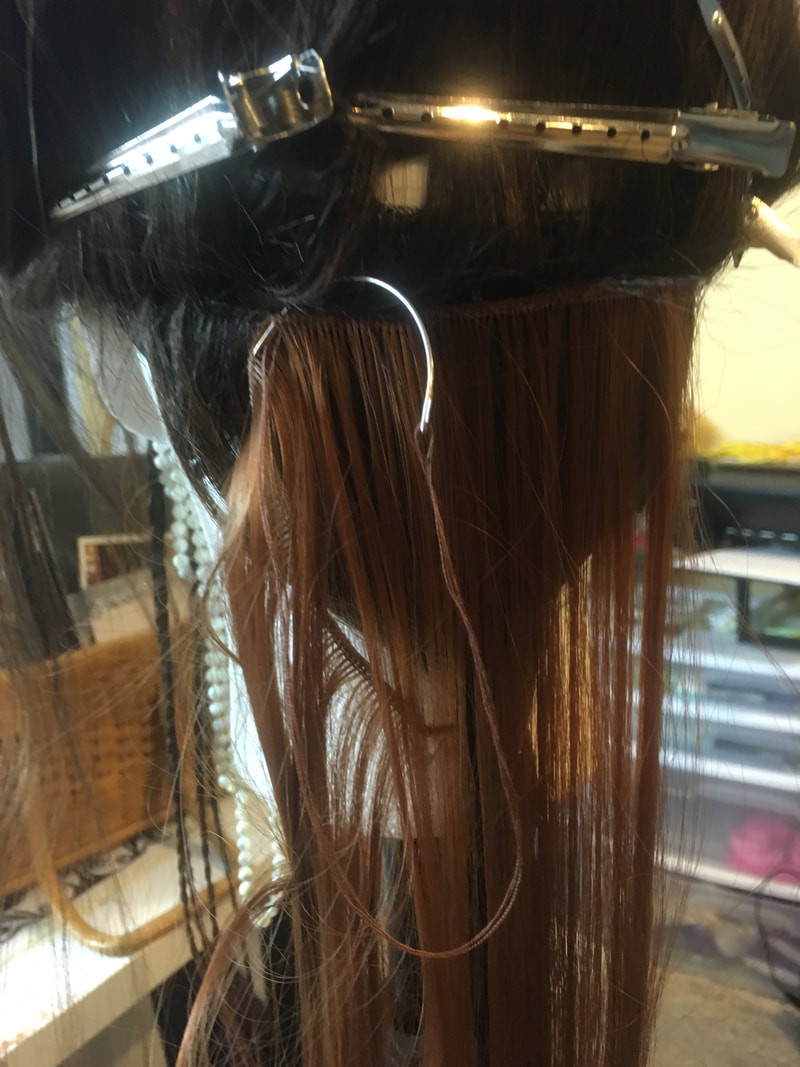
Aw yisss check out those risqué Patreon exclusive images. More available on the $3000 tier. Wig Experimentation (Don't worry, I have a permit)
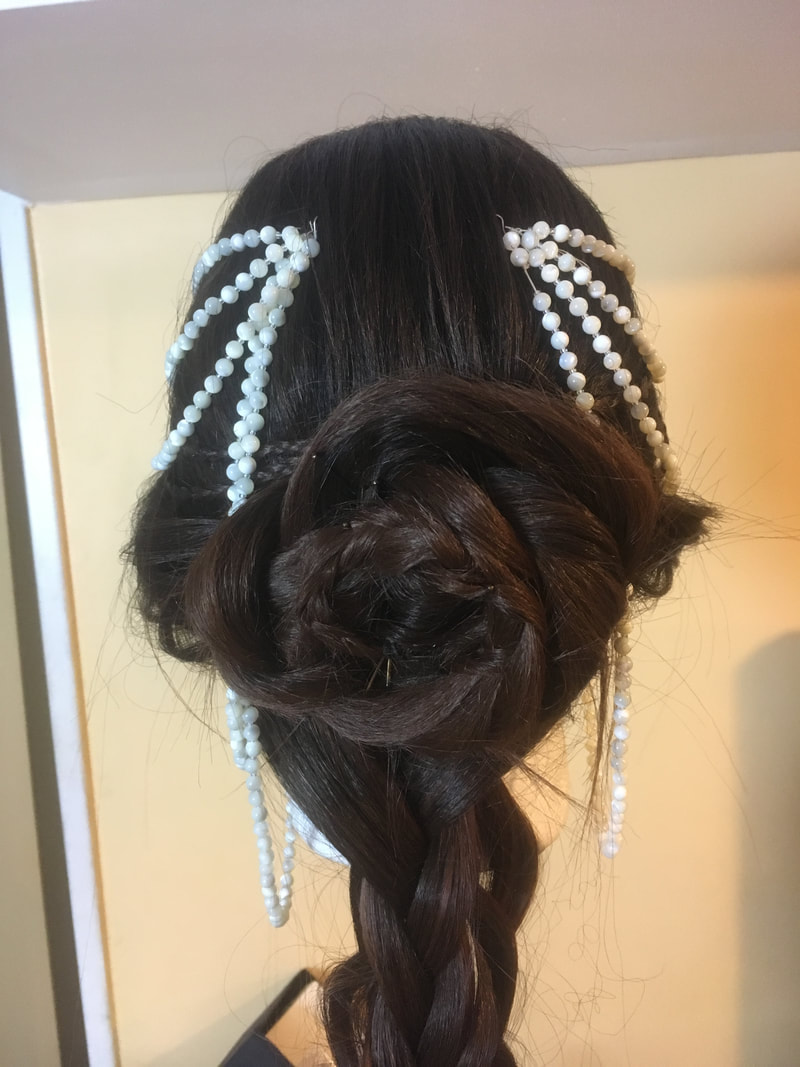
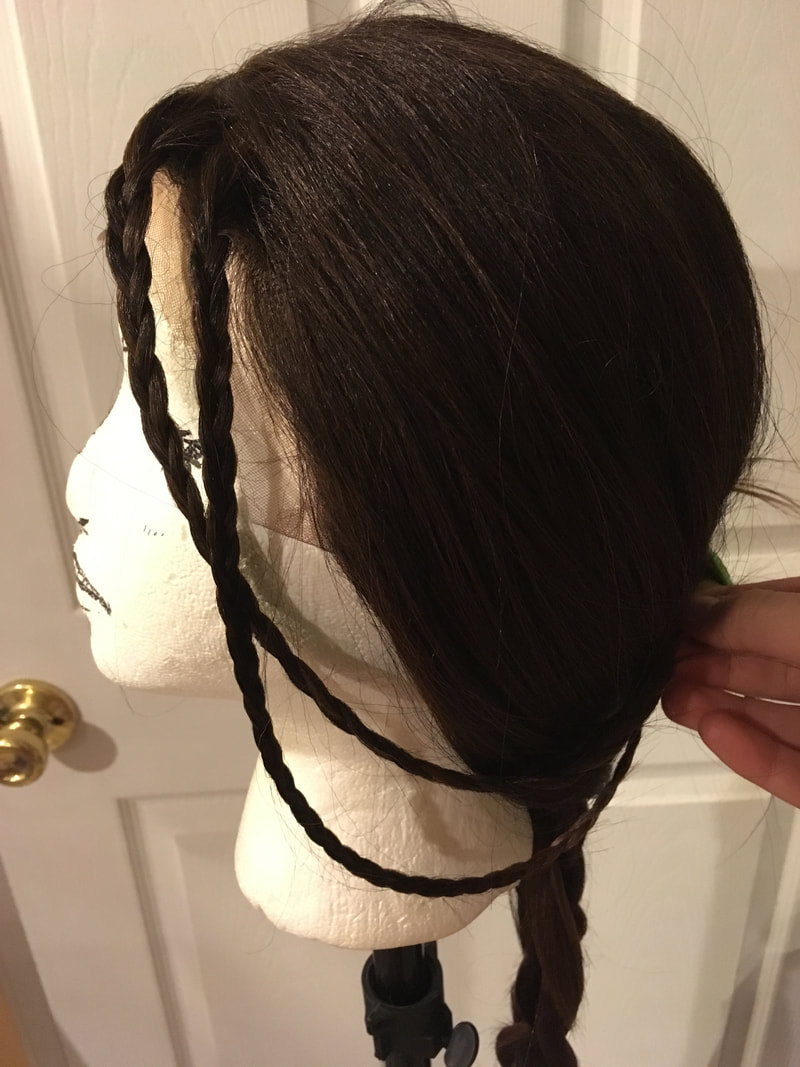
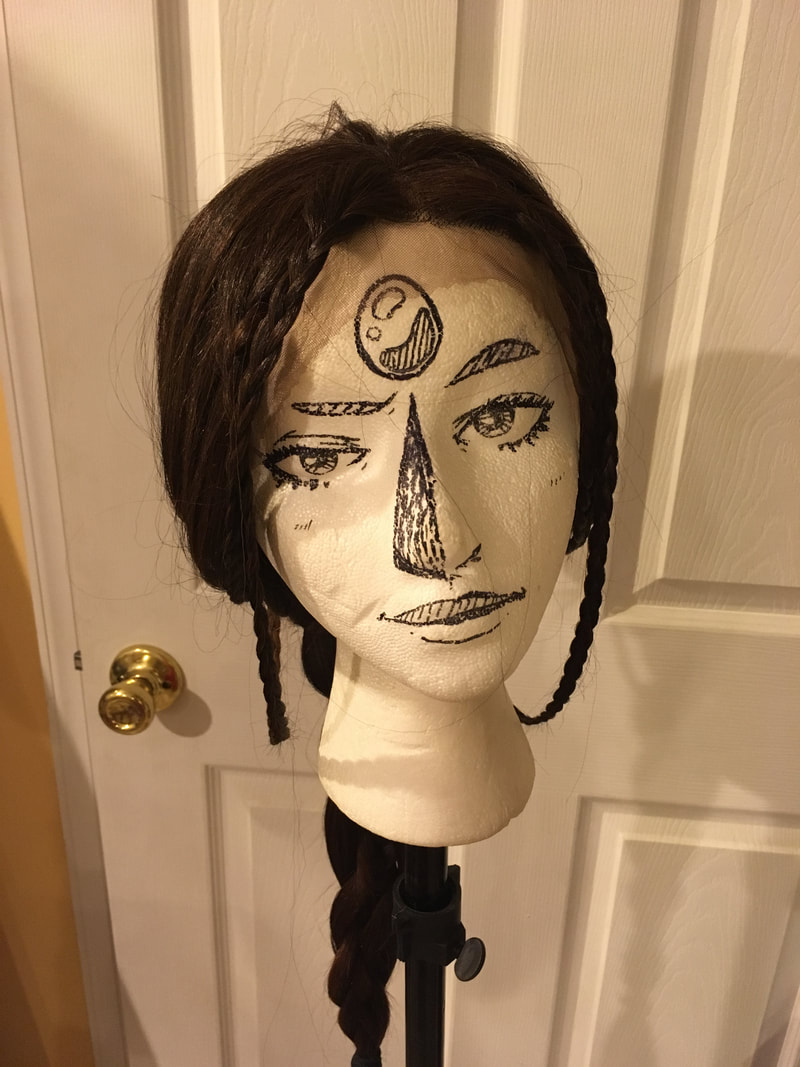
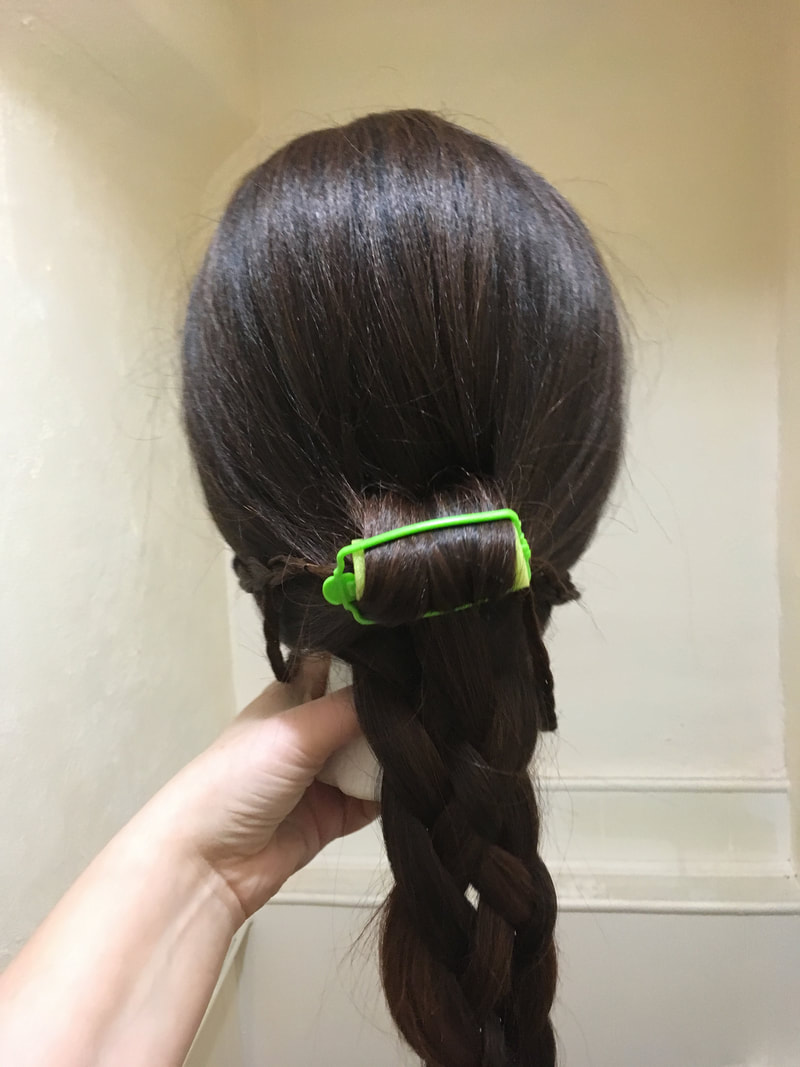
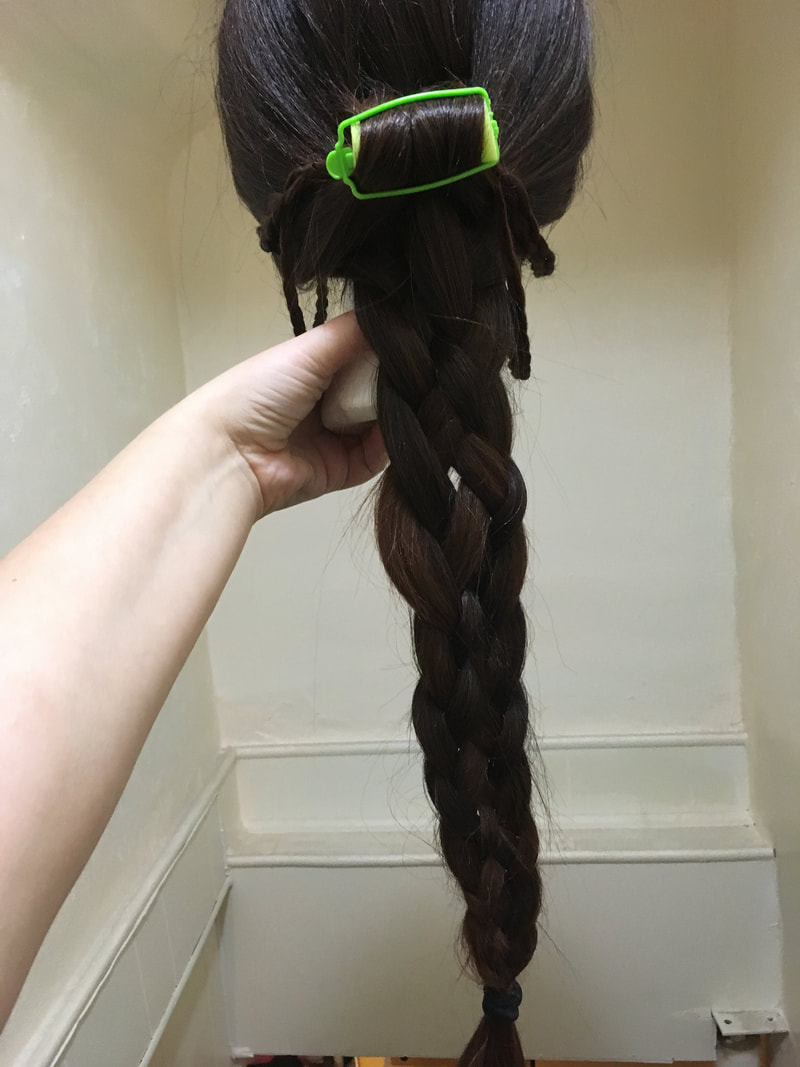
For the back, I grabbed the hair from the sides of the head and pulled it into a foldover ponytail wrapped around a hair curler (a stand-in for Katara’s roll pin), leaving the hair in the very back loose underneath it to hide the wefting. Then I tried a flat four-strand weave braid, which I really ended up enjoying. I need to redo it more neatly (as well as re-make the hair curler out of something other than neon green plastic and foam), but I’m overall very happy with the look of the wig!
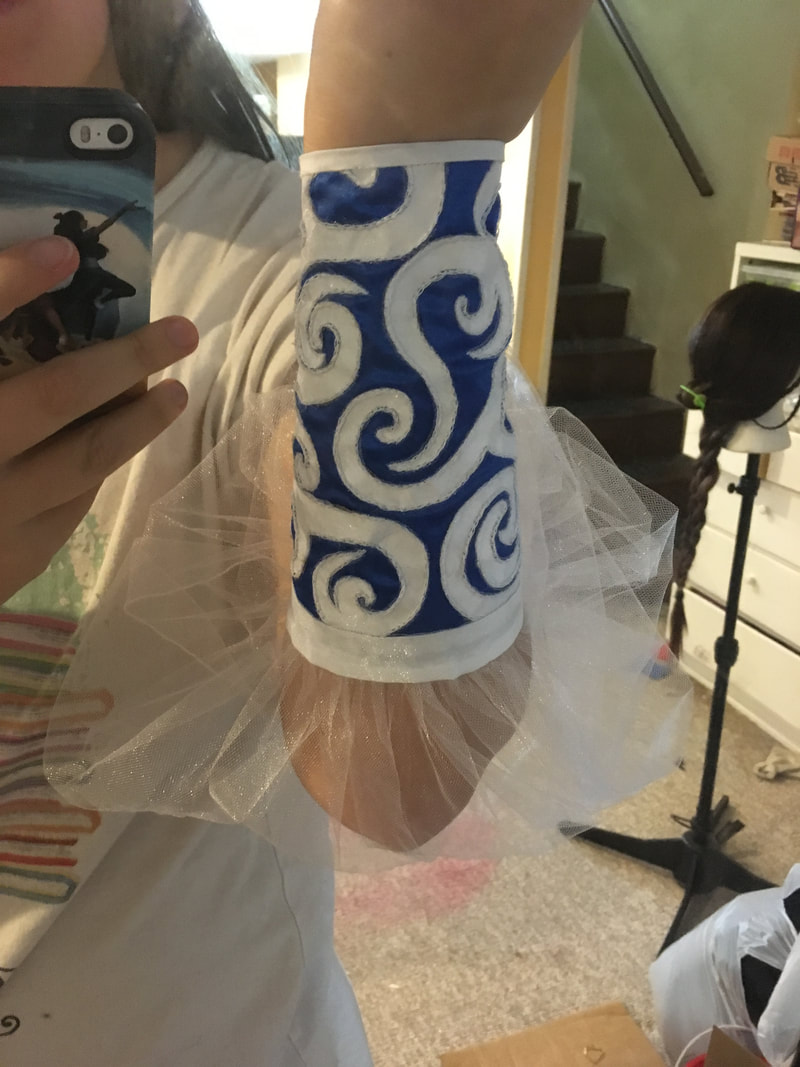
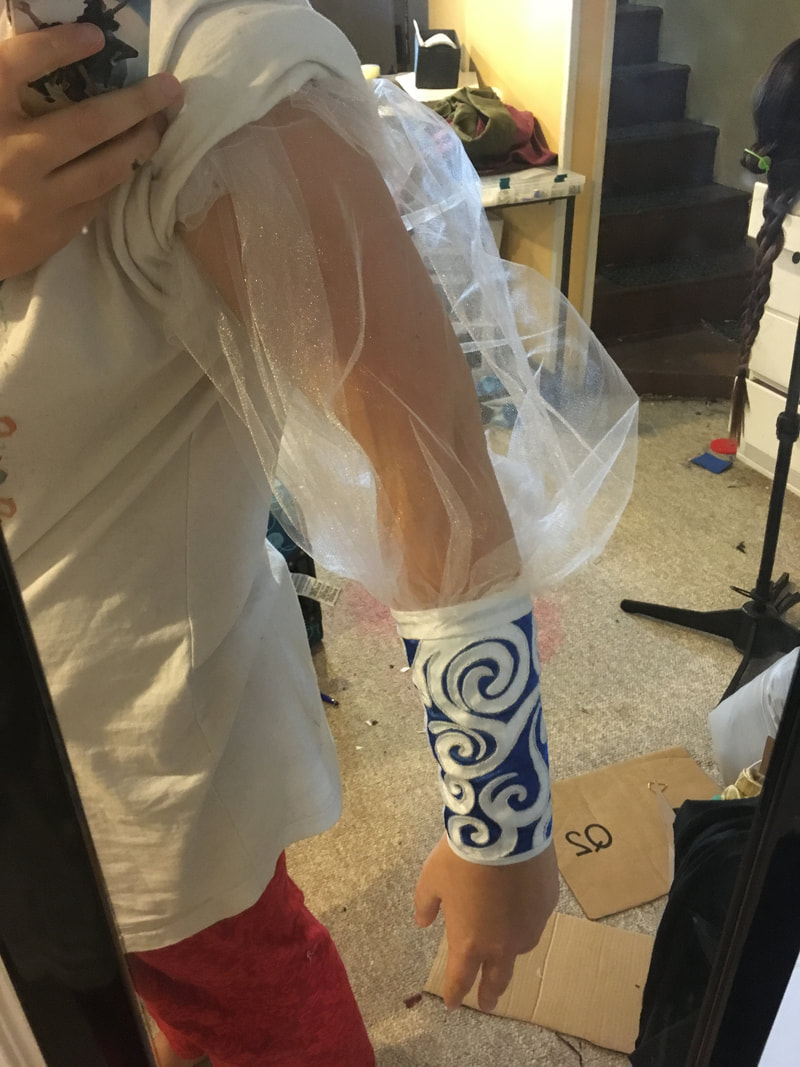
Sleeves! Aka FINALLY NO MORE EMBROIDERYThe main project of the weekend was the sleeves. You may remember that I was embroidering these for AGES, and I finally finished them! Now all that was left was to turn them into actual sleeves.
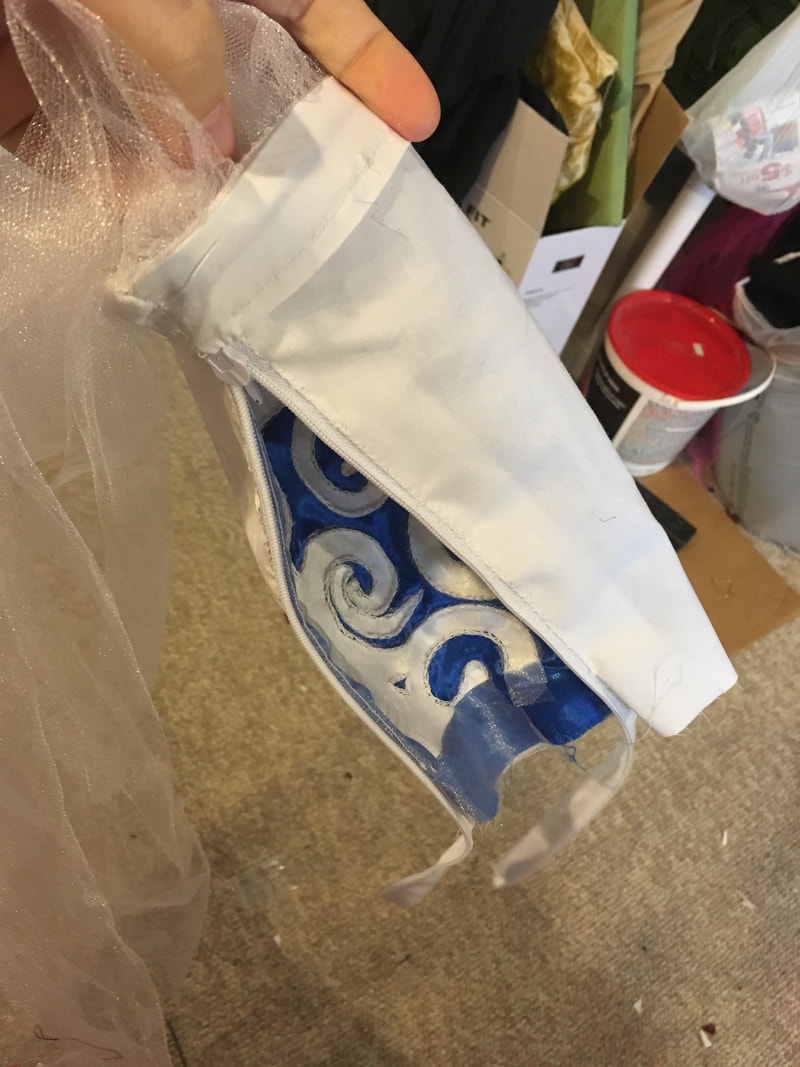
I then cut two strips of lining fabric in the same shape as the top of the arm cuff pattern. I placed the tulle inside it, then turned it inside out to hide the raw edges. This was then stitched down, like a sort of faux bias tape, to the top of the arm cuff and arm cuff lining.
Like I said, I'm not totally sold on how poofy the sleeve is. The silk gauze is going to look *much* flowier! Photoshoot: Snowy Daenerys!Brad Behles Photo came up this weekend to do some wintery shoots around the area, and we set up a little studio in my living room! I did some makeup and had a cute outfit (and stole my roommate's Funko Pop Drogon, Viserion, and Rhaegal. I'm sure she'll forgive me...)
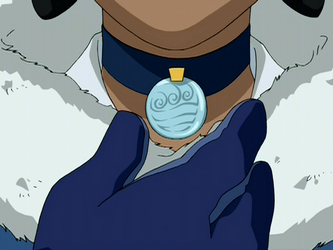
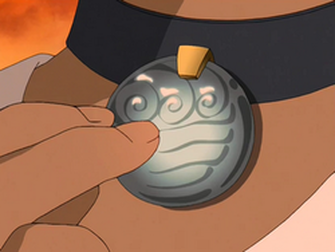
 Those photos should be coming out really soon! I'll keep you updated c: And that’s it for this week! Next week (Dec 4-11), I’m focusing on draping the upper half of my Katara dress! Katara's necklace is a fundamental and iconic part of her design. It was given to her by her grandmother and signifies Katara's dedication to her family and loved ones, and is a significant plot element several times throughout the show. It was carved for her by her almost-grandfather as a betrothal necklace for Katara's Gran-Gran before she fled to the Southern Water Tribe. I mean, I would too, if my fiancé lacked that much creativity. C'mon, Pakku, you carved the Water Tribe's logo onto a necklace to give to your potential wife? That's like putting the American flag on your wedding ring... which, now that I think about it, has probably been done before. 'Muricah. I got off track. It's a pretty necklace! Let's make it!
|
Ginny Liz StorytimeEntirely too much rambling about costumes, but if that's your thing... Archives
October 2018
Categories
All
|


 RSS Feed
