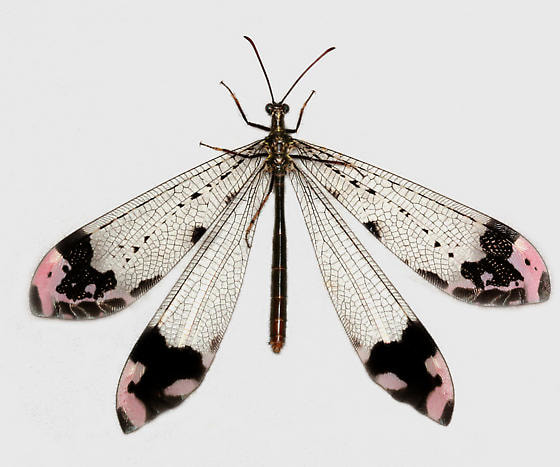
 The final chapter of the Space Faerie saga: the wings! As I mentioned in the last post, I based the wing design on an insect glenurus gratus, a species of antlion whose larvae are decidedly cooler than the winged adult version. Leaving that aside for now, here's what they look like:
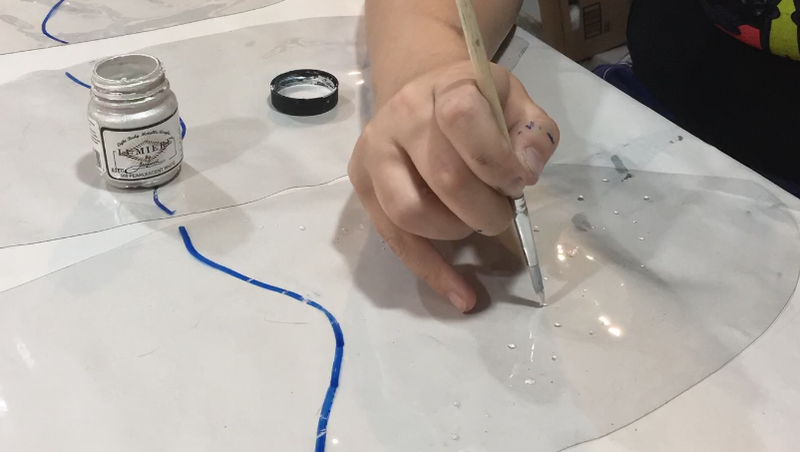
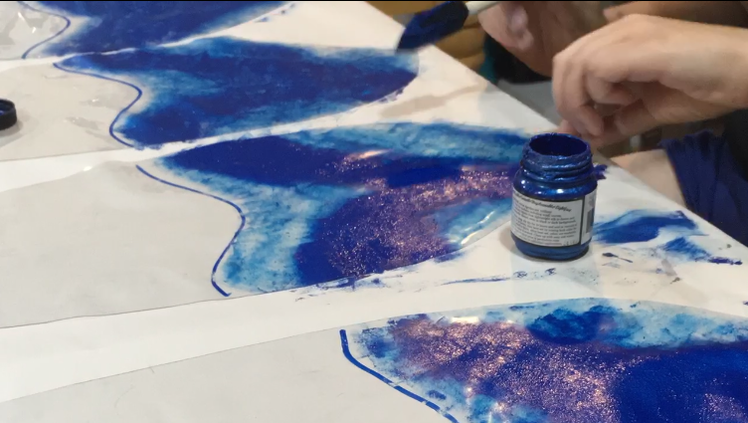
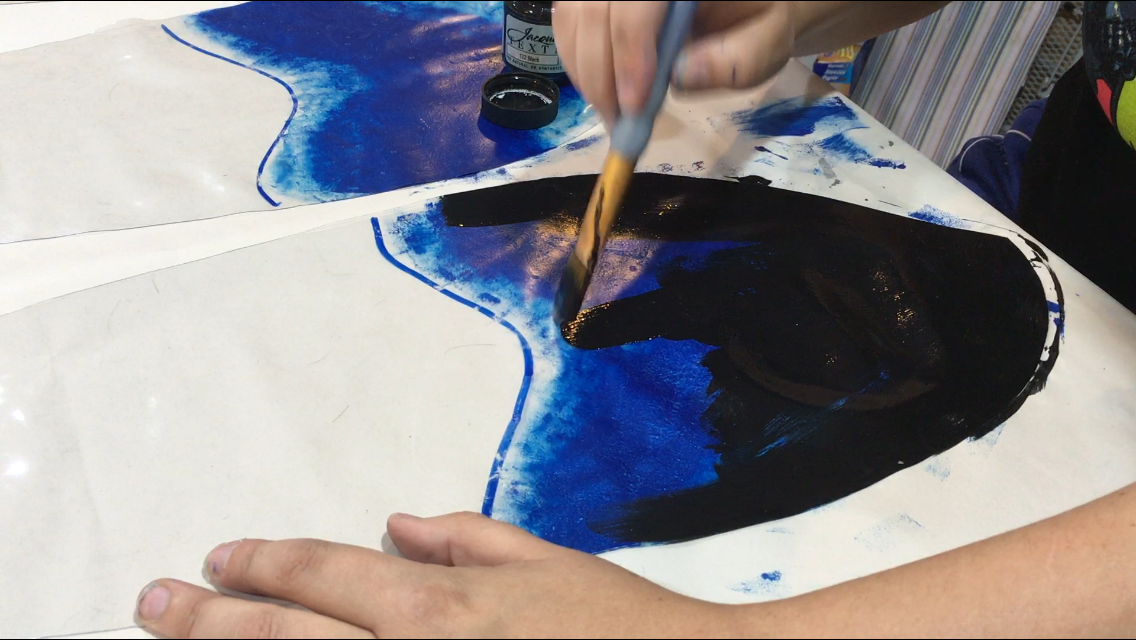
I saw this insect's wing and my brain immediately jumped to nebulae, or stellar nurseries of dust and gas where stars are being born! Hence, perfect for space shenanigans. I was at a loss as to how to actually *construct* the wings for the longest time. Cellophane? Too flimsy and hard to work with. I finally settled on an entirely new method, one that I haven't seen at all throughout my internet travels! I used clear vinyl in a fabric weight, only about 1mm thick. I started by printing out my digital pattern onto printer paper and taping it together. I went with a wing length of about 28", the same length as my "travel" wings that I took to Denver Comic Con. 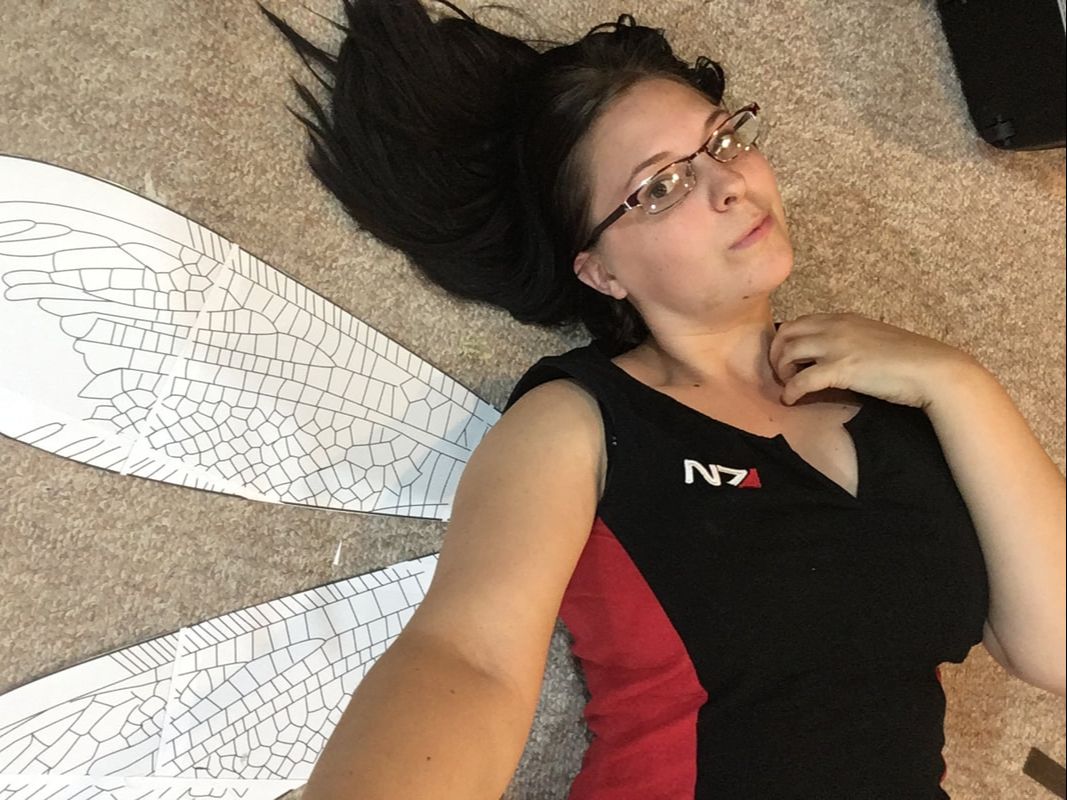 I then cut a front and a back piece out of vinyl for each wing by folding the vinyl in half, tracing the pattern with a dry-erase marker, and snipping with some very sharp scissors. I had to be very careful to make sure all the wrinkles were absent from the vinyl before cutting; a single small wrinkle on one side of the wing would throw the entire alignment off when I tried to sandwich them together after painting! 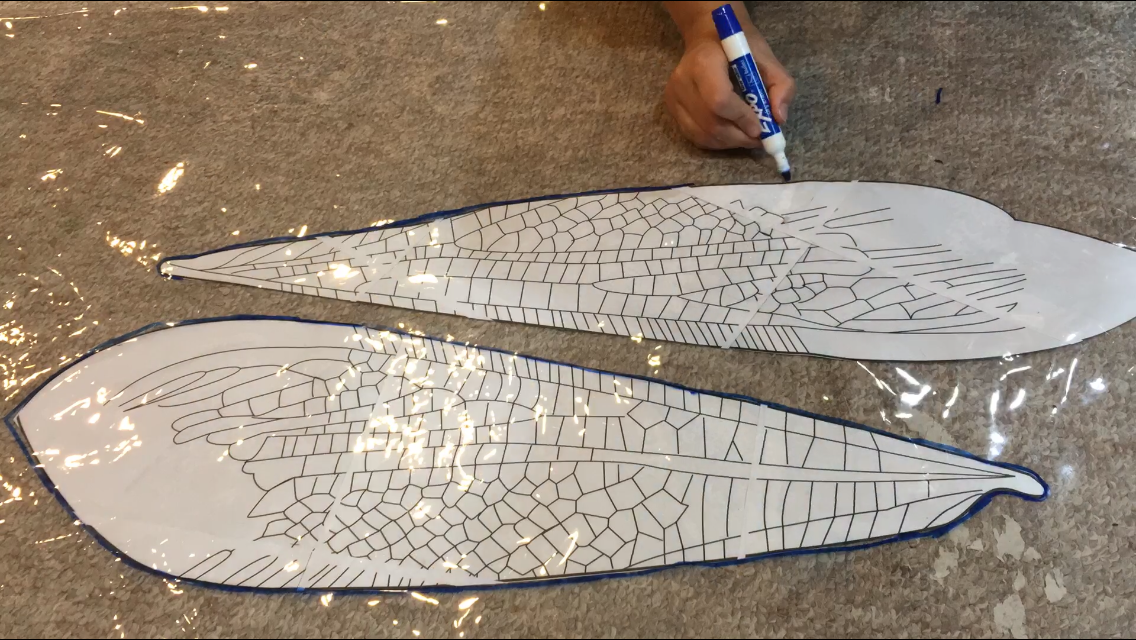
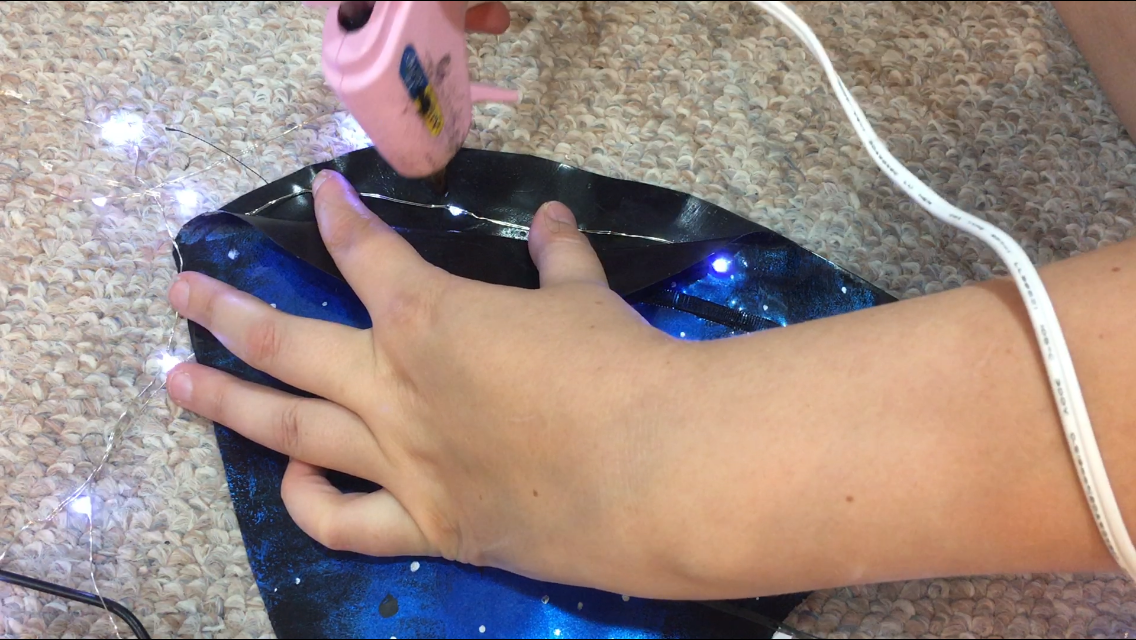
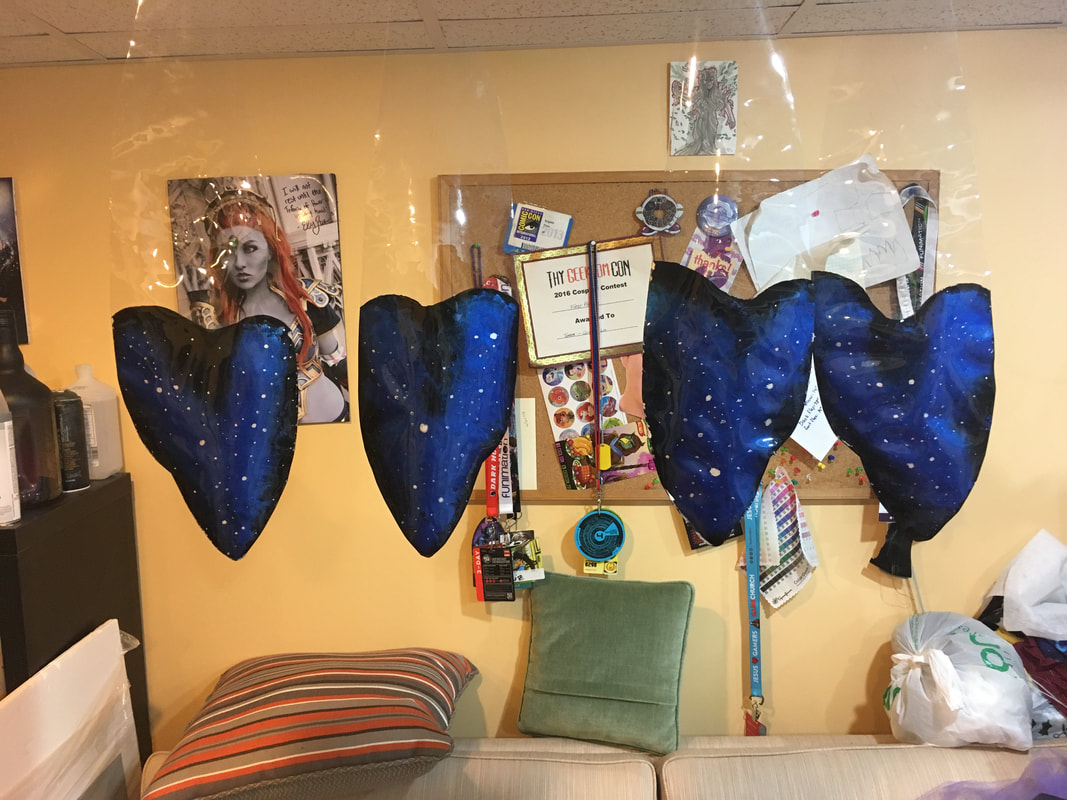 I let the wings dry for a full 24 hours before stitching them together. I started with the two major vein near the top of the wing, using a satin stitch on my machine -- a stitch with a length of almost zero and a width as high as I could get it! This created a channel in between the two wings, which later would serve as the housing for a supporting wire. 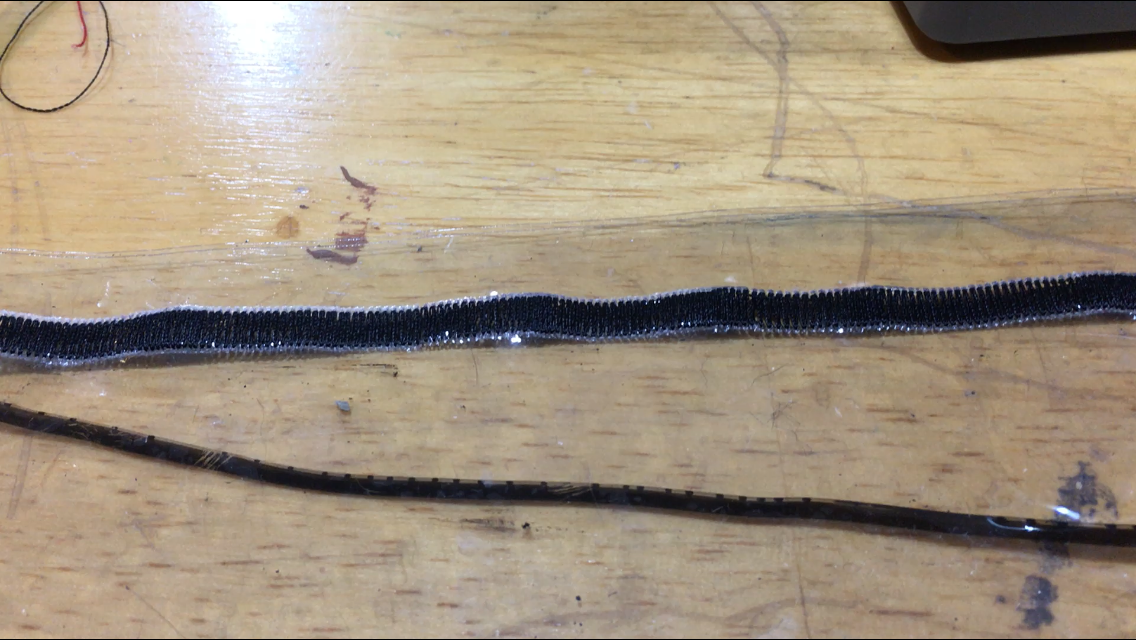 Once the first vein was stitched in, I started adding the lights! One 15m strand of pre-programmed lights was enough to cover two full wings. Placing the lights in the wings involved two separate processes: hand-stitching the strand to the long veins in the clear part of the wing, and then cutting holes and hot-gluing each individual light into the painted part of the wing.
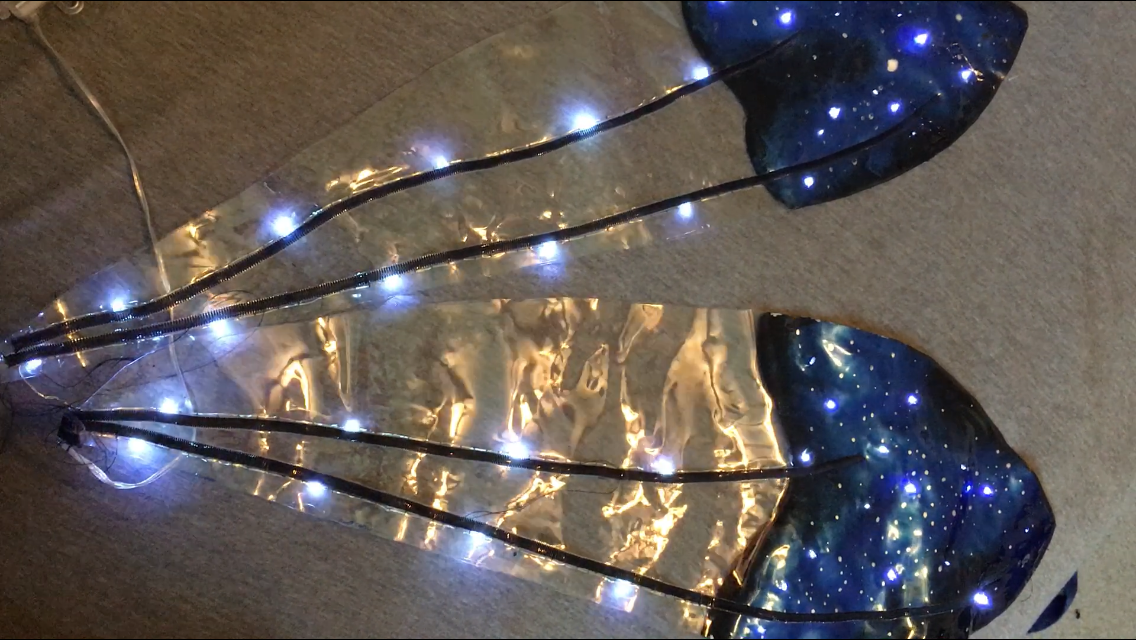
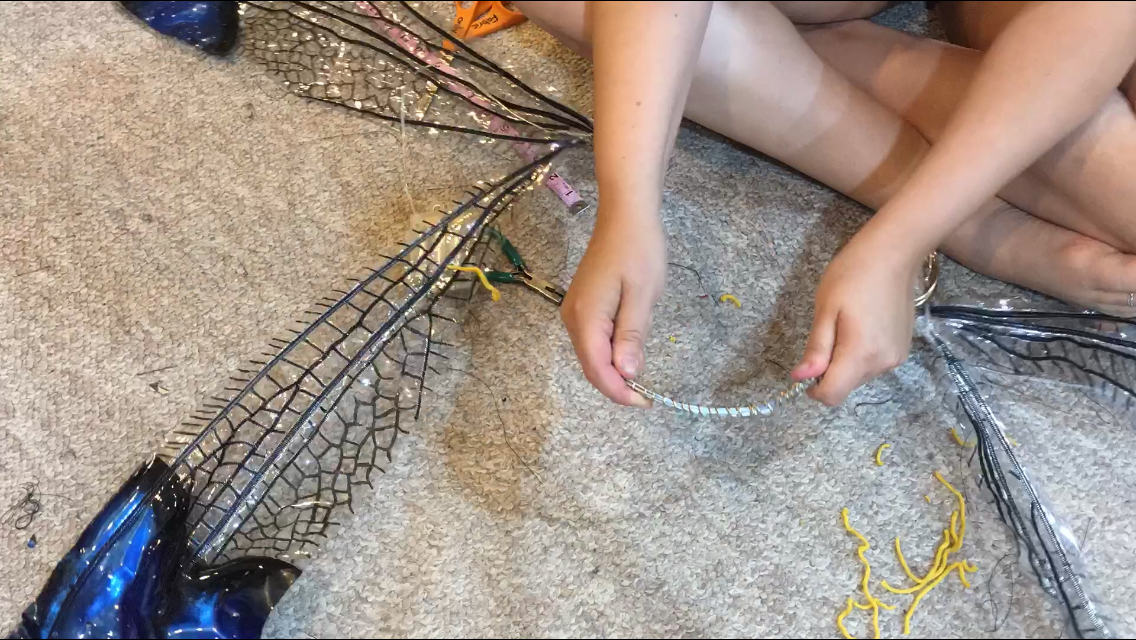
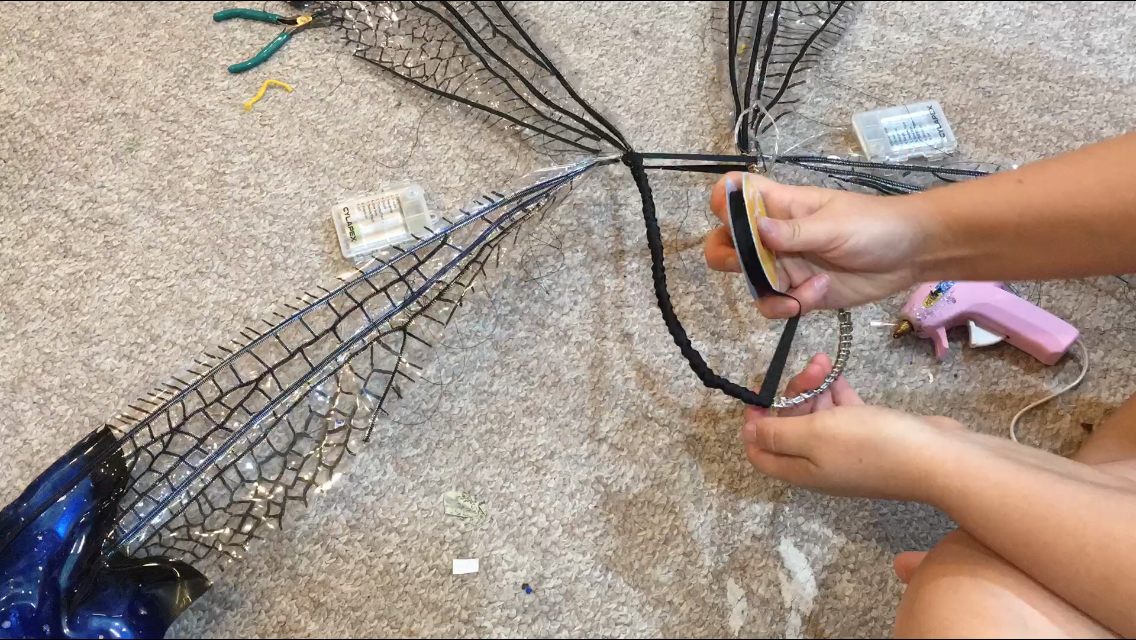
The lighting process took a pretty significant amount of time, but the end result was totally worth it! Once the lights were in, I was able to stitch the other big vein of the wing and the other small wing details. I started by thinking I was going to machine-stitch all of the individual veins, but that ended up not working for three reasons: first, it was incredibly time-consuming. One wing would have taken 4-5 hours just to stitch! Second, my machine was being a huge butt and kept creating a million snags. This was especially frustrating because I couldn't just pick out the knots and start over; the needle made irreparable holes in the vinyl, meaning I had one shot before the seam integrity was compromised and I would end up with a hole in my fabric. Finally, I was too lazy to tie off all the individual strings, and as a result, the one section I did detail with a small satin stitch started to fray and look really gross. 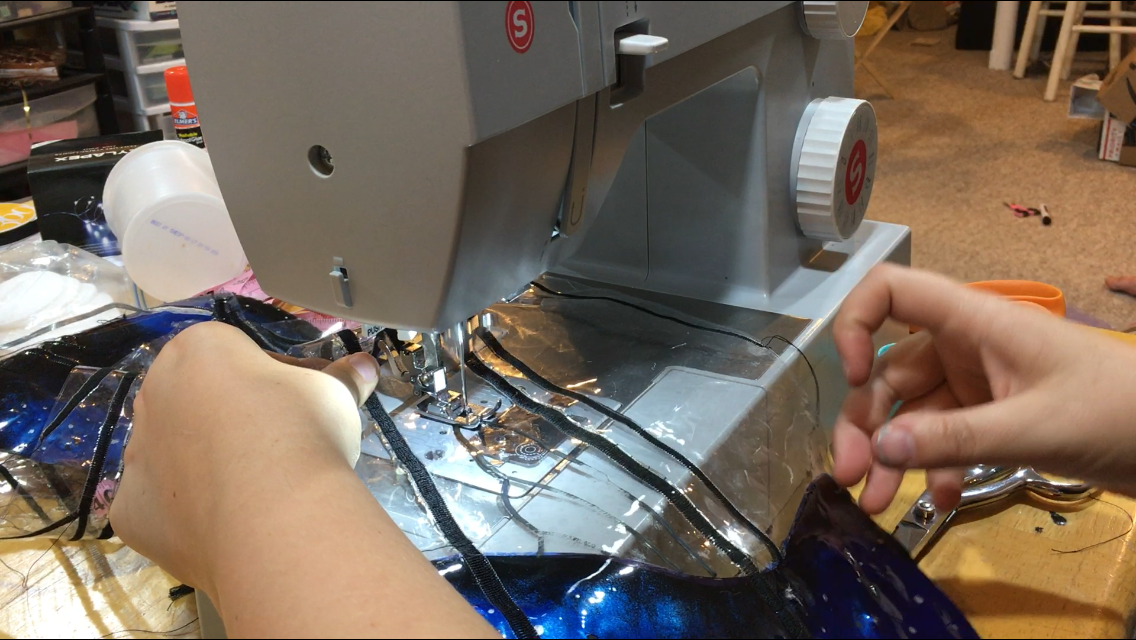 In the end, I decided to satin stitch the major veins and use marker to do all the small vein details. In the future, I may use puff paint to add dimension, but the marker was great for the photoshoot! Once the details were in, it was time to add the stainless steel wire. Adding the wire was by far the most time-intensive and frustrating part of these wings. I killed my finger muscles and accidentally punctured the vinyl several times with a wire tip that was jagged from the bolt cutter I used to snip the wires. 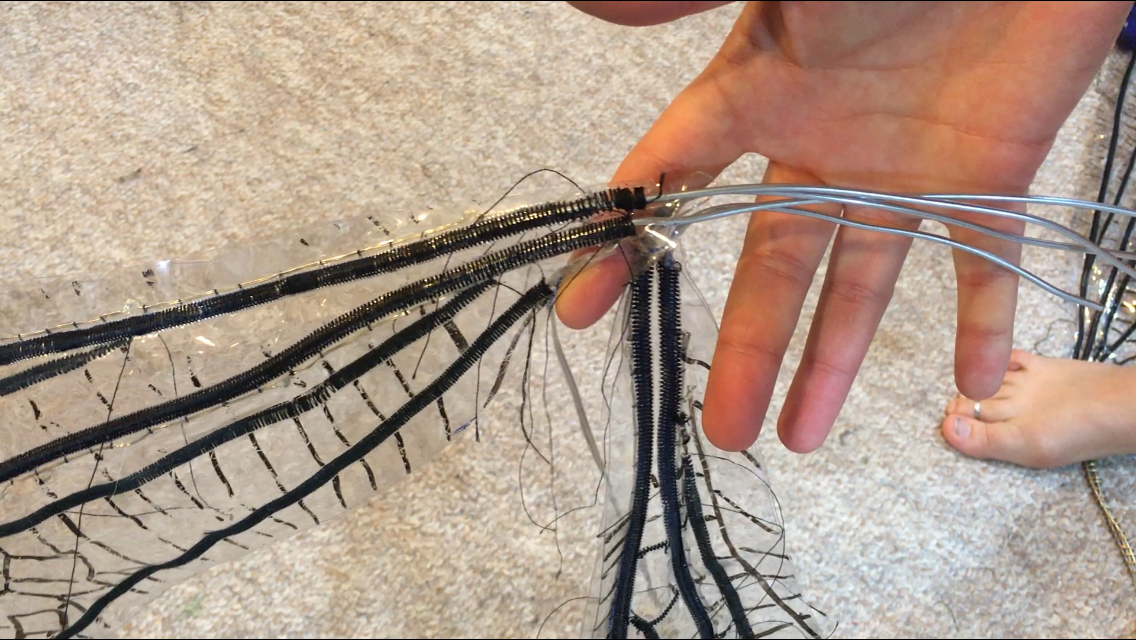 The end result was two wires per wing, or four wires per side. I used these for a classic way of mounting wings: a 'U' shape of wire bent into the back of my support garments. At this point, the wings were *really* heavy so I wanted to make sure I had a strong support. The "U" shape ended up being 24 inches long! I took my wires and lined them up end-to-end. I snipped the wires so that the support structure would always be exactly four wires thick: where the wire from one side ended, I snipped a wire from the other side to meet up with it exactly. 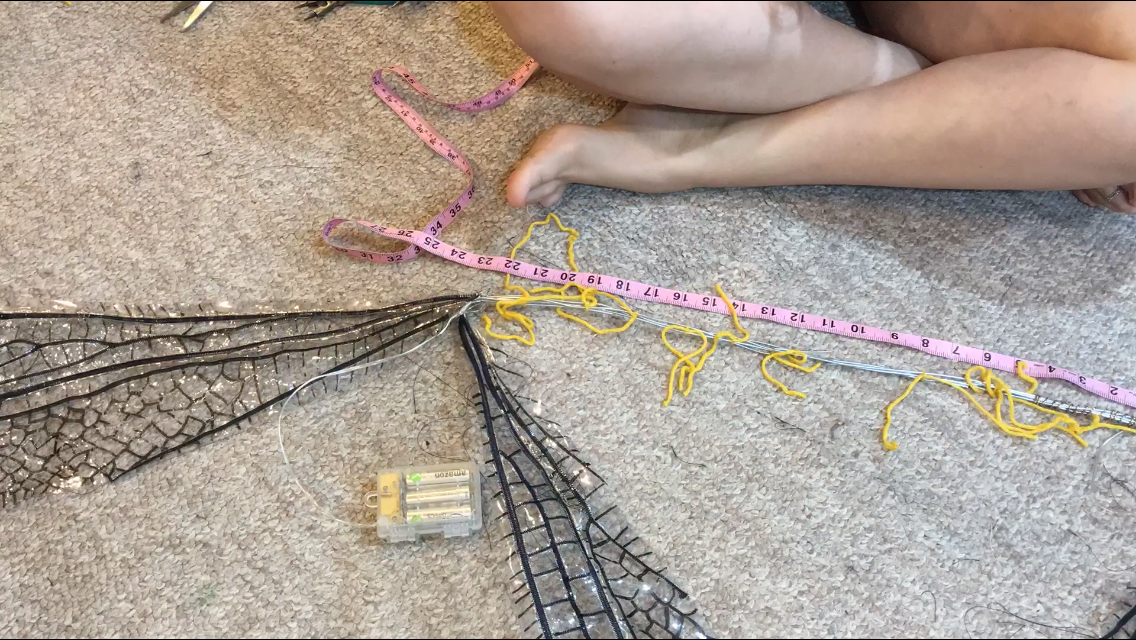 I then wrapped the stainless steel support wires with a lighter, more flexible craft aluminum wire and bent the whole thing into the "U" shape. I finished it off with a bit of ribbon wrapped around the wire frame for comfort, as well as adding a support ribbon at the base of the wings to keep them from sagging off to the side.
Ta-Da! Wearable wings! I finished wrapping the U-brace and was getting ready to try them on for the very first time, so I flipped on the lights in anticipation and... only one side lit up. Upon further inspection, I accidentally tugged a little too hard on one of the battery packs and it straight up fell off the lead wires to the LED string. WHOOPS, I was just a bit too rough with it! 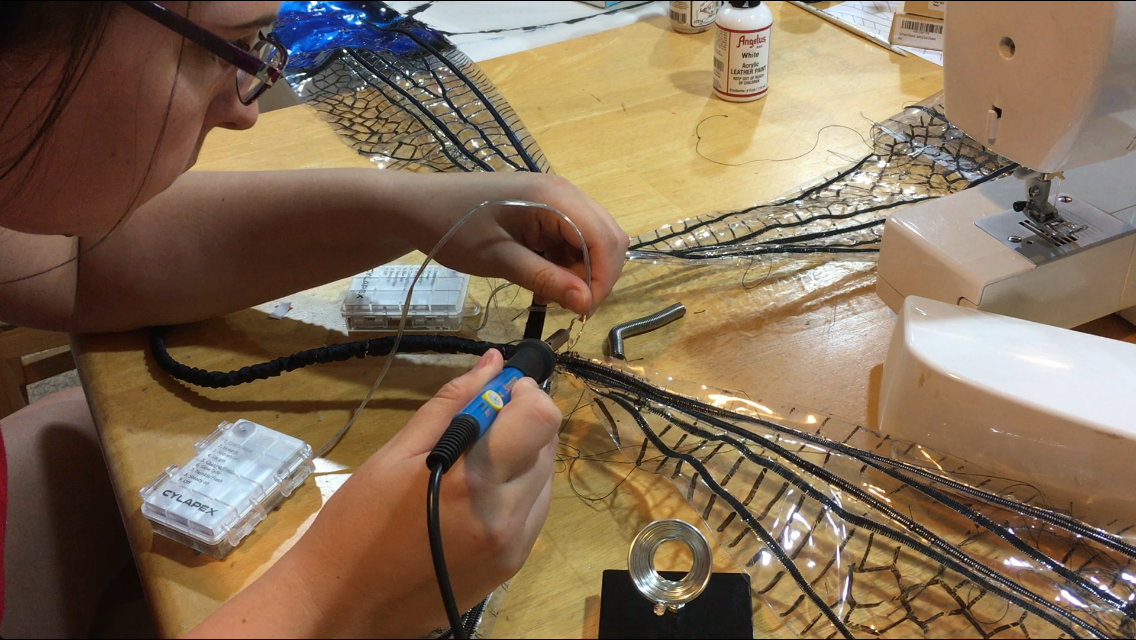 Luckily, it was an easy fix -- all I needed was a soldering iron. Unfortunately, I didn't have one a t the time, so I had to quickly order one from Amazon and wait a few days. Once it arrived, I unpackaged it and got to work! The repair only took about five minutes, and then the wings were DONE!
0 Comments
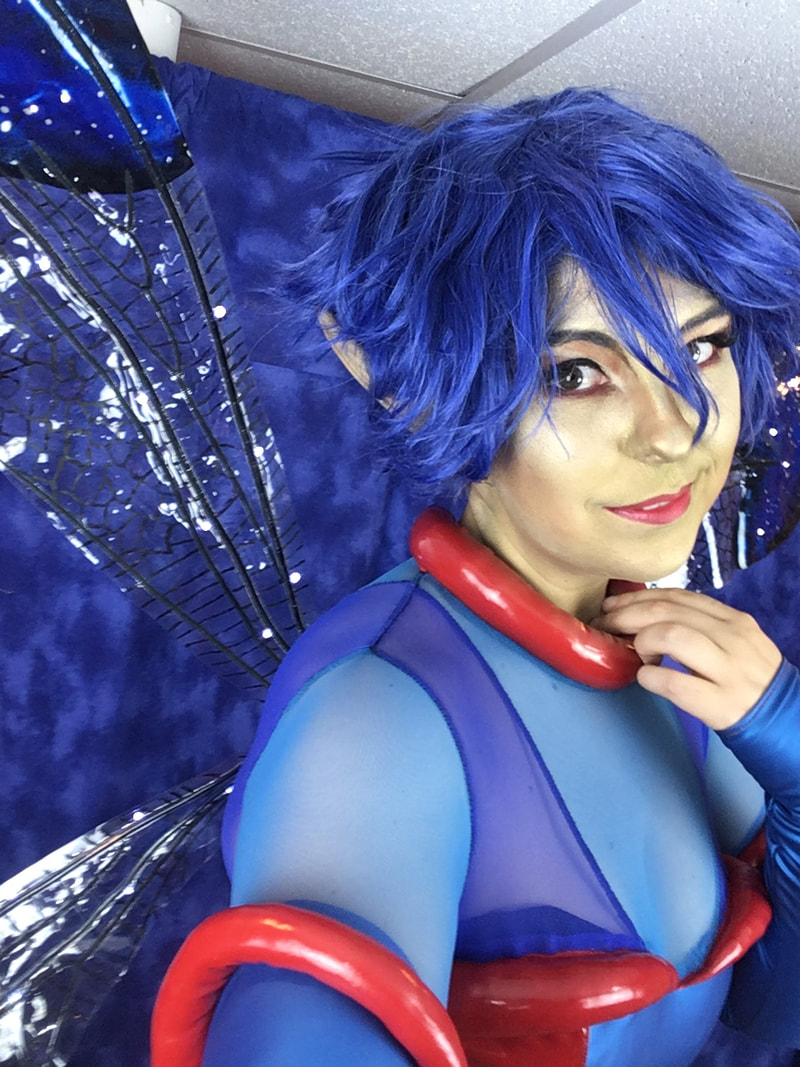
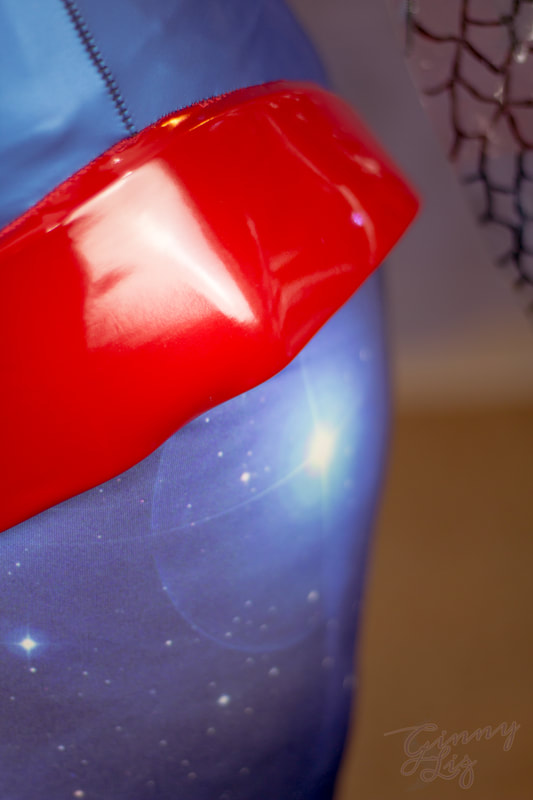
 Hello friends! Thanks for supporting my Patreon for the Space Faerie project! As part of your rewards, I promised some detail shots of the costume... so here they are! Enjoy! We start with the gloves: deceptively simple-looking contraptions, these things are surprisingly hard to take on and off!  Next we have some of the puffy details that cover the costume; this particular one is at the top of the bodice. Polyfill stuffed into fabric tubes gives the dimension any 80s sci-fi designer would be proud of! 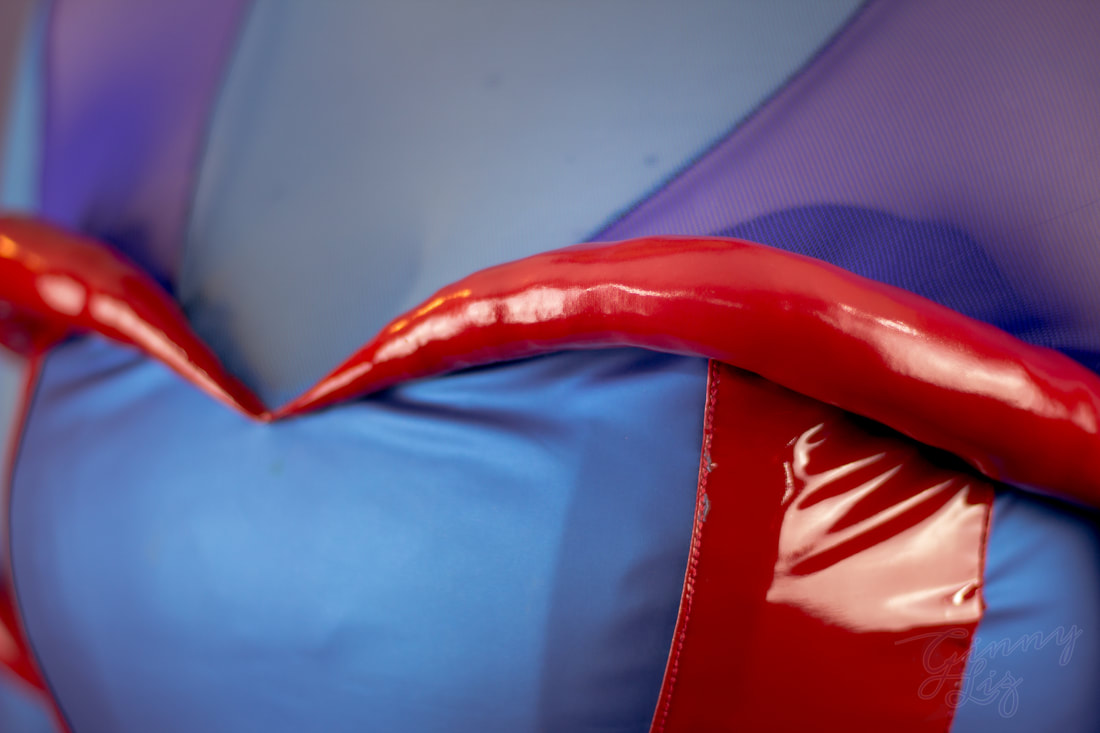 Moving down, you can really see the appliqué stitched down to the front with a triple chain stitch, which retains stretchiness without the need for a tacky zig-zag stitch! You can also see some of the hip pad details off to the side. 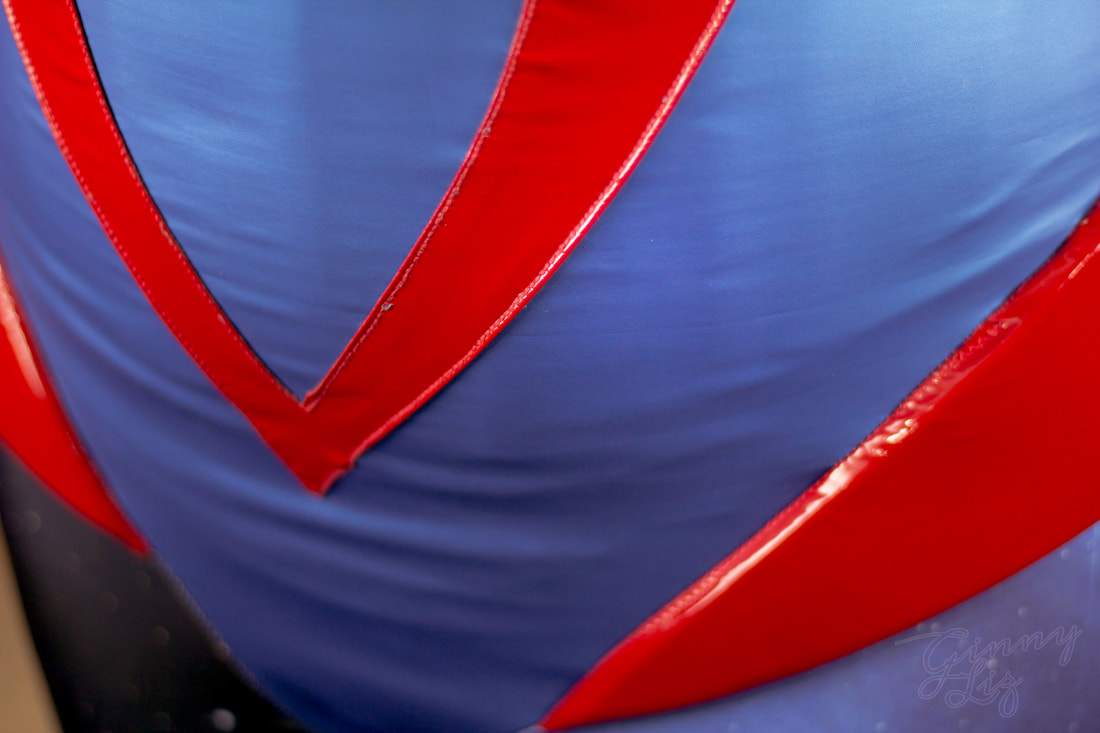
Sticking muh leggy out real far reveals the beautiful Pleiades star cluster scattered across my space pants.  The leggings and boot covers are one and the same, with the leggings extending all the way down to seamlessly cover my favorite pair of comfortable convention heels. 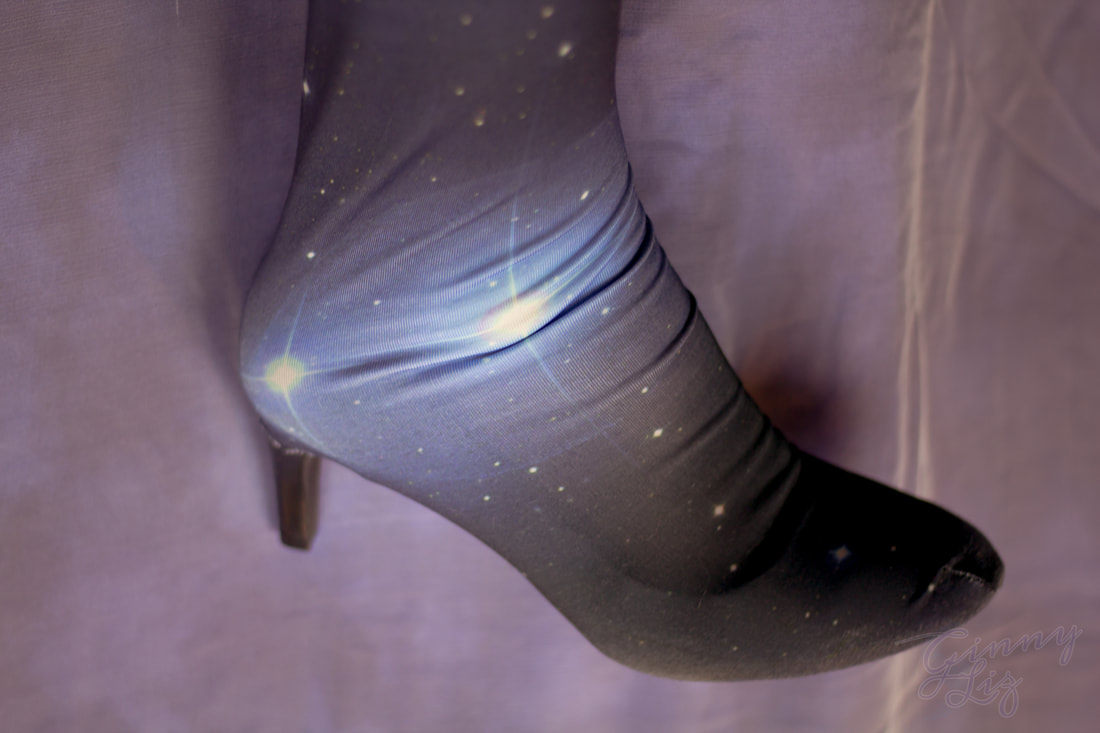 The wings are vinyl with custom painted galaxies on the tips! And, of course, they light up real pretty. Satin stitching forms the channels for structural steel wire. 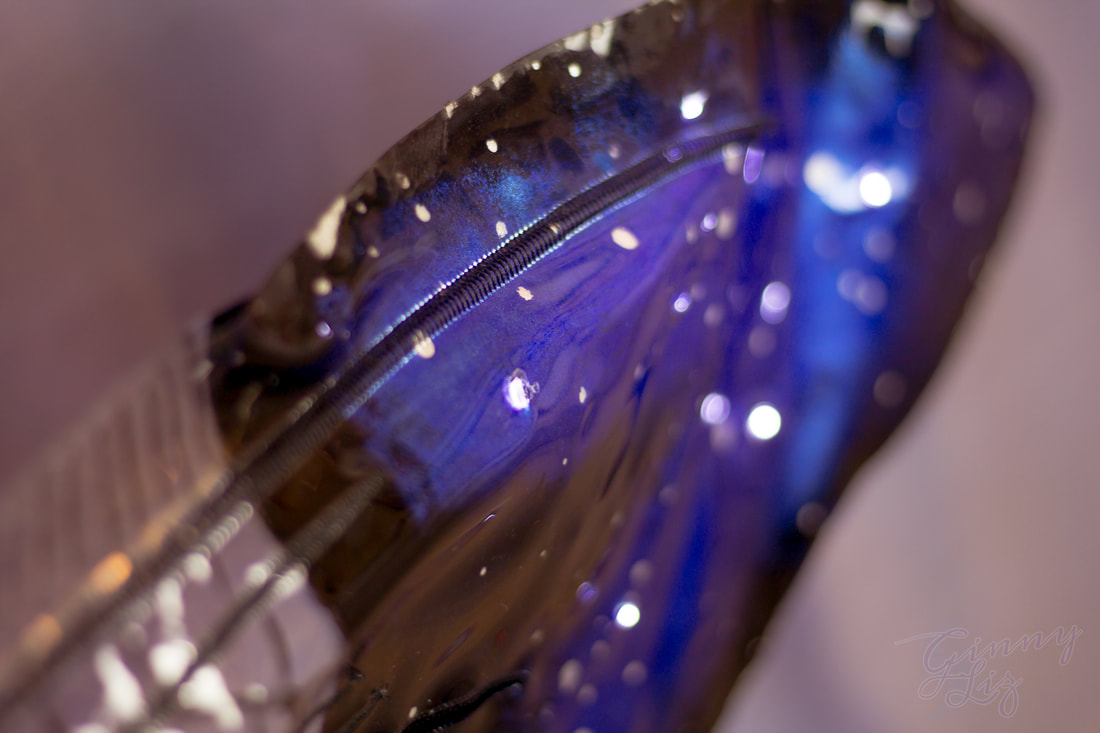 More decorative stitching creates the vein details. Both the shape and details of the wings are inspired by the antlion species glenurus gratus. 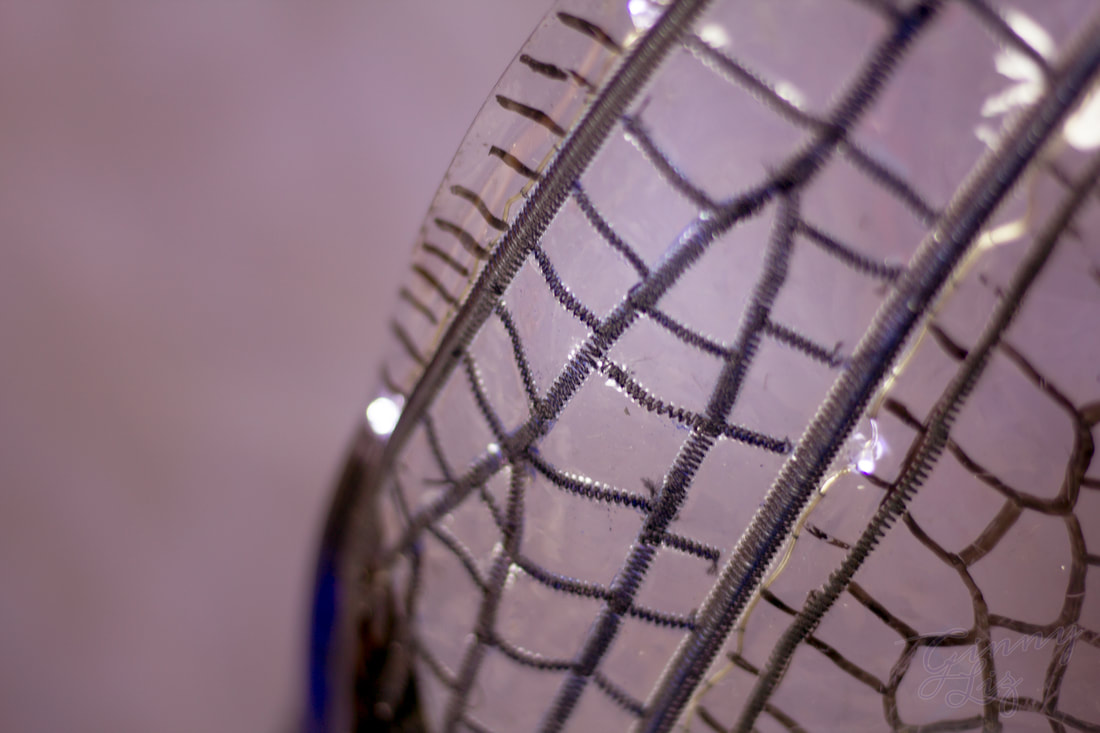 And finally, we have a pair of incredibly cheap latex ears sourced from the 2017 Spirit Halloween clearance! They're cheap, but effective against the wig, an Arda Magnum in Dark Blue. 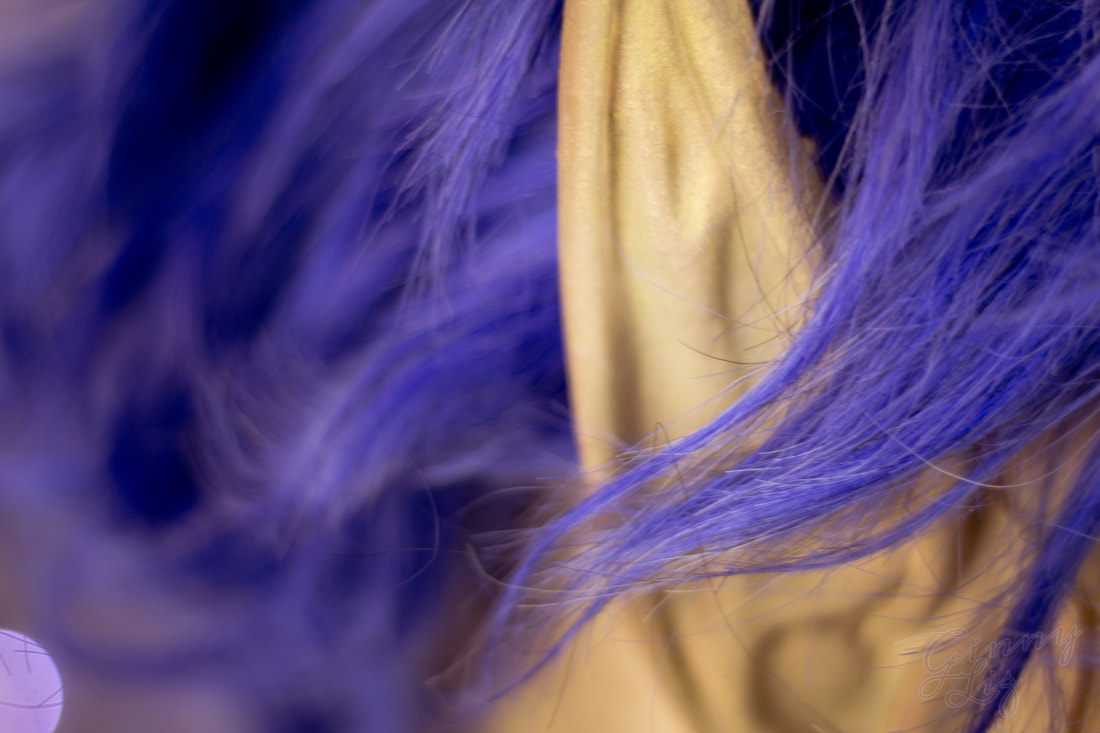 That's it for this costume's detail photo gallery! I hope you enjoyed the various space bits!
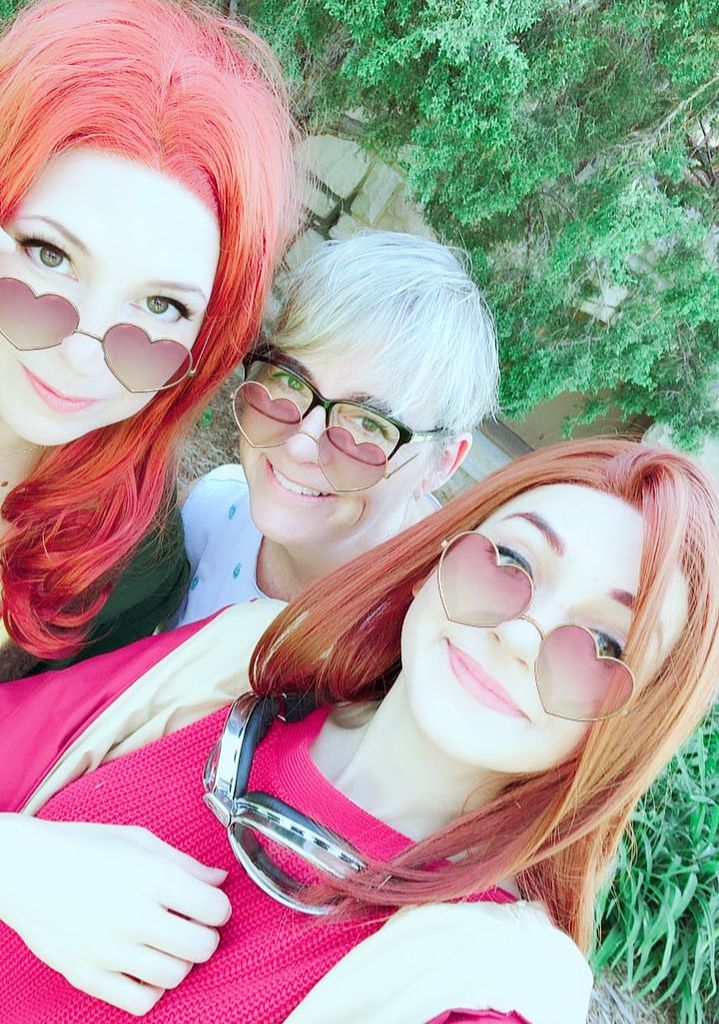
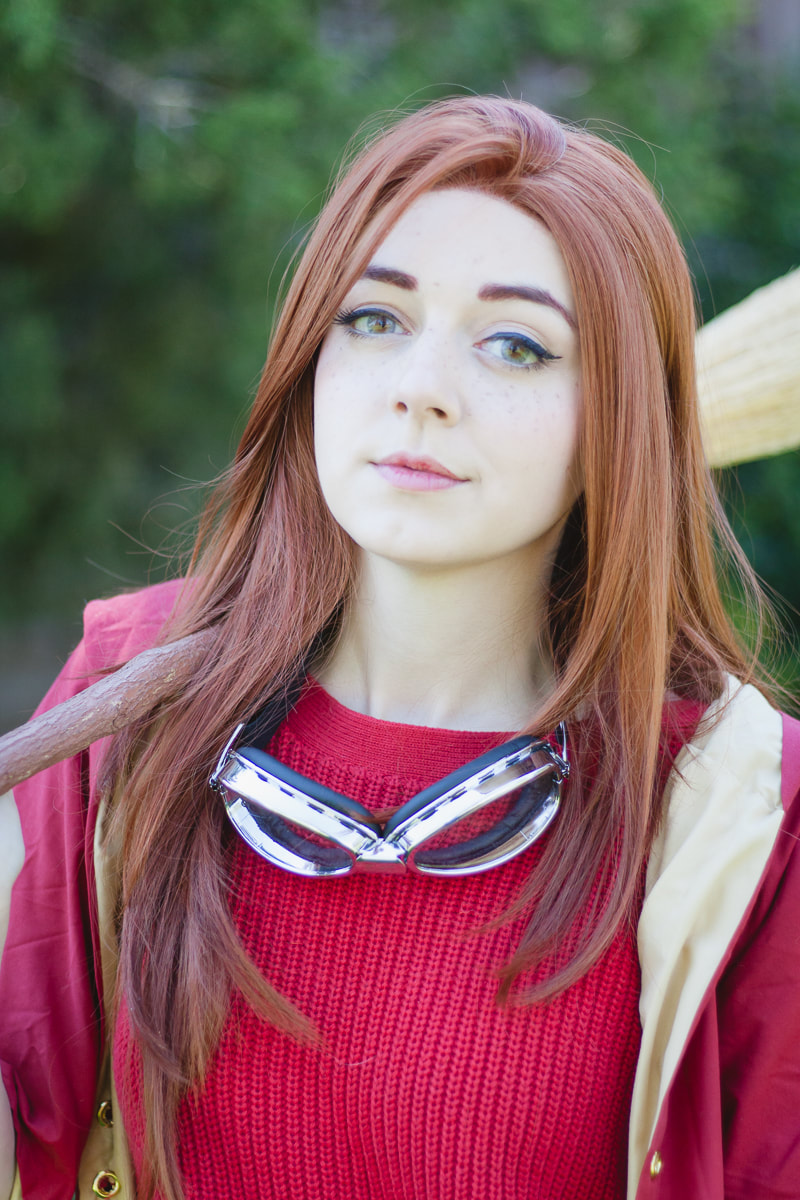
My Colorado trip was full of cosplay! In the two days Ginny Di made her Grey Faerie, I kept myself busy by making some Quidditch robes. These particular Quidditch robes will be the base for my newest costume: Adult Ginny Weasley, Chaser for the Holyhead Harpies (it's canon). And since I was visiting another Harry Potter-obsessed Ginny, it only made sense to cosplay as Ginny Weasley together! I re-used the first pattern I ever made, McCall’s M6818, aka the Queen Regina pattern. This pattern has princess ears up the back and sides, which meant it would be flattering and form-fitting! I’ll eventually lace it in the front, but for now it’s just pinned. 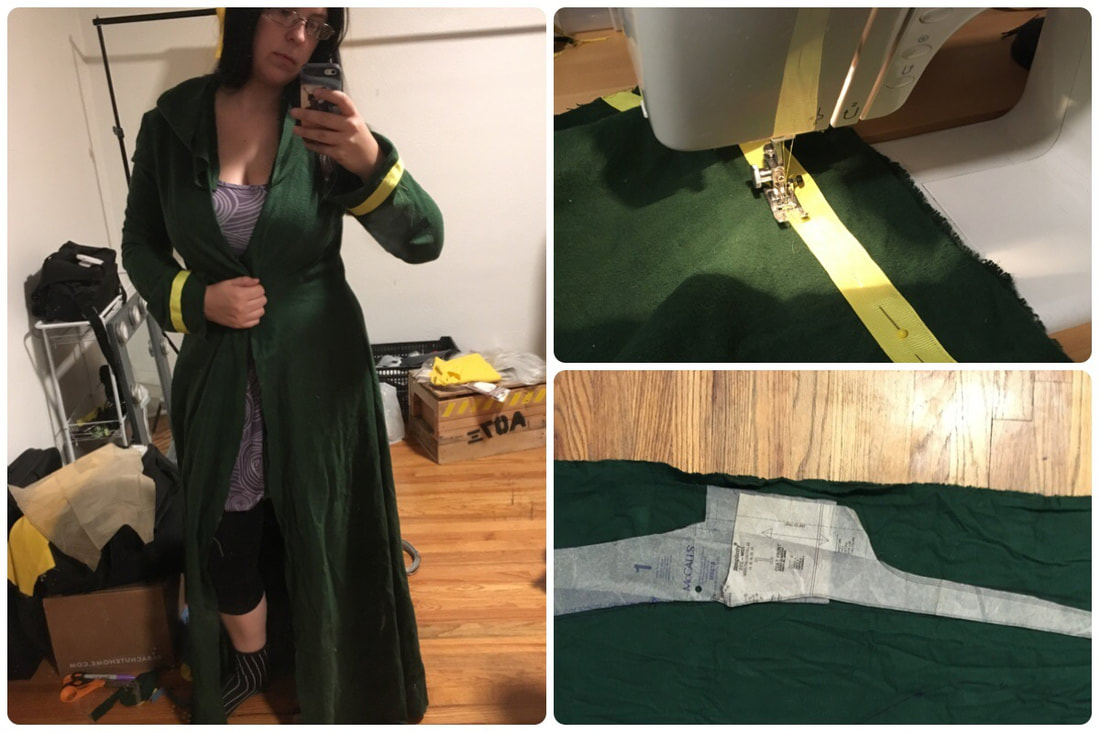 It has large iron-on varsity letters stuck to the back, thanks to a random stash Ginny Di found in her craft room! Ginny Weasley doesn’t have a canon Harpies number, so I chose 07 because (a) 7 is considered a magical number, and (b) Ginny is the 7th Weasley child! The shoot itself was on the same day that I my flight left from Denver back to Philadelphia, so we were working on a bit of a time crunch! We woke up at 6AM and drove to Ginny’s parents’ house, which we used as a staging ground for preparations. At around 9 AM, we headed out to the Highlands Ranch Mansion, one of Ginny Di’s favorite photoshoot locations, and it’s not hard to see why!  Pictured: literally Hogwarts It was pretty toasty by the time we started shooting at 10AM, and the sun had already climbed high with no clouds in sight! This meant we had to stick to the shade, unfortunately keeping some spots out of our reach.
We started with a few individual photos in some bright green grass somewhat reminiscent of a Quidditch pitch with some bushes and sneaky stone wall in the background.
We did one of the cliché 'lying on your back with your friends' photos, which we both anticipated to be horrible due to our perceived lack of chins, but everything went better than expected (and these are some of my favorite photos from the set!) 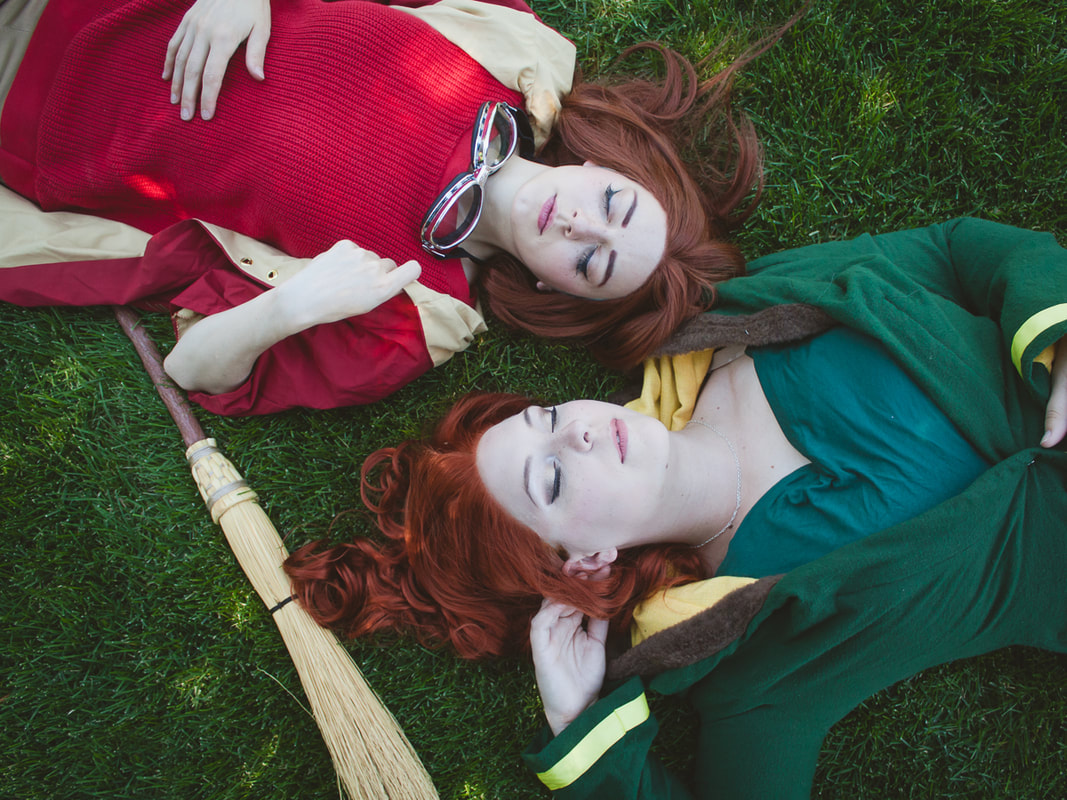 Fun fact about this shoot: We tried to make a Quaffle the night beforehand. It turned out... horribly. Spheres are incredibly difficult to make, even more so on a time crunch! So we settled for using a soccer ball with the expectation that a Quaffle will be Photoshopped in later. 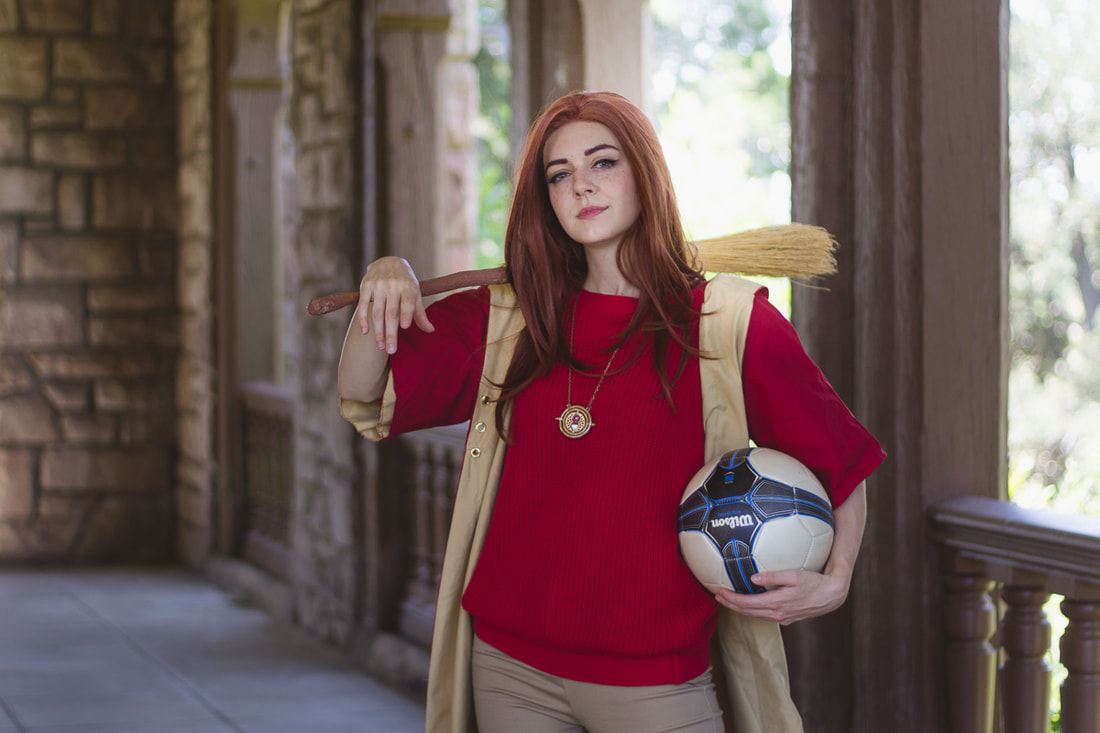 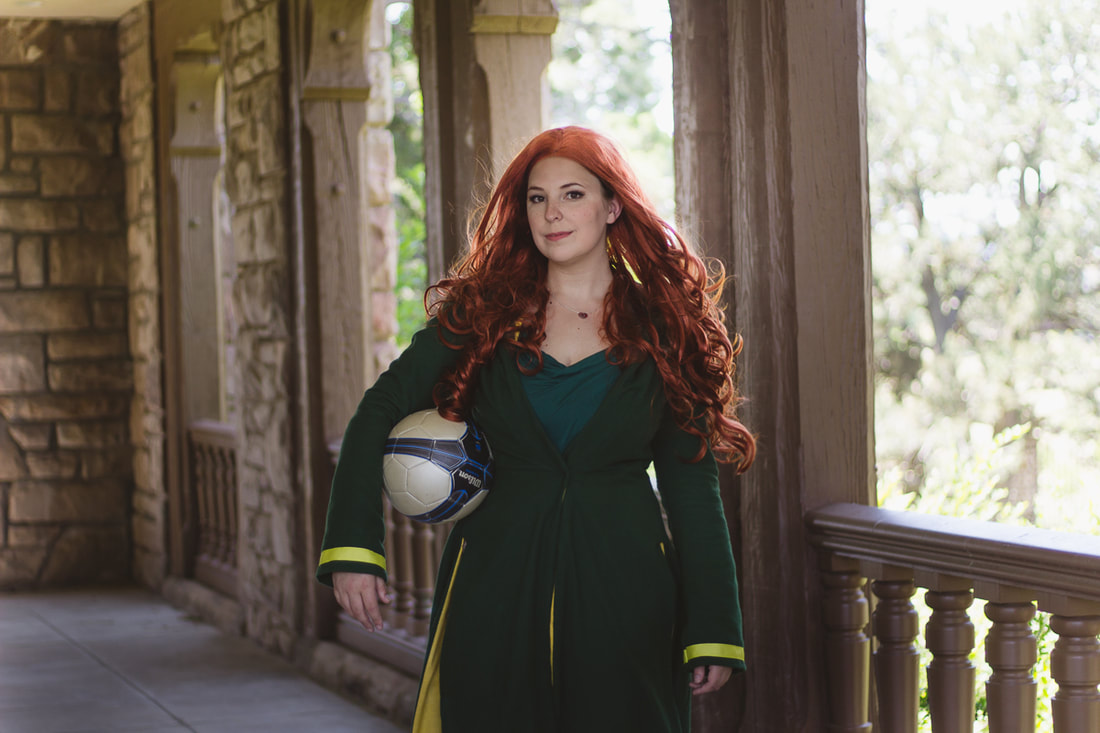 And last but not least, we have a few videos! First, we have the Instagram bait -- a spin in both slow-mo and boomerang formats! I honestly just love how the cloak moves! It's really comfortable and great for spinning, walking, and probably playing Quidditch. I'll let you know on that last one, I have yet to actually ride a broomstick, heheheh. We also shot a short video featuring a time turner and our beautiful faces! I personally love this and watched it about ten times in a row when Ginny Di first sent it to me. That's it for this shoot! Thanks to Ginny Di for having me, and to Ginny's mother for being such a wonderful photoshoot helper!
|
Ginny Liz StorytimeEntirely too much rambling about costumes, but if that's your thing... Archives
October 2018
Categories
All
|

 RSS Feed
