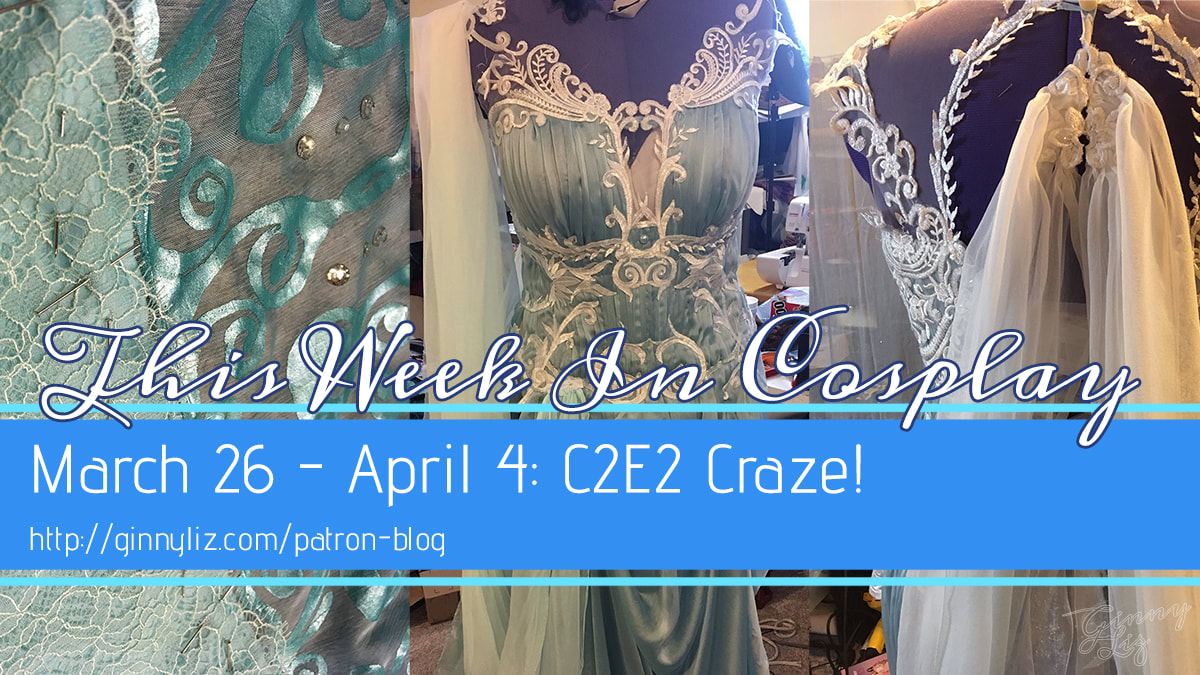
 Strap in, kiddos, this is going to be a long post. We're looking at all the last-minute stuff I finished up just in time to compete in the C2E2 Crown Championships of Cosplay! I'm combining the last week of March with the first week of April because it was all one frenzied blur of sewing. I'm not sure which things I did on which day anymore! Let's pick up where we left off! I'm out of witty hand sewing puns
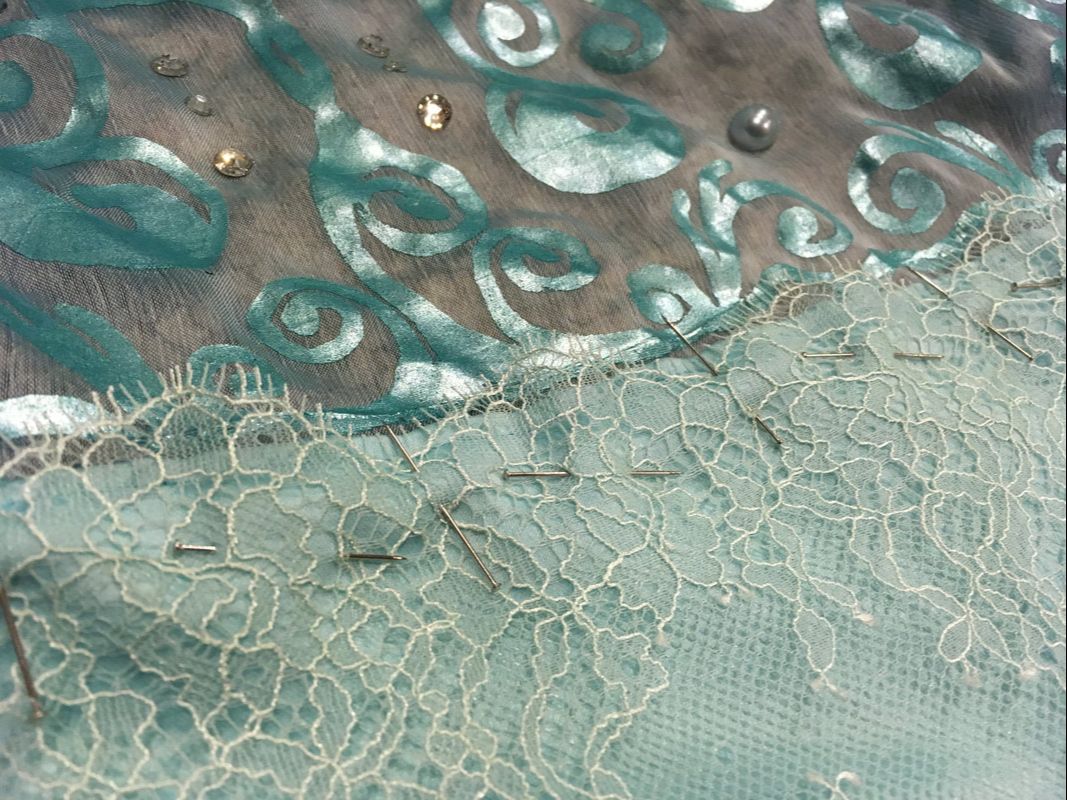
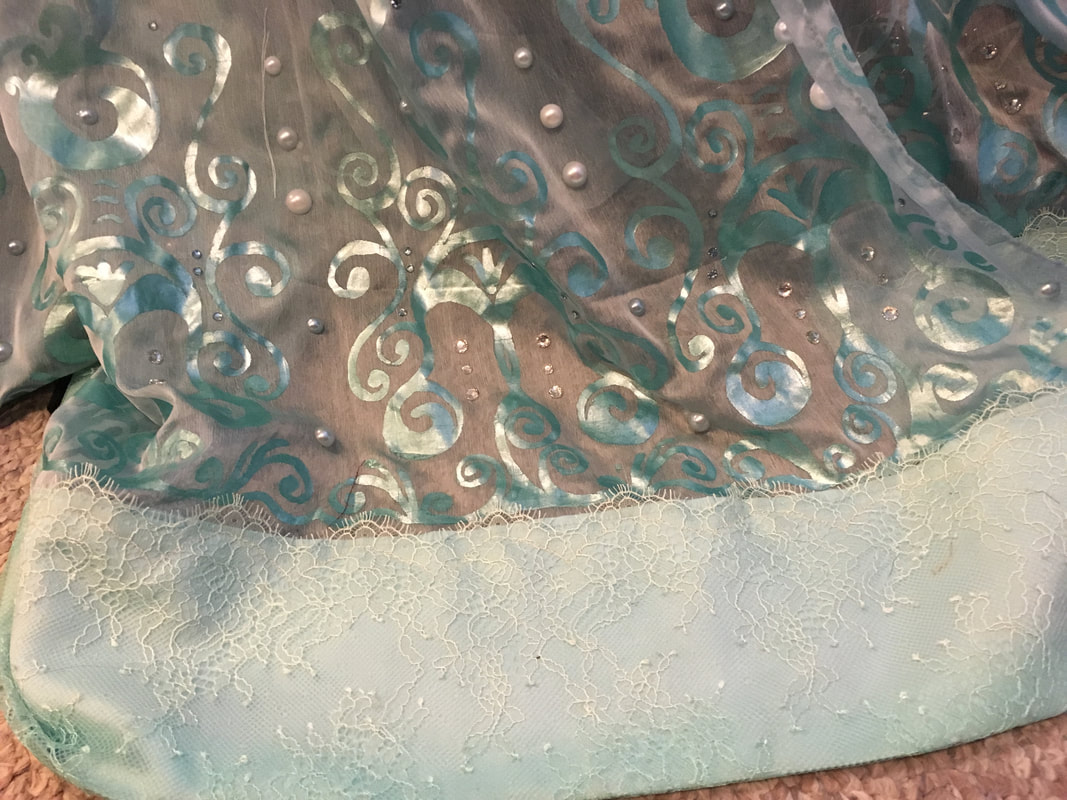
Lace PlacingI mentioned the new skirt trim I acquired a few weeks ago, and this week I actually applied it! I carefully pinned it to the satin along the bottom edge of the skirt, then sewed it down with a small zig-zag stitch (width 2, length 2) along the scalloped edge of the design, following the contours of the lace. You can barely see the stitching line!
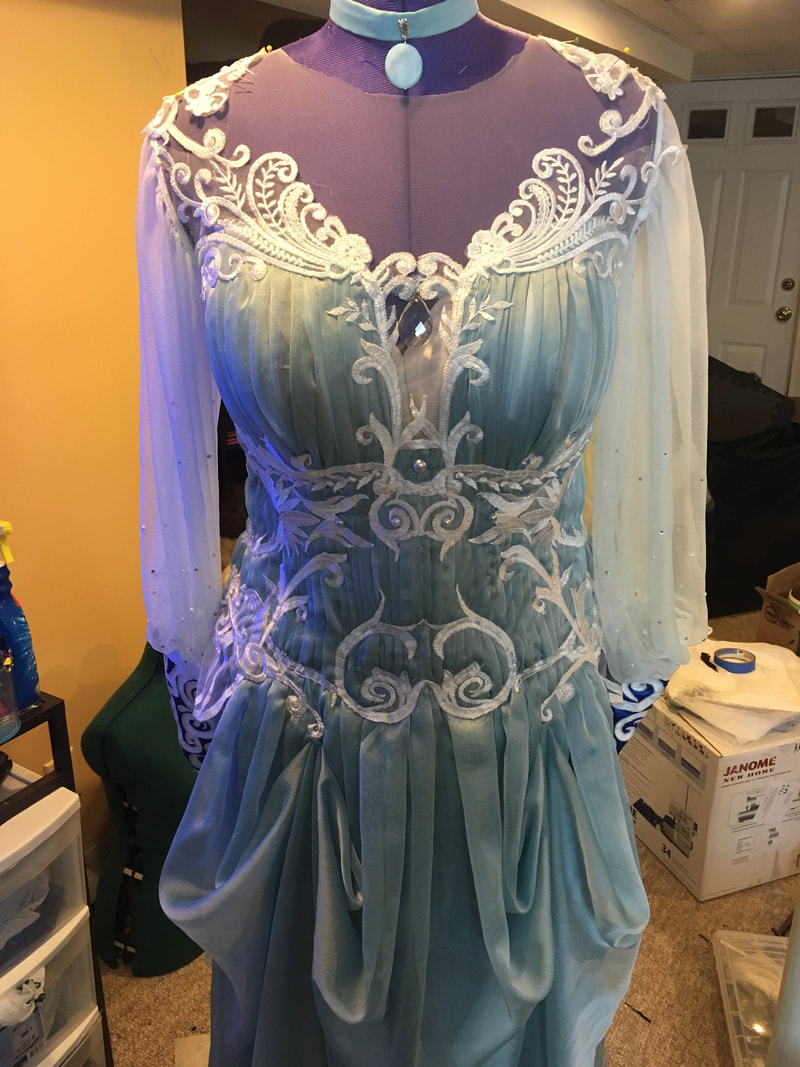
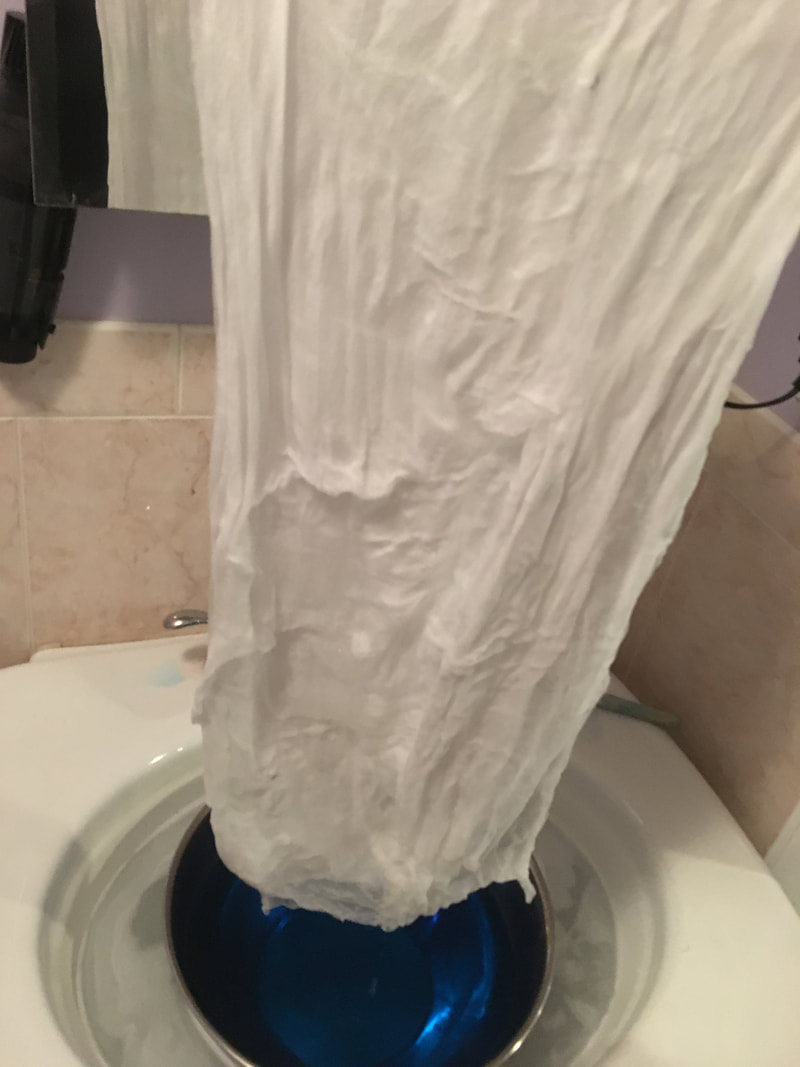
And here's the back of the skirt, folded all pretty! (Also note the extra lace decorations on the back of the illusion mesh and the new, pretty white organza ribbons!) 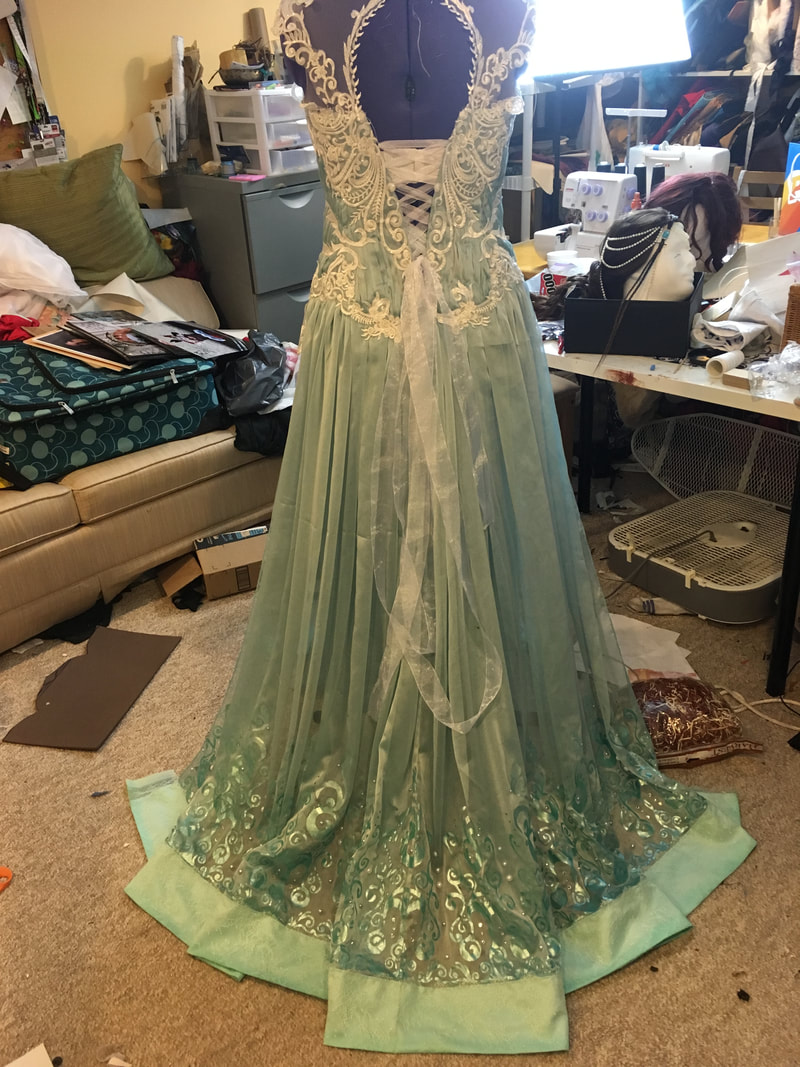 It's time to D-D-D-DYEI’ll admit that I tend to put off dyeing things until the last moment. Guilty as charged. But this dye job turned out to be relatively painless!
I wet the gauze, dunked it up and down concentrating on keeping the bottom fifth in the water. My method of dyeing is very qualitative; I dip the fabric up and down, keeping the lowest bit in the dye and only submerging all the way up to the top 1-2 times. 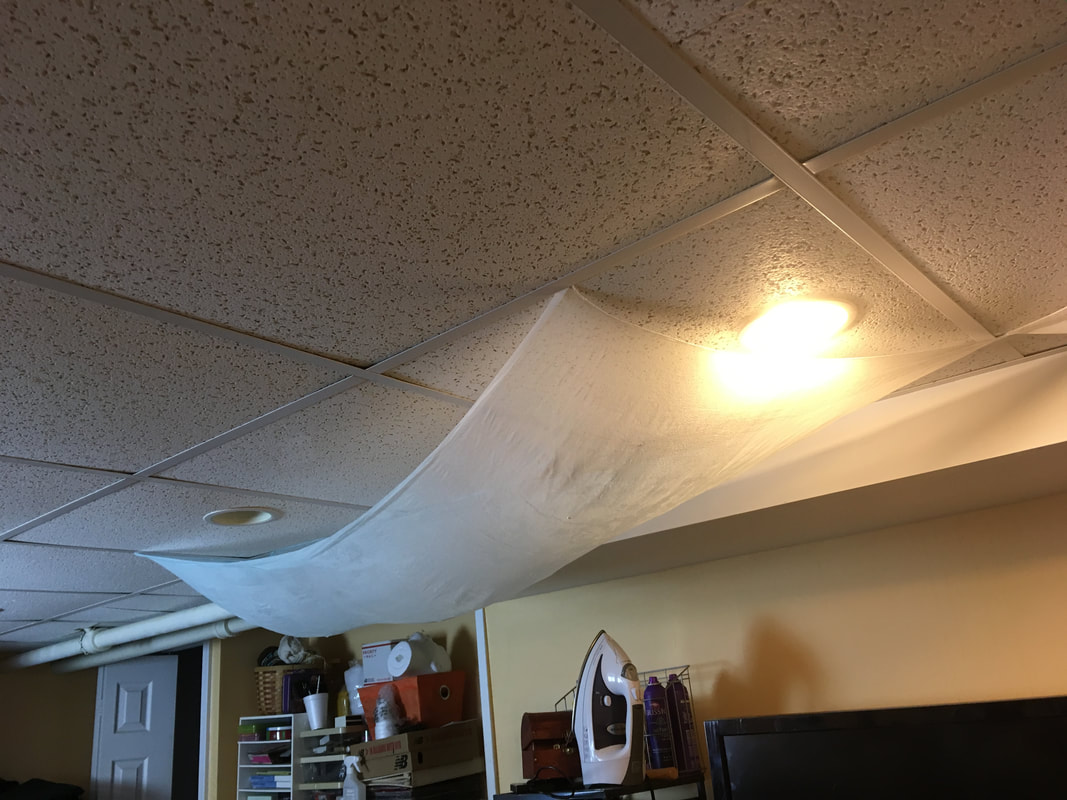 This is how I dry my dyed fabric -- by sticking it in my ceiling tiles! Sleeves are hardHold onto your butts, I'm going to try my best to explain my totally amateur method of flat-drafting gathered sleeves. To actually make the sleeves, I used my dress form to measure around the arm hole (18”), noting where the side and shoulder seams fell (splitting the sleeve into an 8” front section and 10’” back section). and how tall the armhole had to be (6”). I then made a rough pattern for the top of the sleeve with those measurements. I wanted the top of the sleeve slightly gathered, so I multiplied the distance around the armhole by two (18”x2 = 36”). I marked a piece of pattern paper 6” tall and 36” wide, put a marking at the shoulder seam (16” from the front, 20” from the back). I sketched out the curves of the pattern based on a non-extended sleeve pattern. The armhole didn’t have to be *too* precise, after all — gathering would get rid of the smaller errors. 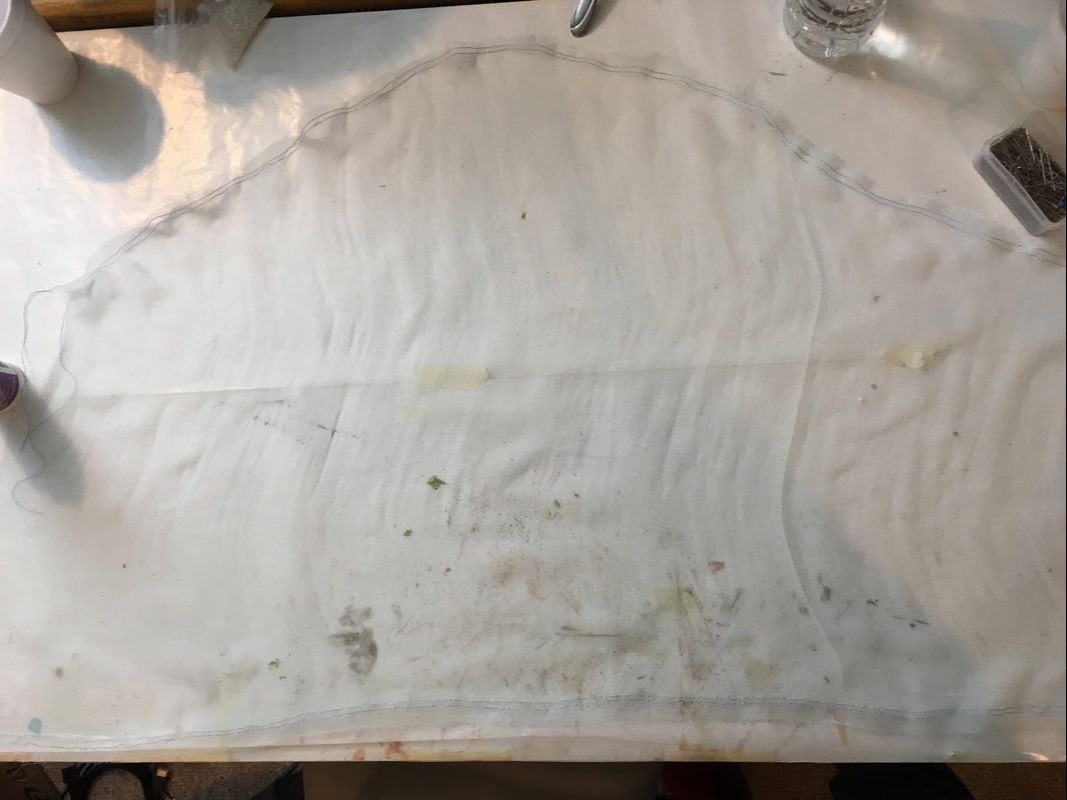
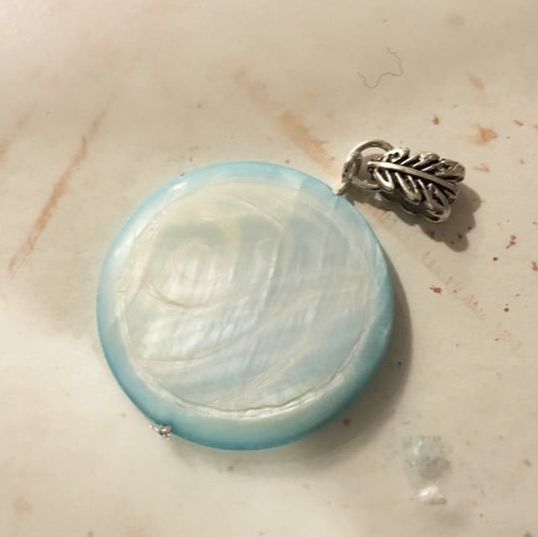
Jewelry? More like NEW-elry.One simple thing that can really take your cosplay up a notch is adding finished jewelry hardware to all your beads. Prior to this, I attached the dangling beads and necklace pendant by simply sewing them onto the dress and necklace. Time for an upgrade! All the techniques and connections I used are relatively simplistic, but they ooze sophistication. On the necklace, I threaded the pendant with a headpin and twisting the top into a loop. I connected this loop to a jump ring, which I then connected to a bail bead, which was then sewn on to the necklace.
For the dangling crystals attached to the dress, I simply used my jewelry pliers to bend a headpin threaded into the hole. I wrapped the end of the wire twice to get a nice secure loop, and I’ll be sewing them to the dress through that loop. Finally, I had to re-make the headdress. This thing fell apart at MAGFest and barely held it together through Katsucon! I needed to make the construction more sturdy. The first change was swapping out beeswax thread for Fireline, a plastic beading thread similar to fishing line. I stress-tested the thread by wrapping it around my fingers a few times and pulling as hard as I could—no breakage! 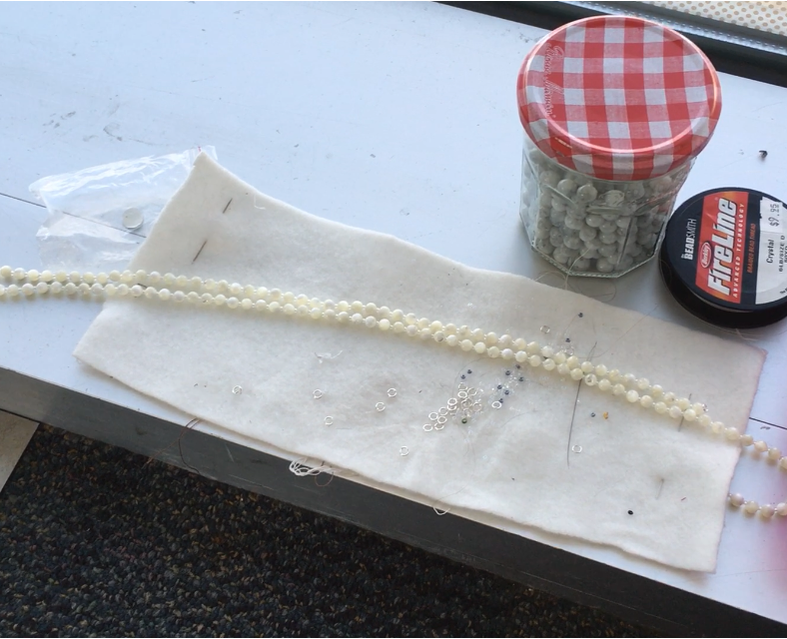 The next challenge came in how to thread the headdress. I settled for a configuration where I threaded the seed bead into the middle of a long strand of wire, double-knotted it, and then threaded the bead onto a jump ring. I used the doubled up thread through the rest of the strand, then tied a seed bead at the end, added another jump ring, and threaded a few inches of excess Fireline back through the last few beads of the strand. I also added a few small spiral seashells to the headdress! They really added a subtle something extra and I’m very glad I had them lying around. I made the bead strands on the dress in a very similar way, with the addition of handmade hooks latched onto the jump rings. These strands hook onto some nearly invisible thread chains hidden in the lace of the dress! My cat is very lucky she's cuteWe have to talk briefly about The Event.
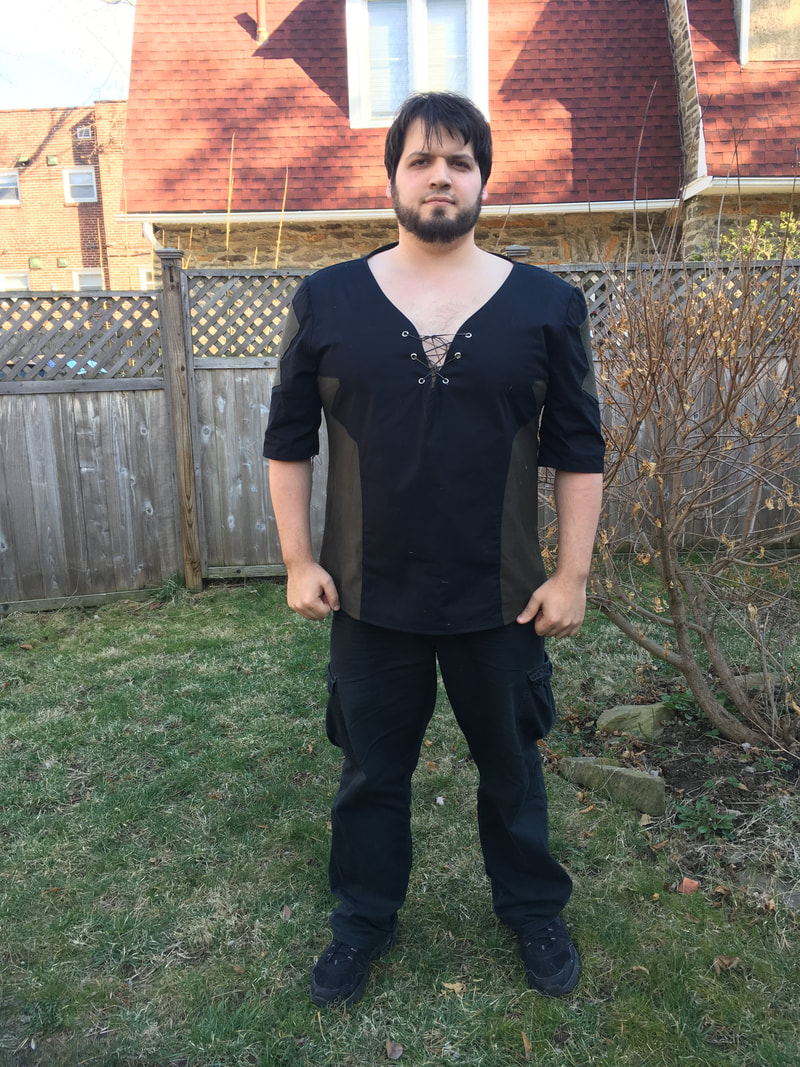
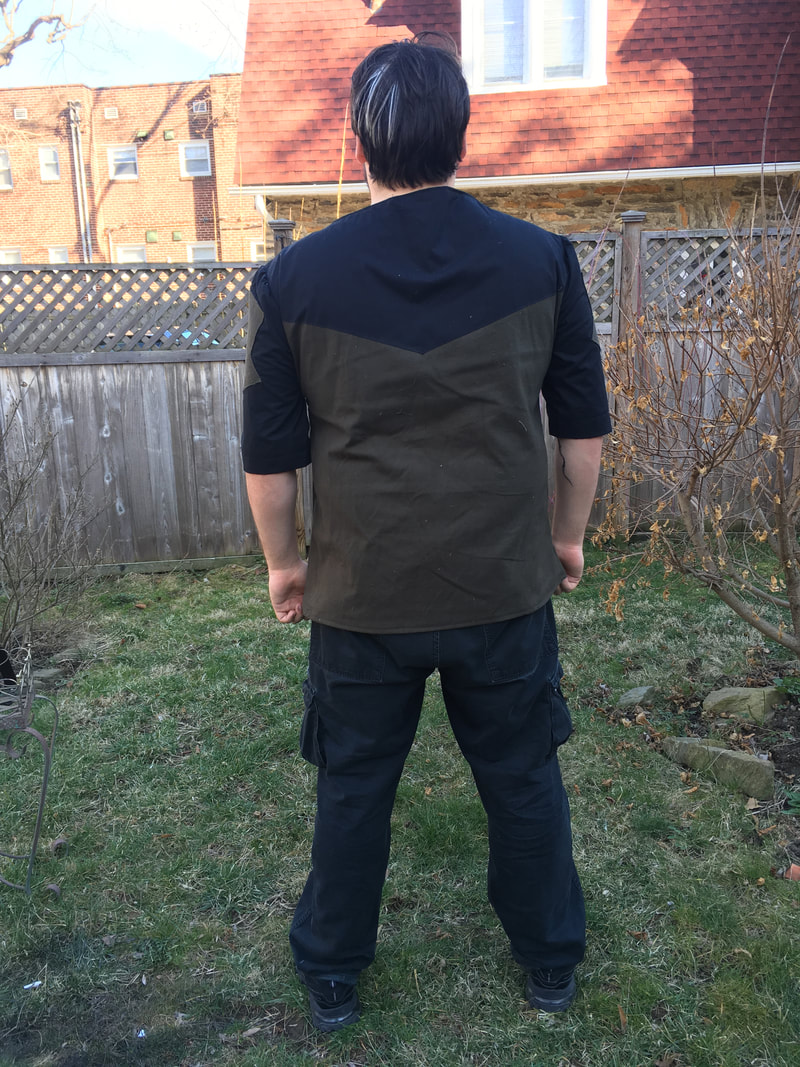
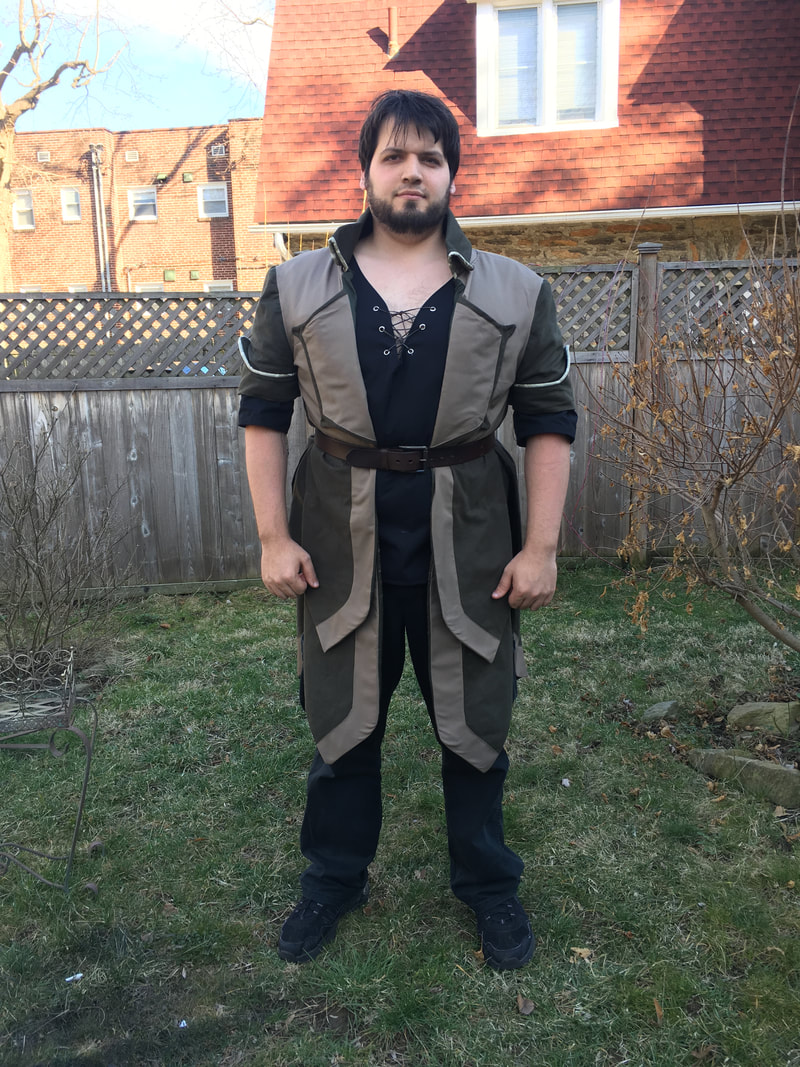
But thanks to the numerous wonderful people who sent me messages and good feels and support, I picked myself up. I did a very quick patch job with a hand needle. While it wasn’t the same, and I knew I’d have to remake it in the future, there was nothing I could do about it now. I grimaced and bore it, and still had a ton of fun wearing my costume! 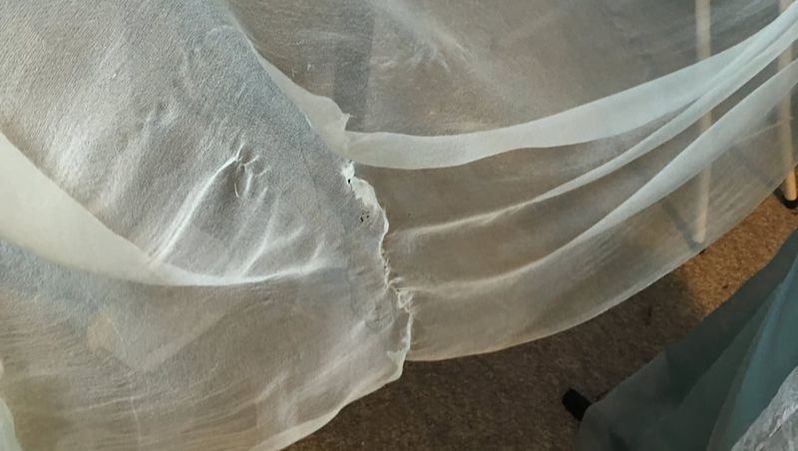 Sometimes you need that freakout moment. You need to hit a low point to rebound back up. And I’d say I rebounded pretty well for the contest! Shirt-ing My ResponsibilitiesOH YEAH. I also did another thing this week amongst the Katara madness! I took a break from chiffon, gauze, and glitz to make a shirt for my good friend Slippers Cosplay! He’s cosplaying Hazel at PAX East and commissioned me to make him a shirt to go with the jacket I made him a few months ago.
0 Comments
Leave a Reply. |
Ginny Liz StorytimeEntirely too much rambling about costumes, but if that's your thing... Archives
October 2018
Categories
All
|


 RSS Feed
