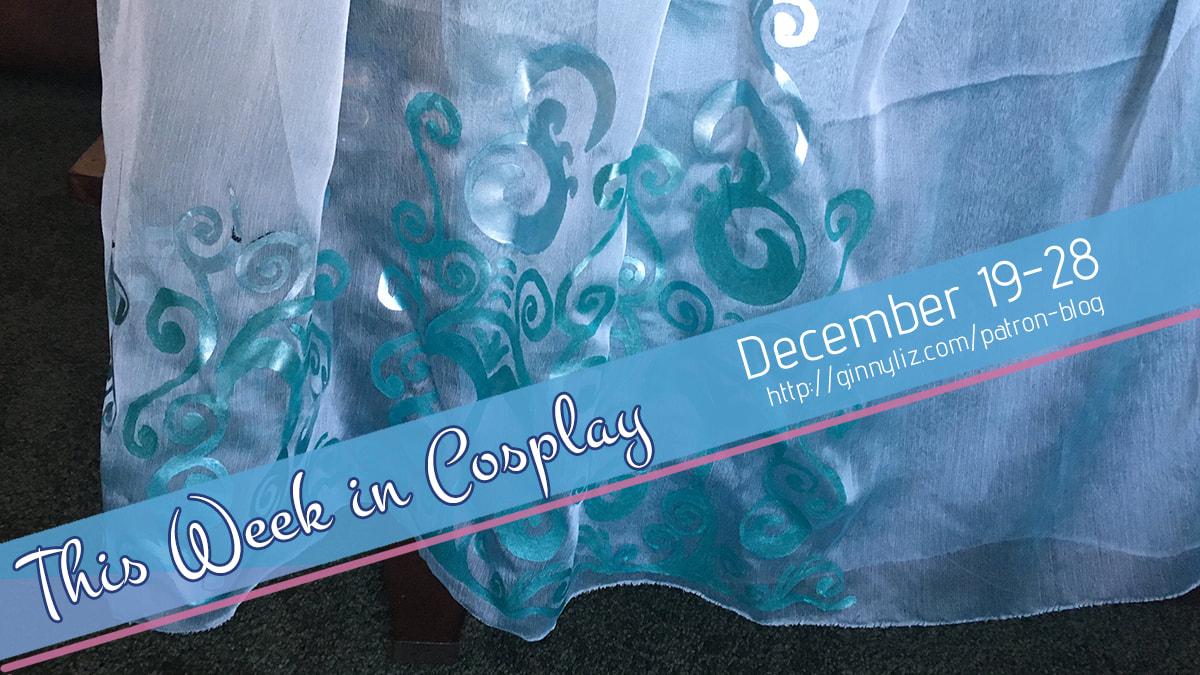
 OKAY so, this past week and a half I was in South Dakota visiting family for the holidays! I spent the week sandwiching bits of cosplay progress in between spending quality time with my parents, sister, stepbrother, and other assorted family members. DON'T STOP BELIEVIN' -- wait, wrong Journey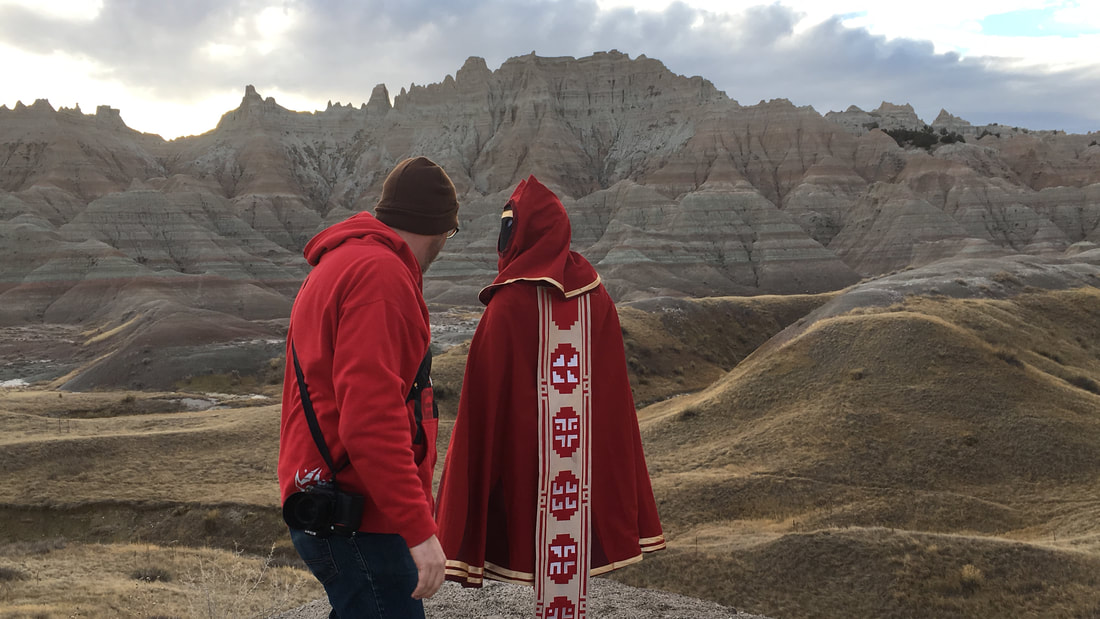 The day after I landed, Cameko Cosplay and I went to shoot my Journey cosplay in the Badlands! This was honestly a dream come true, and I still can't quite believe that it happened. Photos are slowly trickling in, and I will choose two to be next month's downloads for the $10 tier!
0 Comments
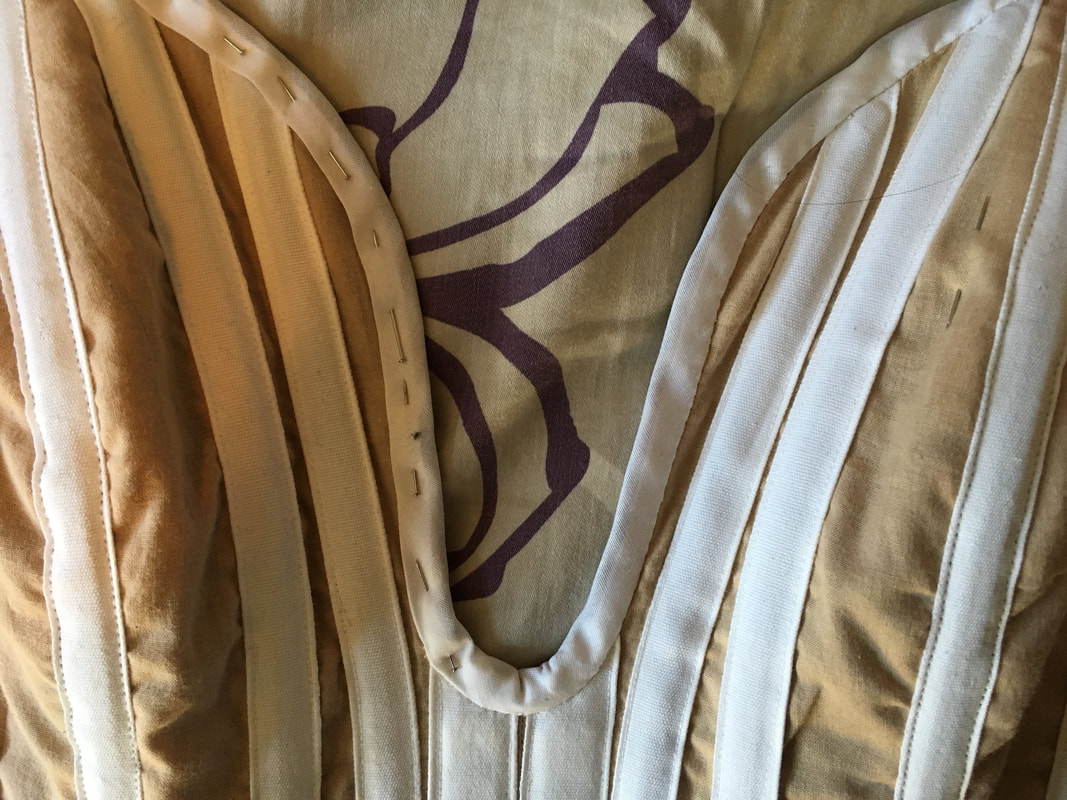
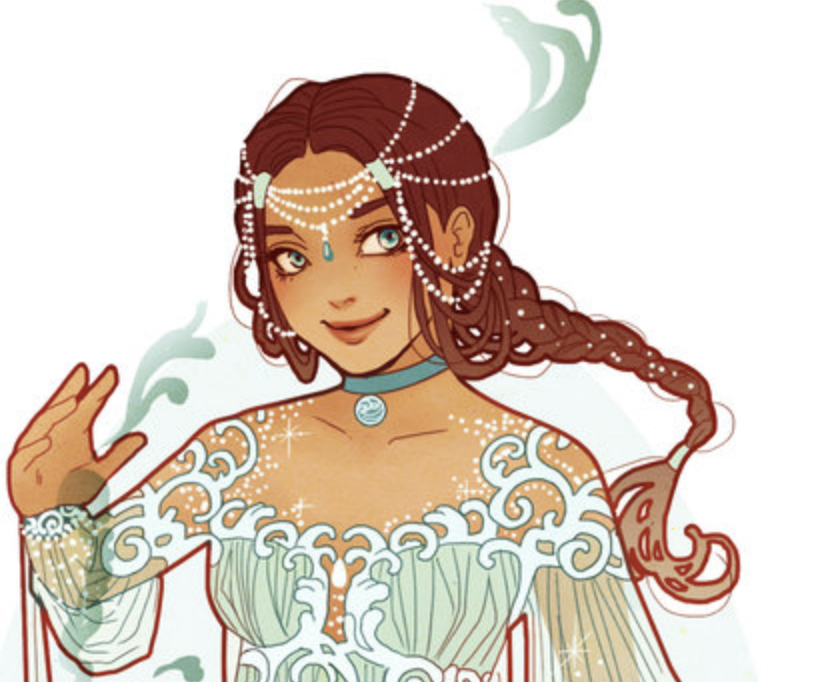
When I made this costume back in 2016, I knew that one day I would want to shoot it in an appropriate location. This costume is fun at cons and all, but the traveler character is such a product of the environment of Journey that a convention setting is just not the same as a full-on location shoot. Luckily, I grew up an hour's drive from a perfect location: Badlands National Park in South Dakota. I toyed with the idea of bringing it home for the holiday season in 2016, but I never really figured out the logistics -- I didn't know any photographers, I didn't have transportation, etc. BUT, this past year, I discovered some incredible talent in the area. The cosplay scene in this small town is surprisingly vibrant, and I was able to connect with Cameko Cosplay, a really delightful cosplayer & talented photographer. I contacted him about shooting while I was home, and we got this amazing gem of a shoot set up! This is the result! We had a ton of fun despite a few light-related setbacks, and it was an absolutely incredible experience that I would do again in a heartbeat! Welp, this has been... a week.  This costume will be the death of my fingersJust... keep... sewing! Katara's really starting to come together, but there are quite a few hours more of detail work before she's wearable! First and foremost: the white lace design on the bodice.
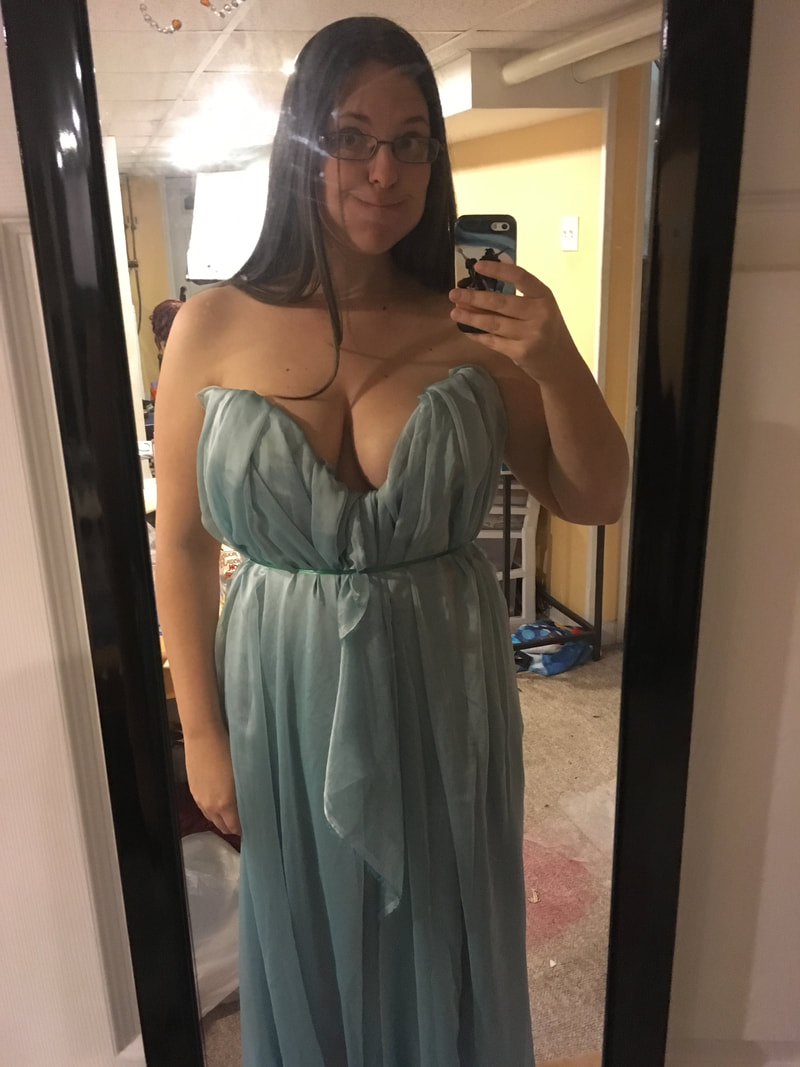
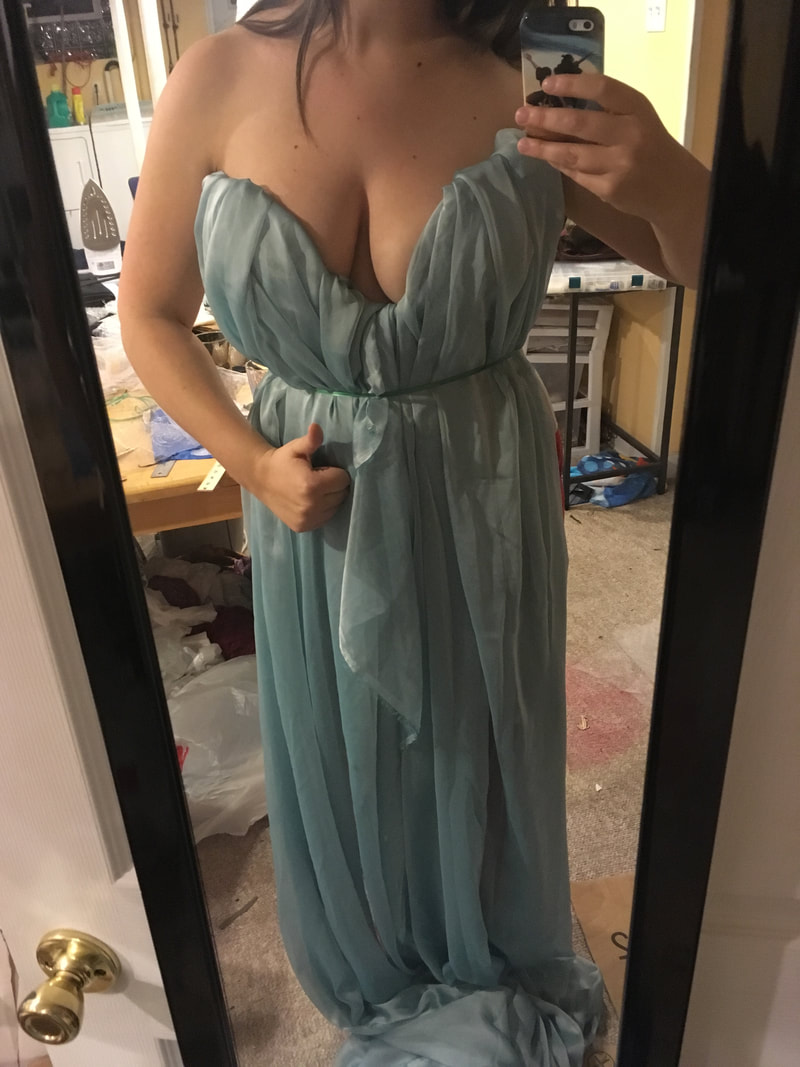
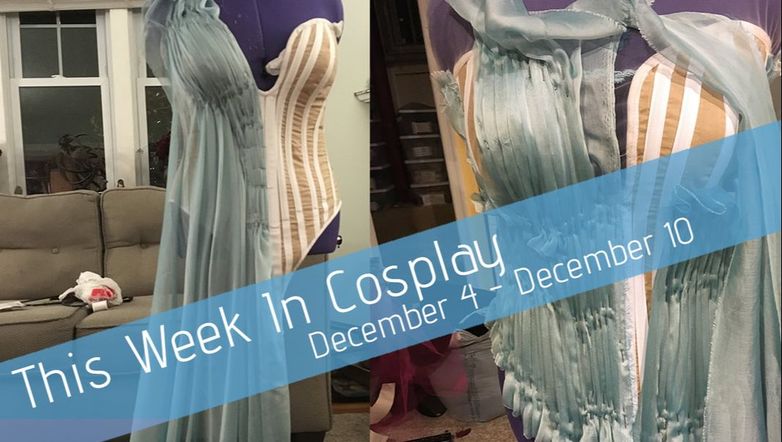 Pleat Save MeThis week, I started the long, tedious process of draping the chiffon on the bodice. Each section had to be individually pleated and pinned to the corset, so it was a bit of a project.
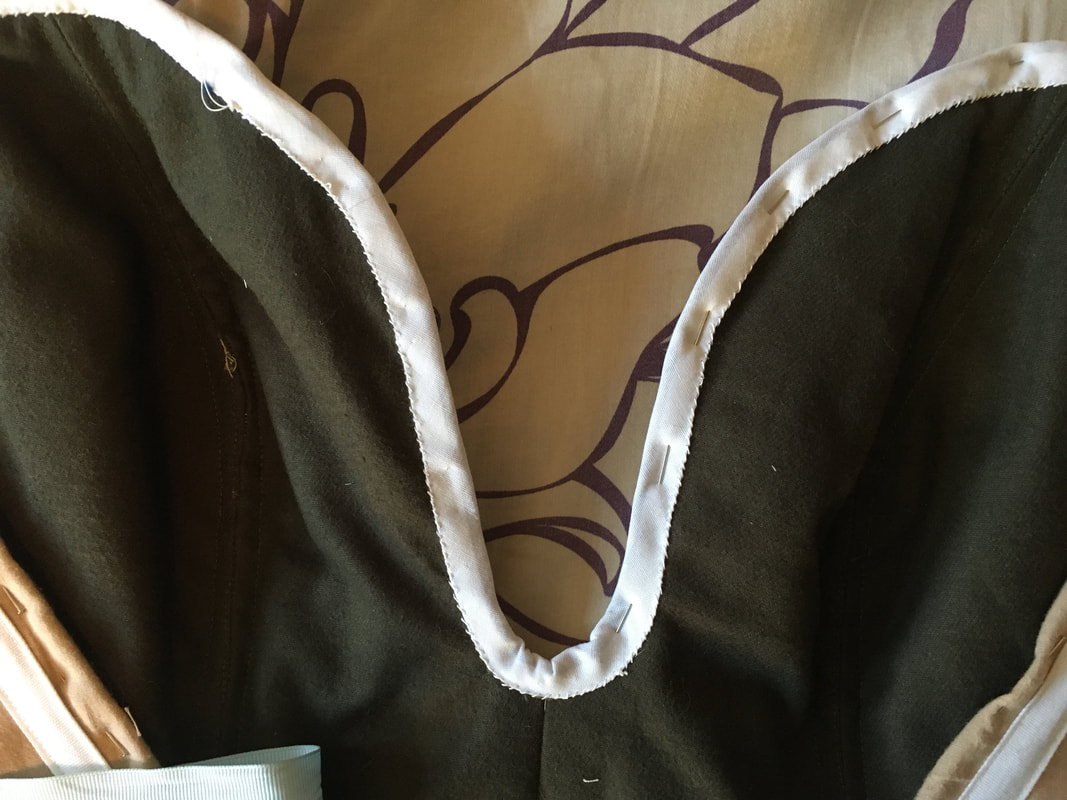
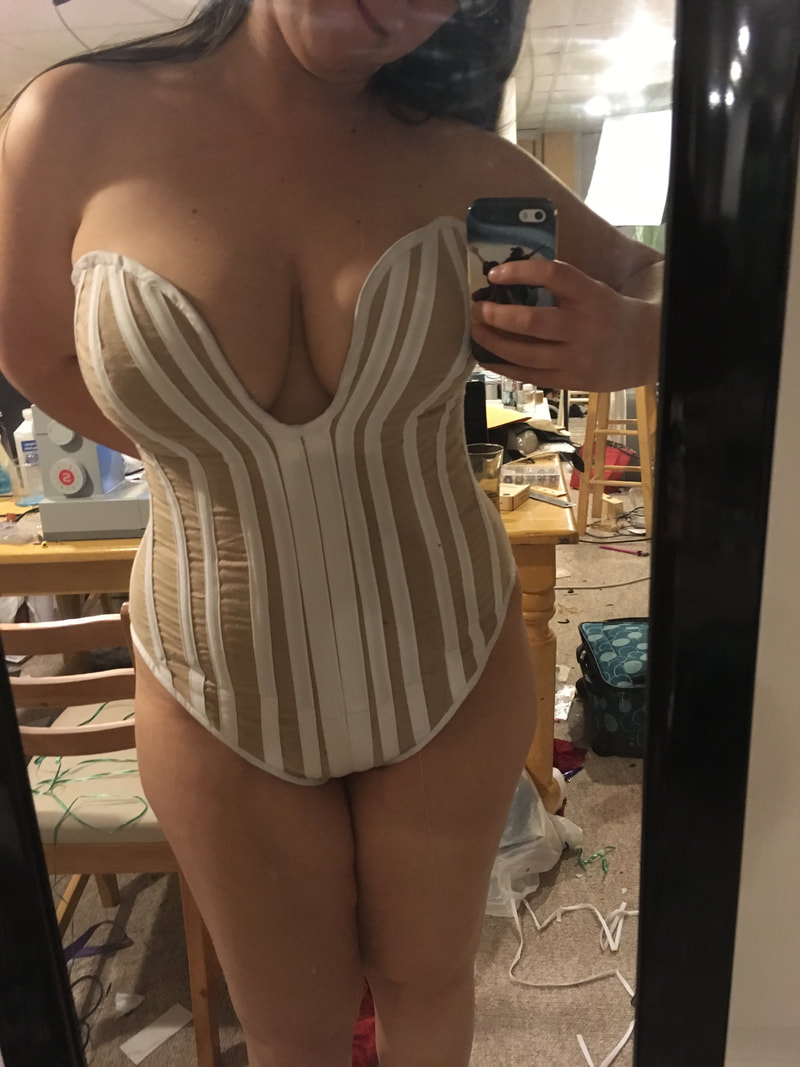
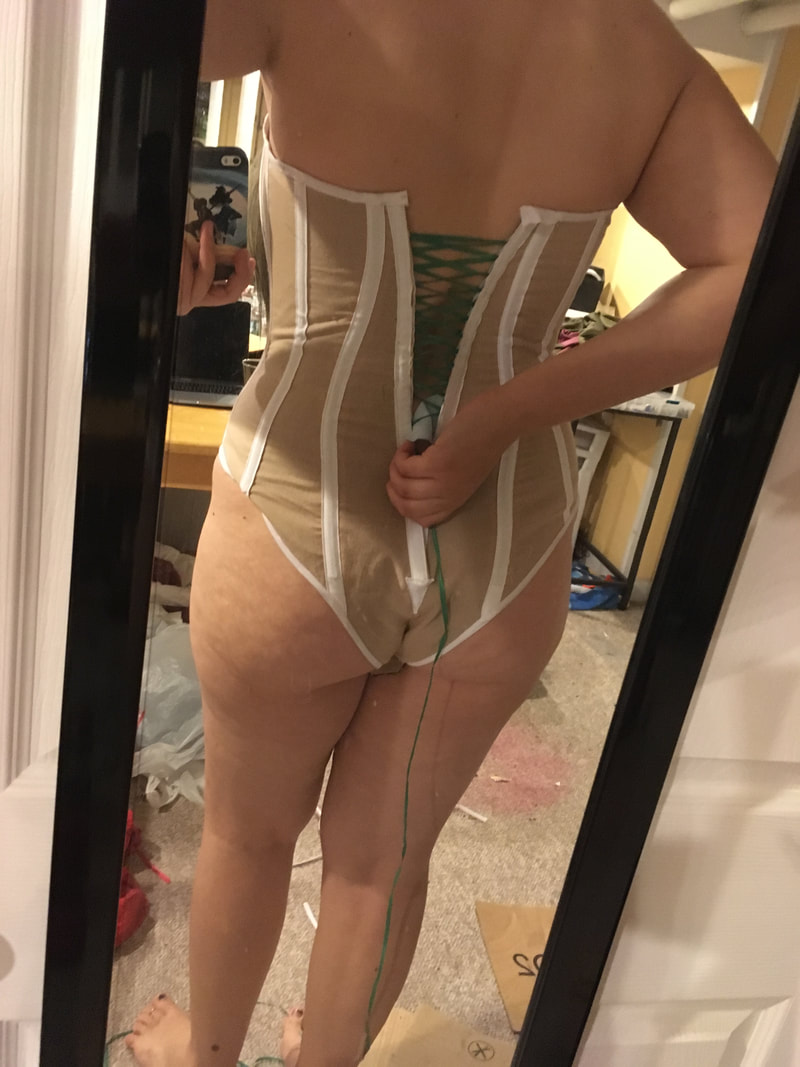
Welcome to the ~weekly recap~ of what I did this week! This week has been a bit of a trial. I’ve been waking up with a horrendously sore throat and stuffy nose, and getting up and moving is a challenge. BUT once I’m up and moving, I feel better on the surface (assuming I don’t talk too much and aggravate my throat). However, I have noticed that I got tired much more quickly this week as compared my normal self. But that didn’t stop me! I’m on a tight deadline with Katara — at the time of writing this, I have two weeks to finish her before I fly out for Christmas! It better darned fit after four mockups...The main focus of this week has been finishing up Katara’s foundation corset/bunnysuit, and making the sleeves! The first step was to finish up binding the top of the corset with extra-wide, single-fold bias tape. I hand-sewed all the bias tape on top because the bust curve is *insane* and I didn’t want any strange wrinkles or puckers. All in all, it took me about 5 hours and many, many needle stabs to sew the back and the front.
The back is sewn with a simple whip stitch; the front is sewn with an invisible backstitch. You can’t see *any* of the thread holding the front edge in place, and I call that a win!
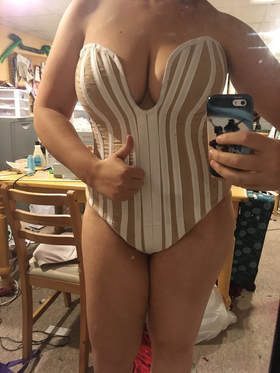
While I had the corset on, I grabbed my fabric and stuffed it down the front to get a rudimentary vision of what the final costume might look like. BEHOLD, THE VERY ESSENCE OF GRACE AND BEAUTY.
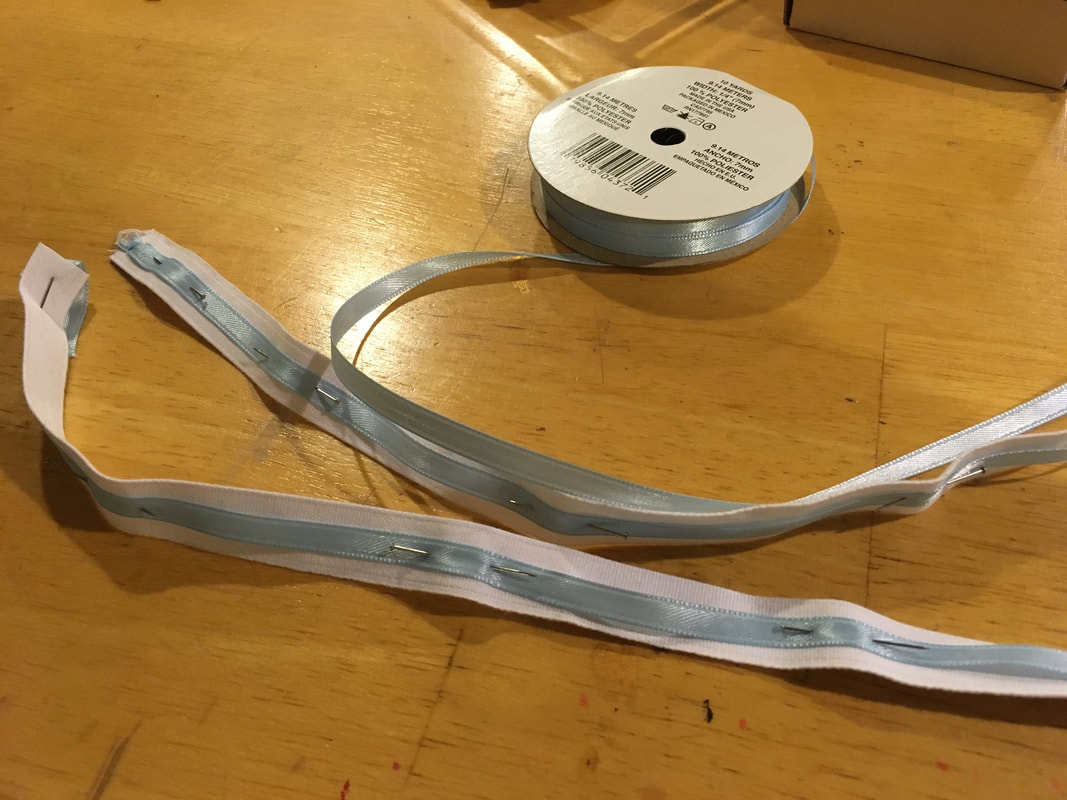
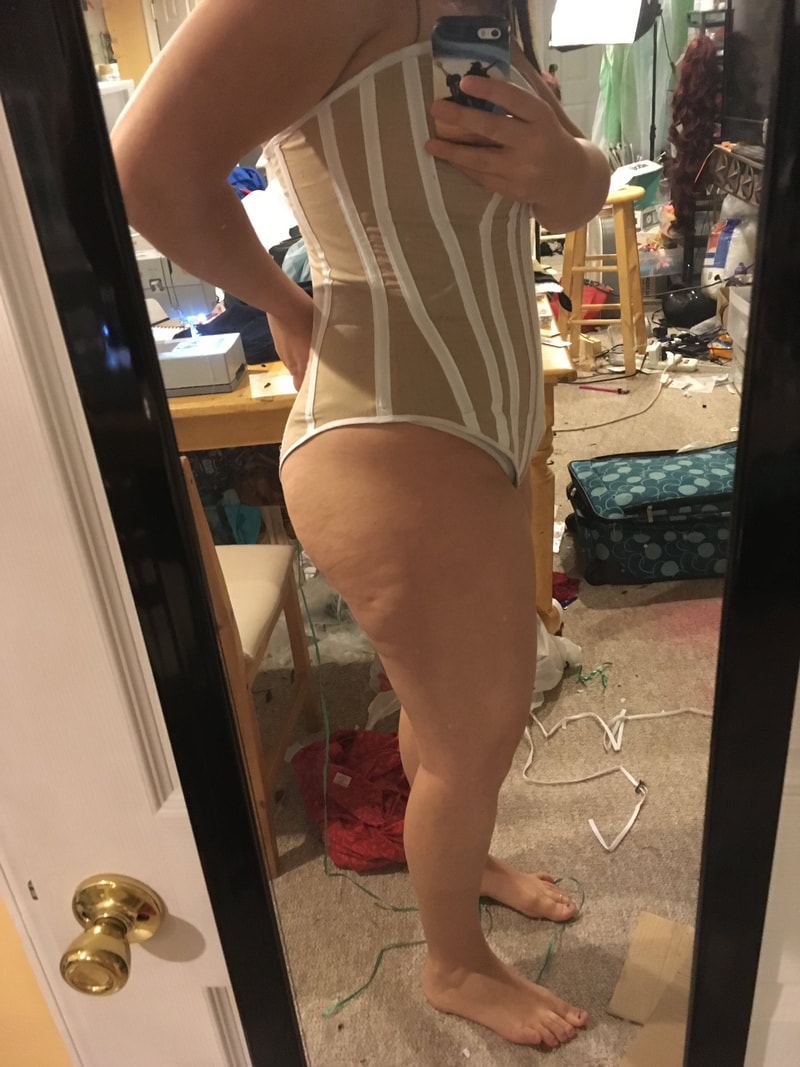
Next, I bound the leg holes in bias tape! I machine-stitched wide double-fold white bias tape I had on hand to the leggy holes. (The curves were much more manageable than the plunge neckline on the top half of the corset). The final touch was to add a clasp in the crotch region so I can, like… go to the bathroom without completely taking off the outfit and leaving it on the bathroom floor. I sacrificed an old bra for its clasps and attached them to the front and back. (I ended up having to take off almost two inches from the front; I definitely made the crotch strap too long). *rolls eyes* Okay, I’m done saying crotch now. You can stop giggling. Then… YAY, DONE! FINALLY! REJOICE!
Aw yisss check out those risqué Patreon exclusive images. More available on the $3000 tier. Wig Experimentation (Don't worry, I have a permit)
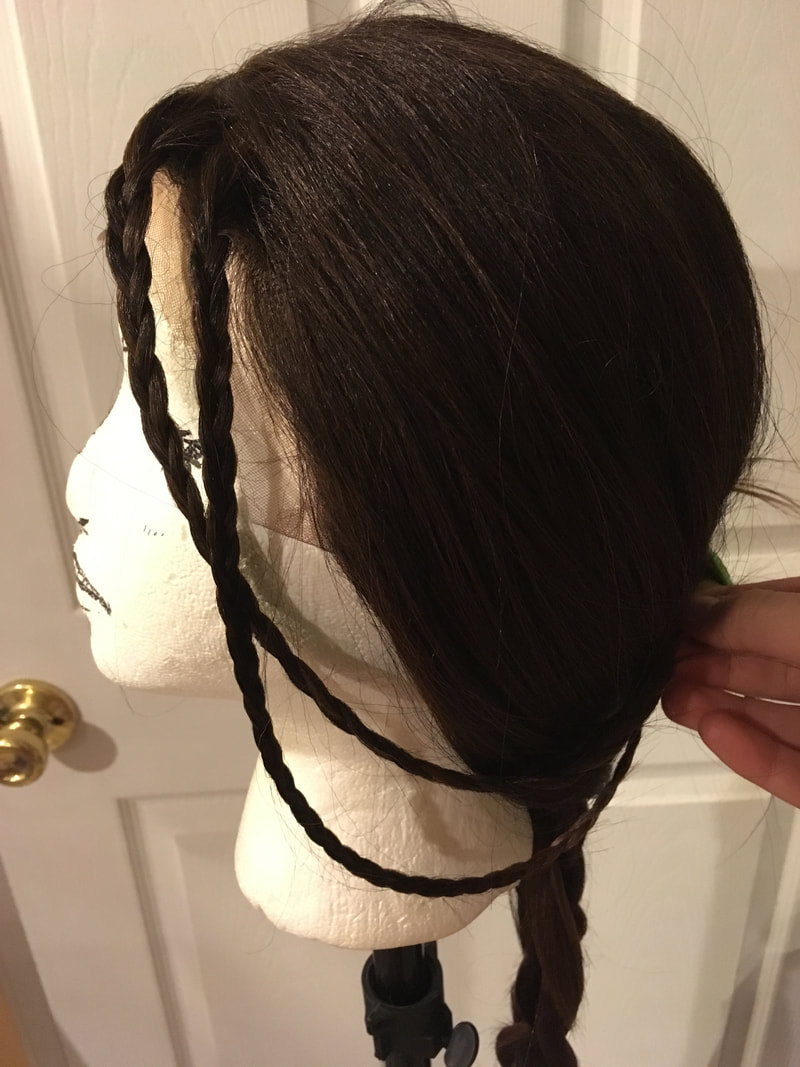
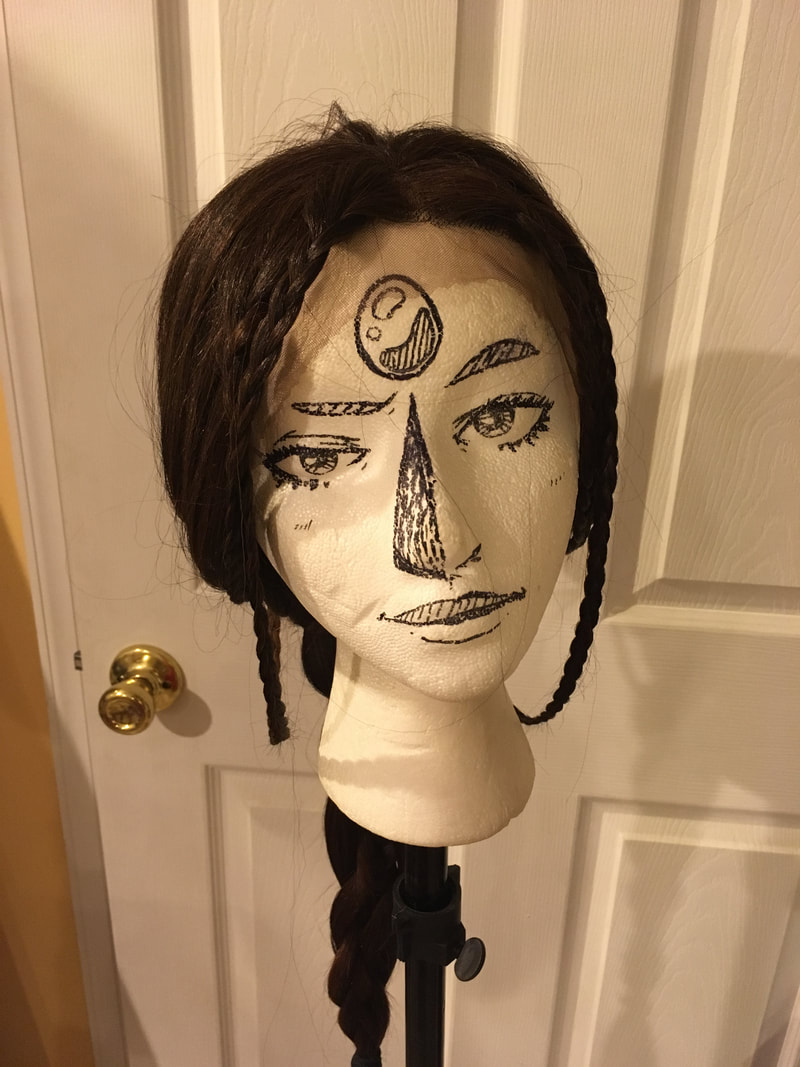
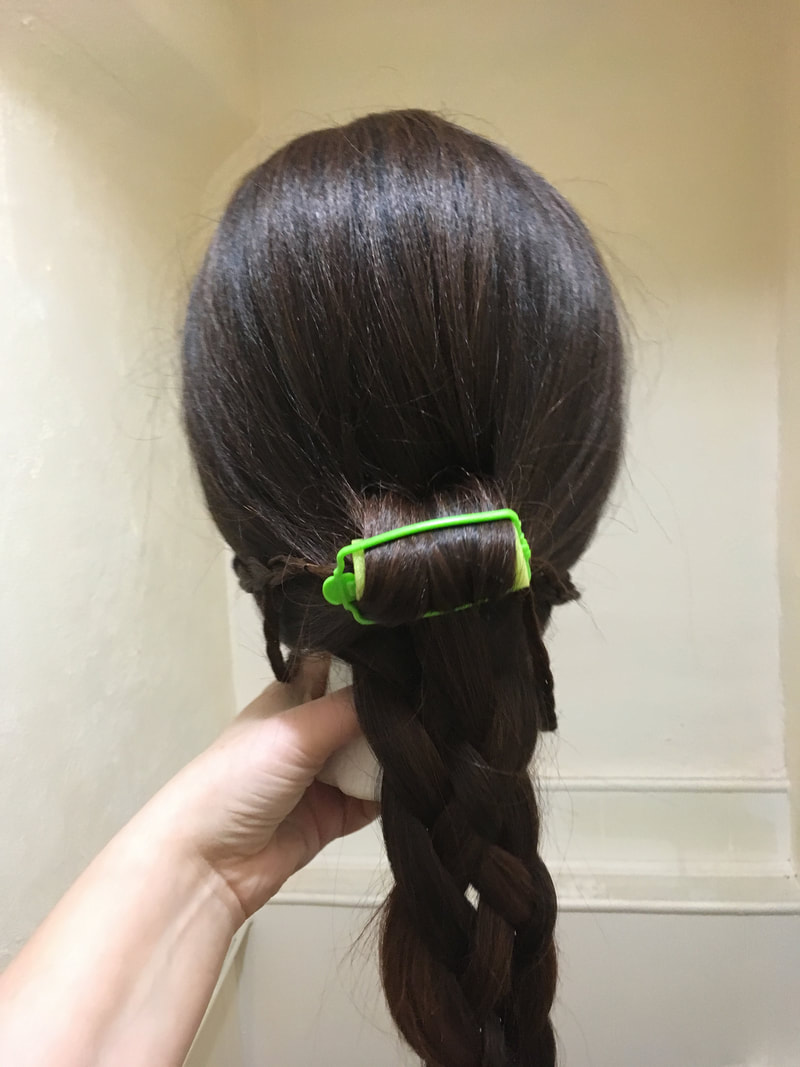
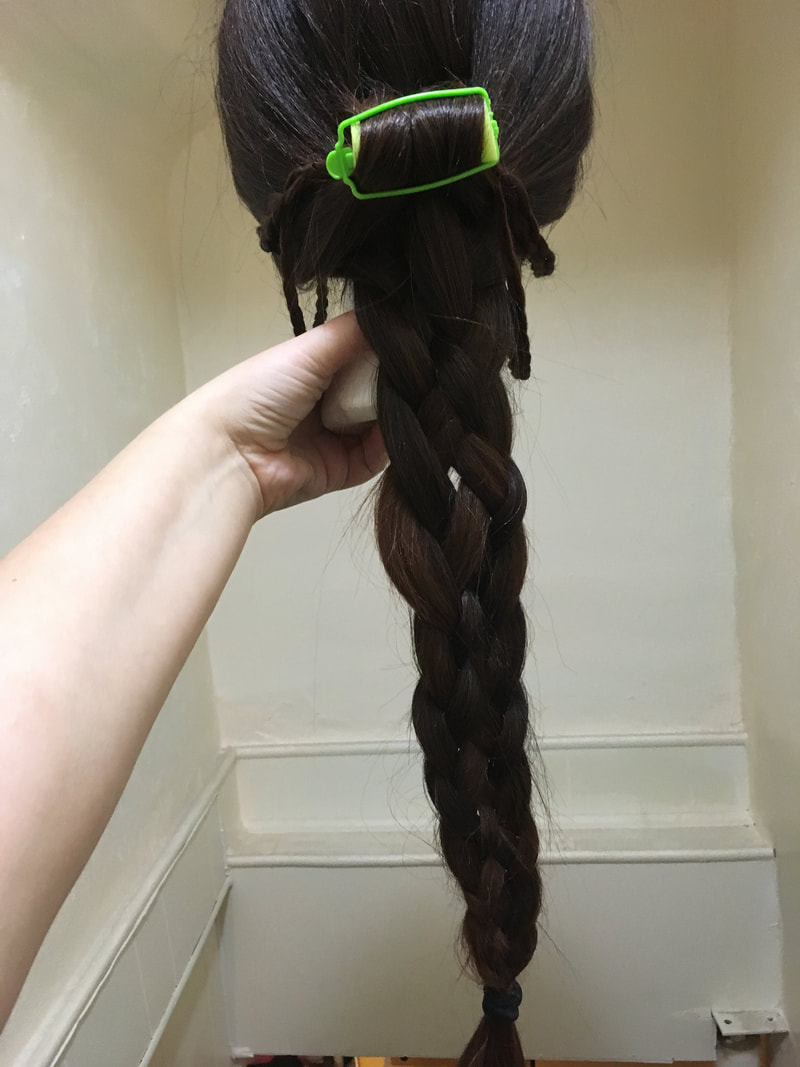
For the back, I grabbed the hair from the sides of the head and pulled it into a foldover ponytail wrapped around a hair curler (a stand-in for Katara’s roll pin), leaving the hair in the very back loose underneath it to hide the wefting. Then I tried a flat four-strand weave braid, which I really ended up enjoying. I need to redo it more neatly (as well as re-make the hair curler out of something other than neon green plastic and foam), but I’m overall very happy with the look of the wig!
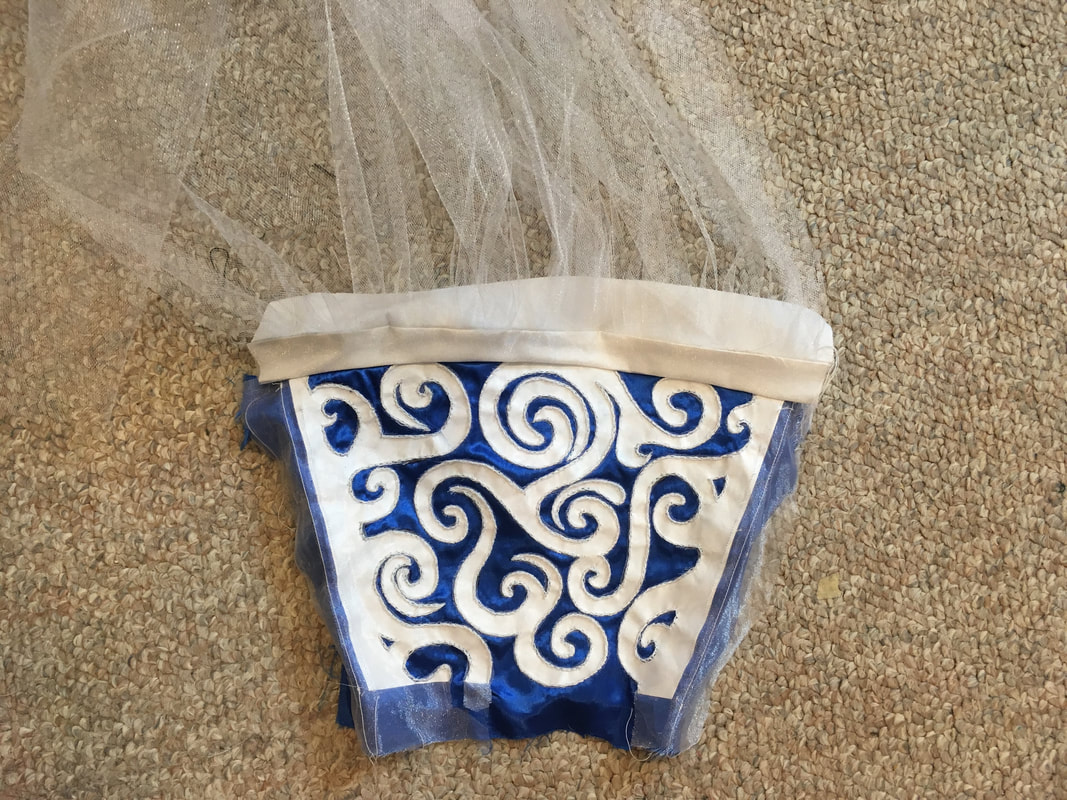
Sleeves! Aka FINALLY NO MORE EMBROIDERYThe main project of the weekend was the sleeves. You may remember that I was embroidering these for AGES, and I finally finished them! Now all that was left was to turn them into actual sleeves.
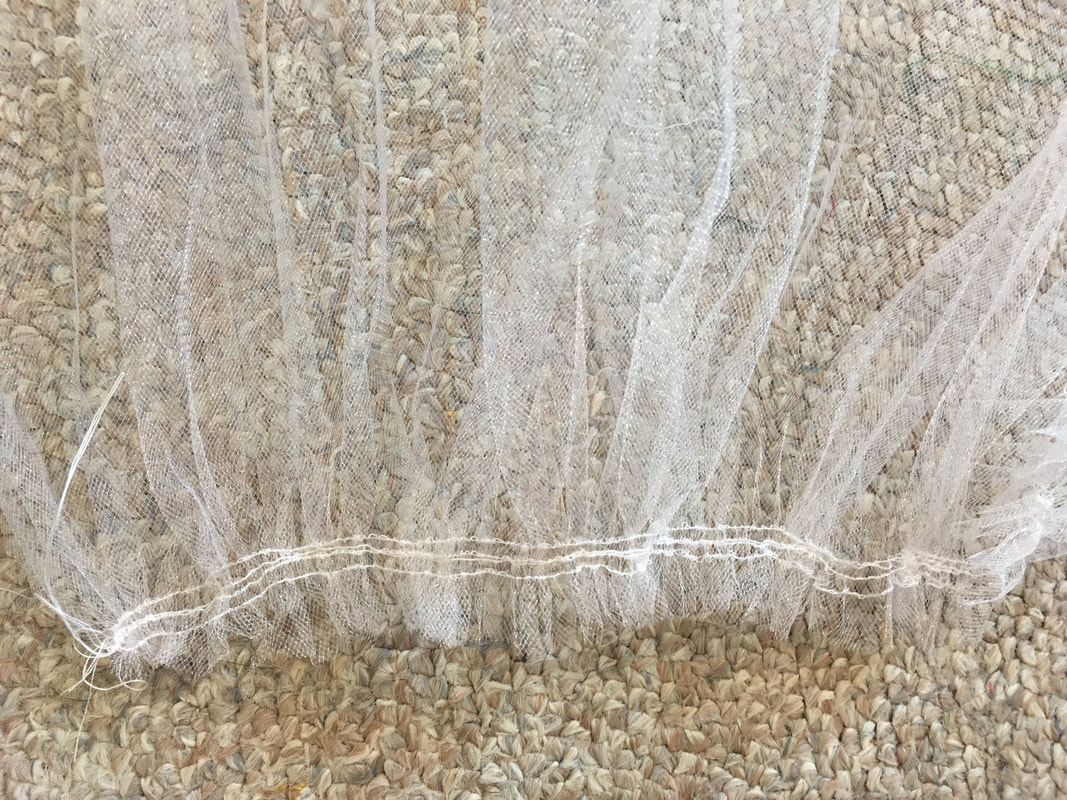
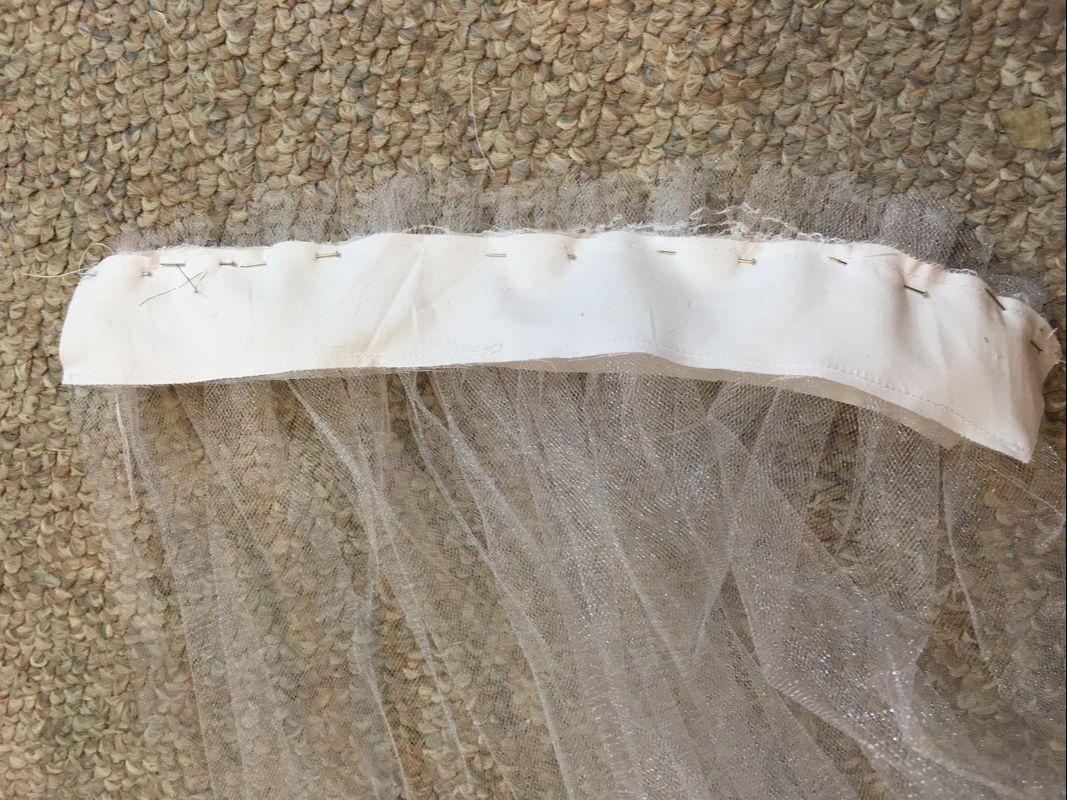
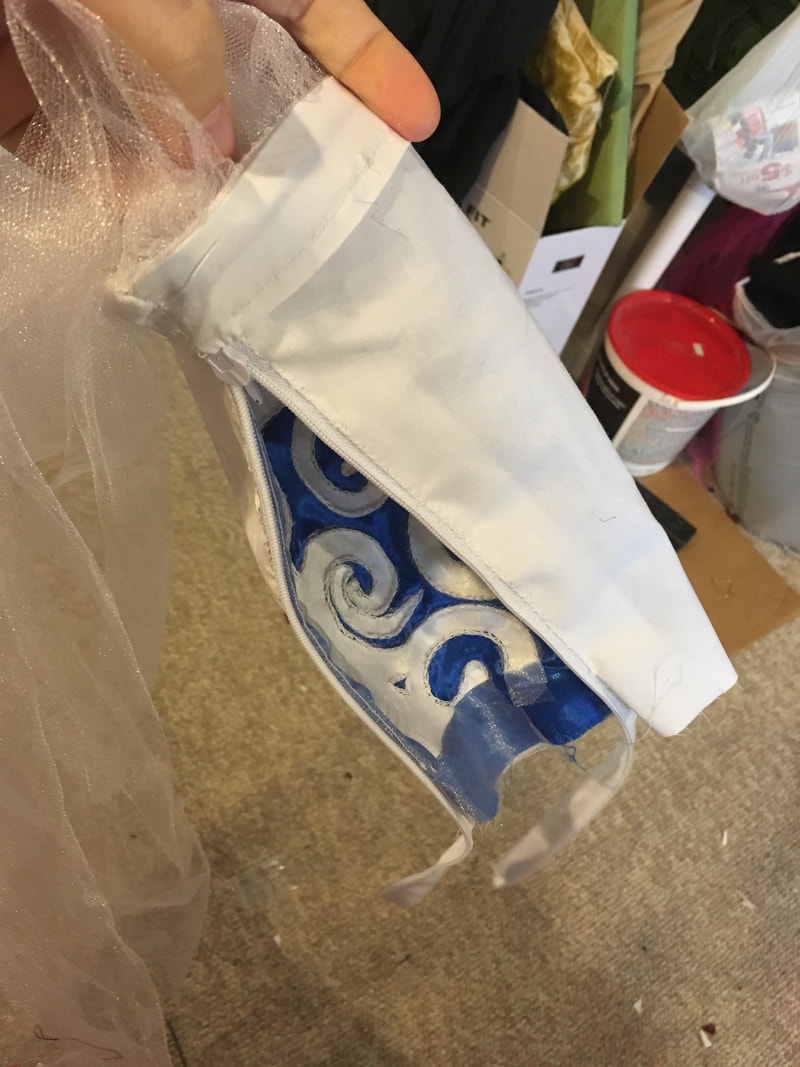
I then cut two strips of lining fabric in the same shape as the top of the arm cuff pattern. I placed the tulle inside it, then turned it inside out to hide the raw edges. This was then stitched down, like a sort of faux bias tape, to the top of the arm cuff and arm cuff lining.
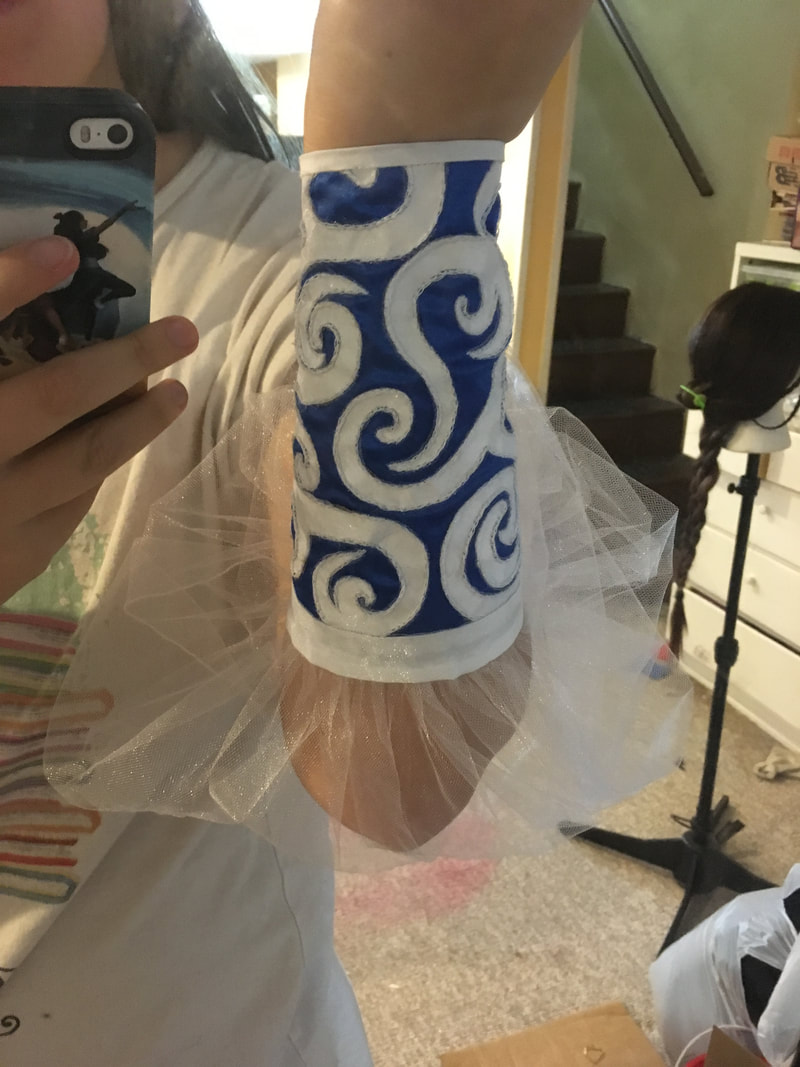
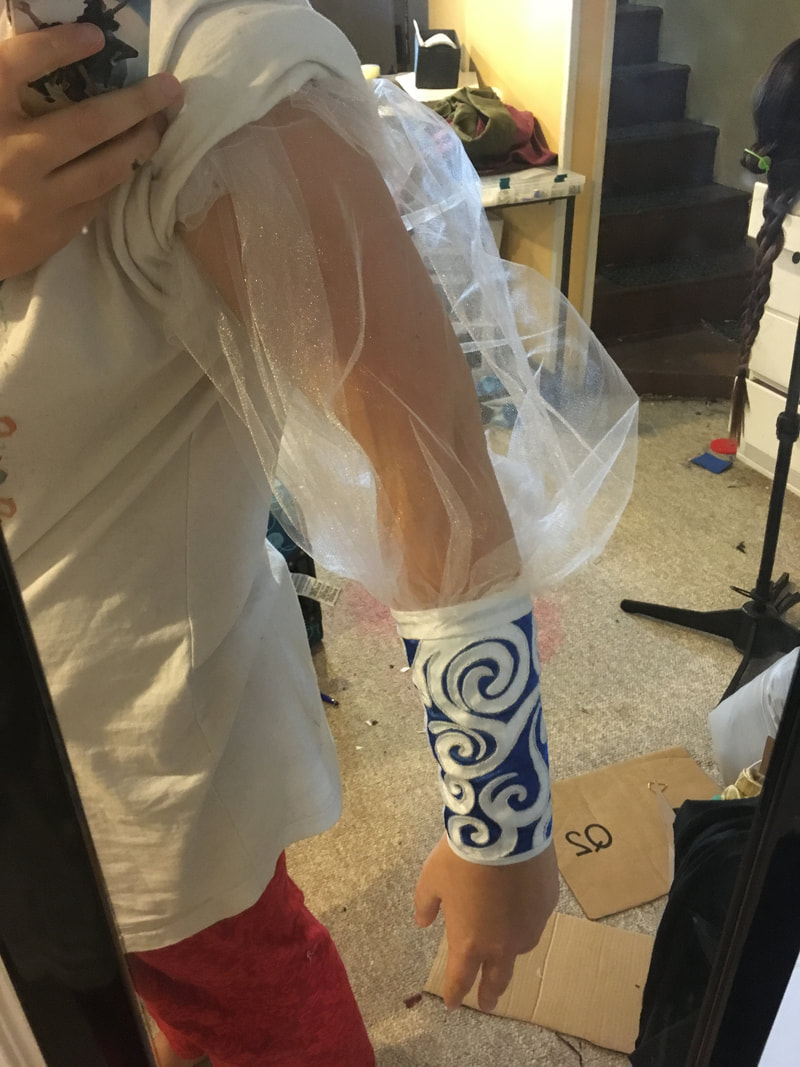
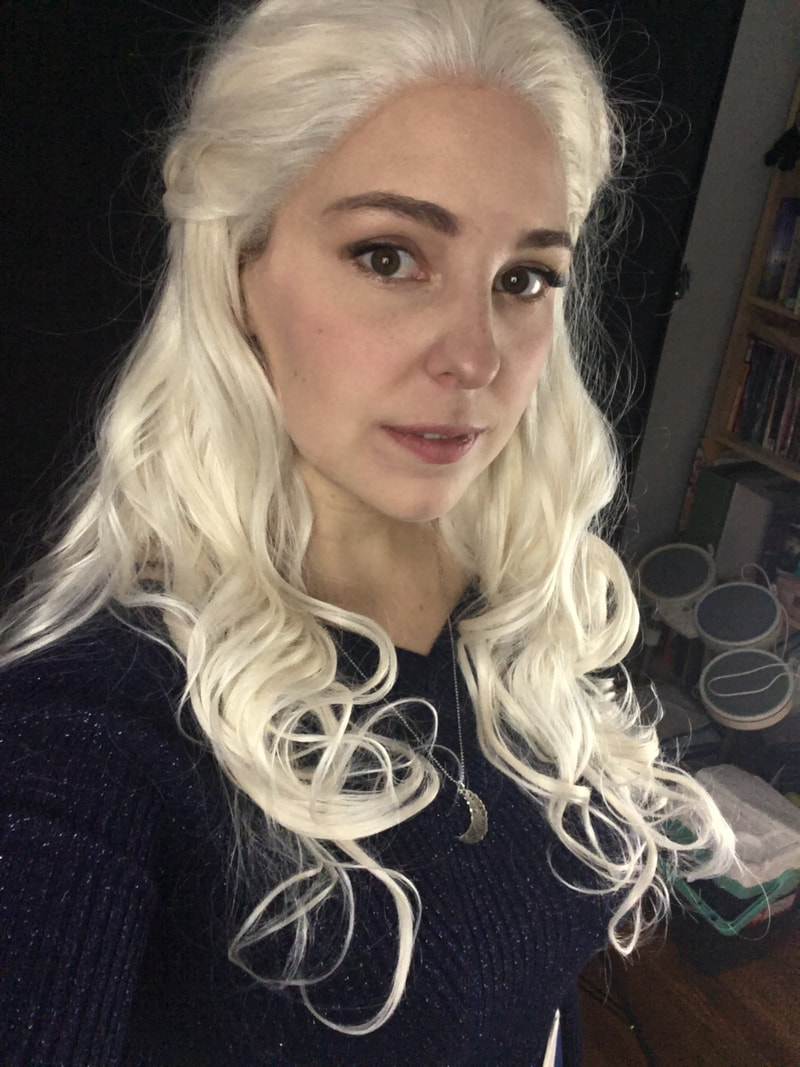
Like I said, I'm not totally sold on how poofy the sleeve is. The silk gauze is going to look *much* flowier! Photoshoot: Snowy Daenerys!Brad Behles Photo came up this weekend to do some wintery shoots around the area, and we set up a little studio in my living room! I did some makeup and had a cute outfit (and stole my roommate's Funko Pop Drogon, Viserion, and Rhaegal. I'm sure she'll forgive me...)
 Those photos should be coming out really soon! I'll keep you updated c: And that’s it for this week! Next week (Dec 4-11), I’m focusing on draping the upper half of my Katara dress! |
Ginny Liz StorytimeEntirely too much rambling about costumes, but if that's your thing... Archives
October 2018
Categories
All
|


 RSS Feed
