|
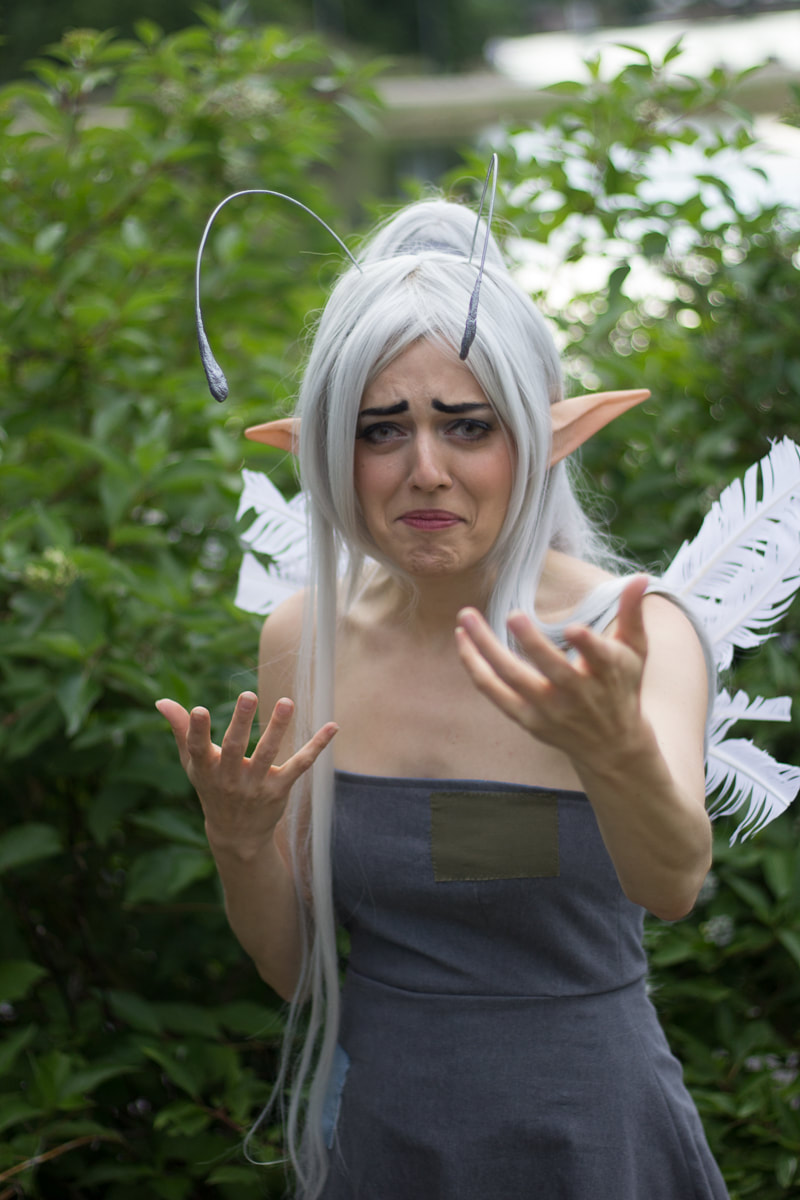
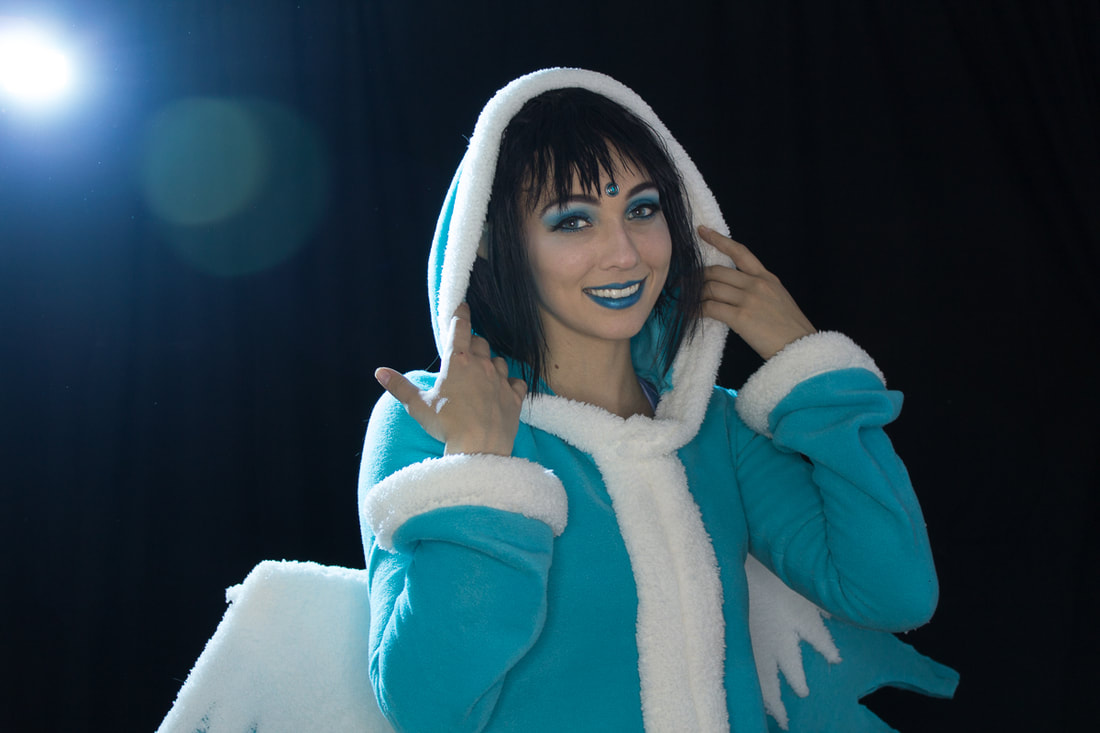
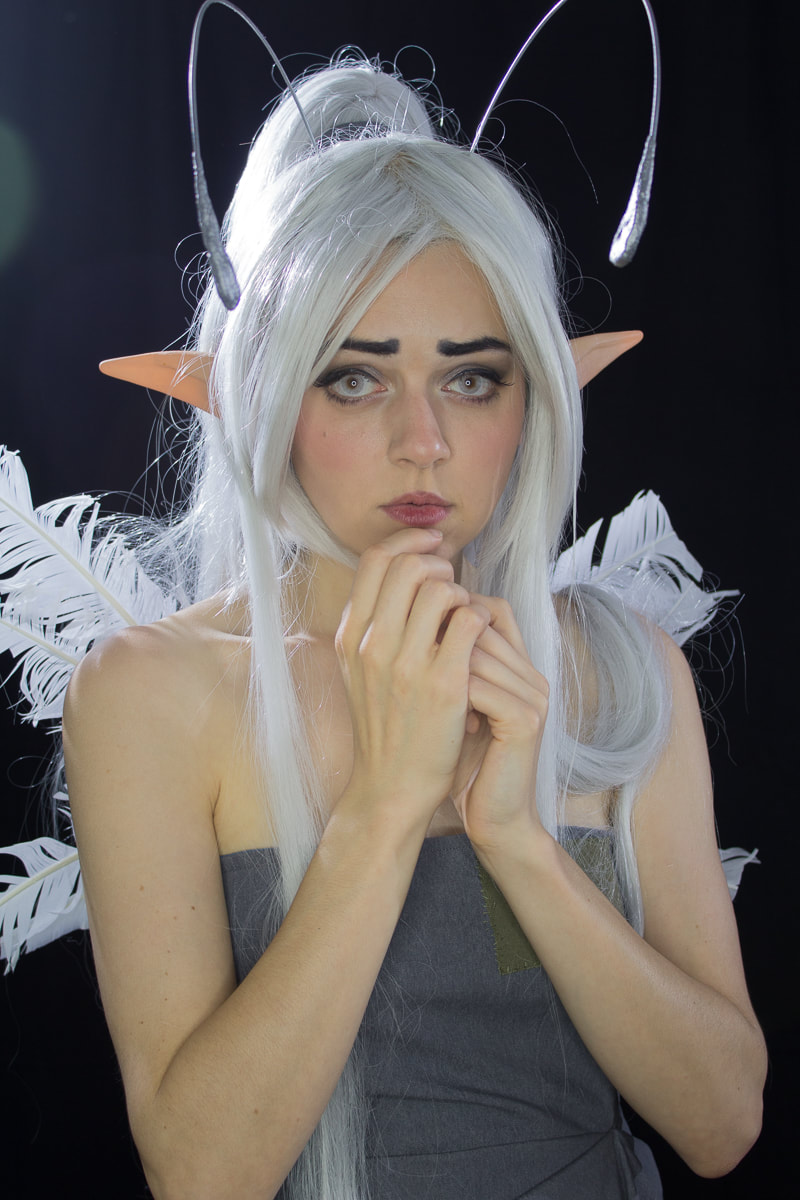
I intentionally spread Neopets cosplay fever to Ginny Di, and in the two days after Denver Comic Con she made a Grey Faerie costume! The fever is apparently highly contagious, because we also roped in a new friend, Hide, to create Taelia the Snow Faerie in the same timespan! #sorrynotsorry And we looked f a b u l o u s on the day of the shoot, let me tell you.
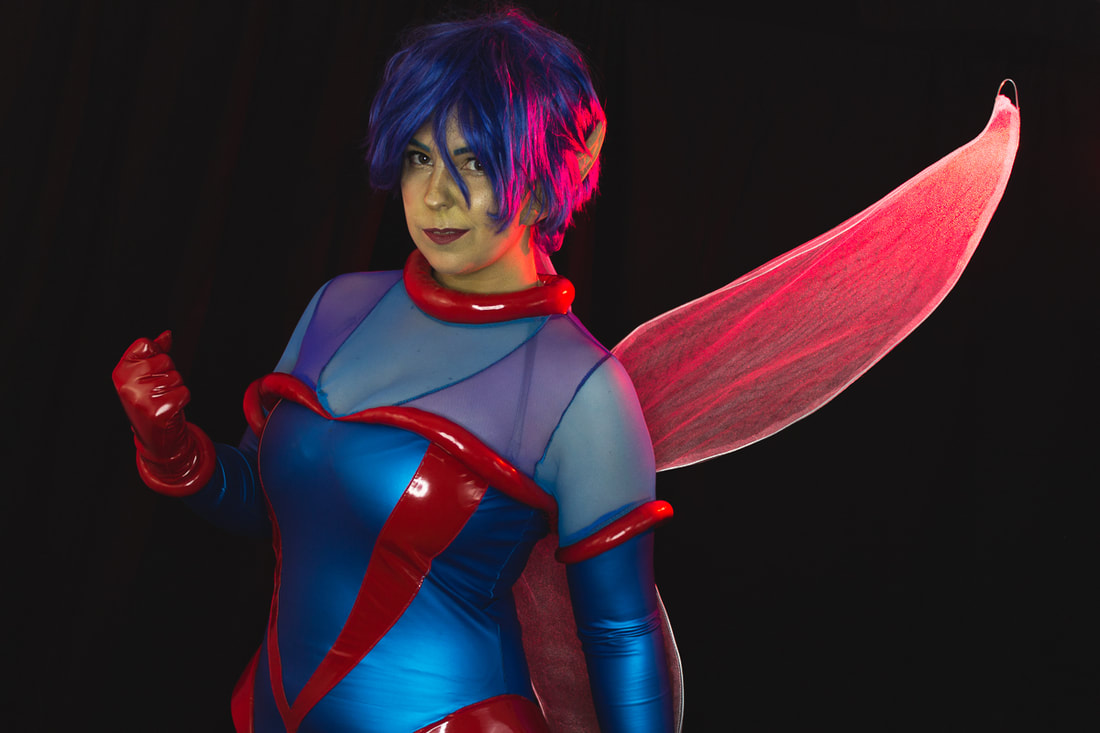
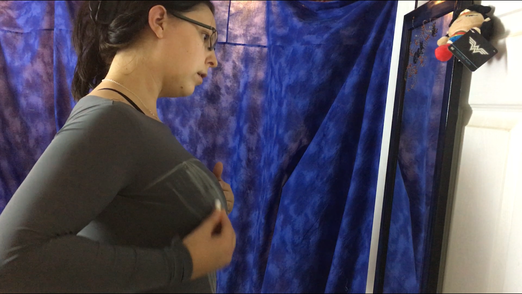
We started at Ginny’s in-home studio, a setup that consisted of a backdrop (we used white, then black), two studio soft boxes, a large ring light, and an off-camera flash! All the images I've included in this blog have minimal processing; I've just added a few color toning and skin retouching things in Lightroom to show what sort of cool stuff we were able to get before any Photoshop magic occurred! 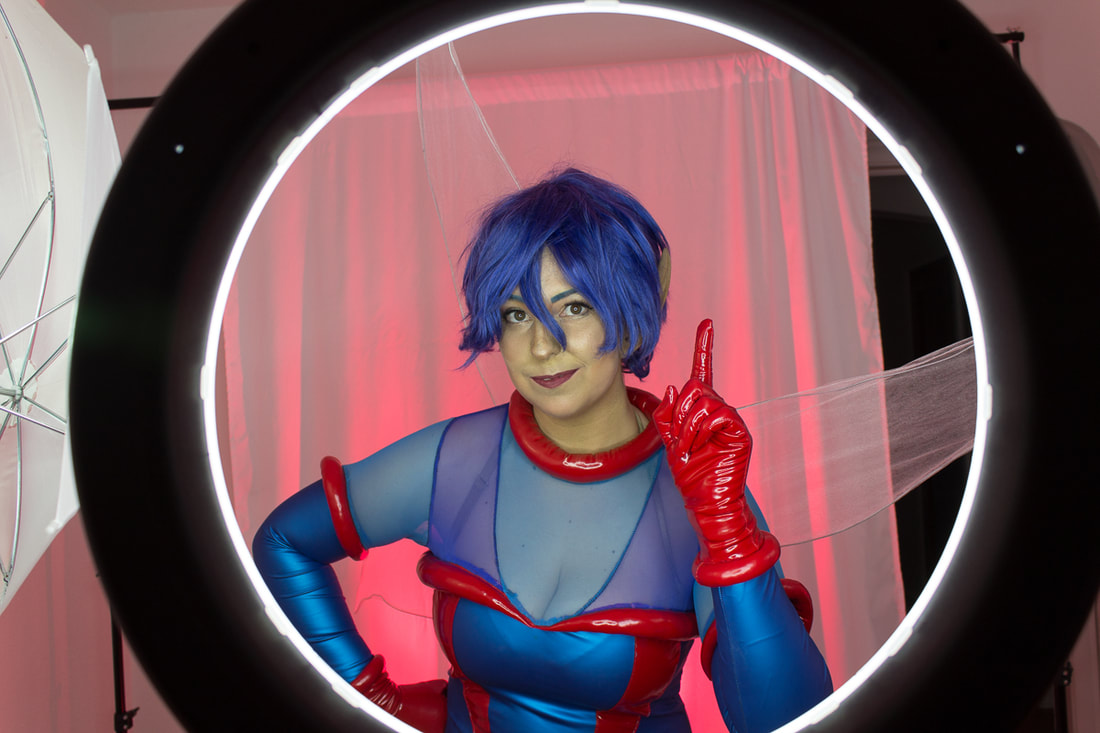 This was the first time either of us Ginnys had used an off-camera flash, but it turned out to be really easy. I just hooked up some radio triggers to my camera and my flash and vwa-lah! Instant backlighting! We also figured out how to do some nifty lens flares.
My wings were especially neat when it came to the backlighting. Because they're made of a diffusing white sparkle tulle, they took on the hue of whatever color gel was over the speedlight, so I could switch between good and evil (or, paragon and renegade) modes!
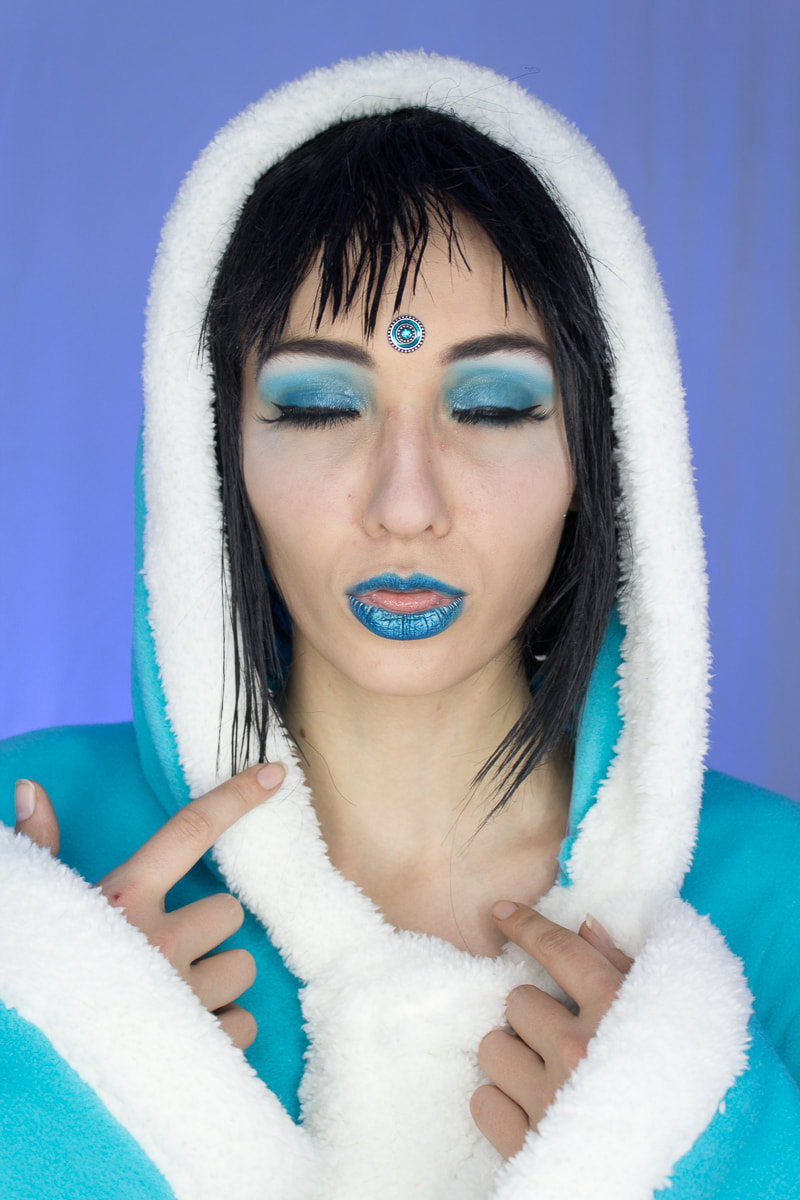
Once we were done shooting inside, we wandered to the park across the street to get some photos of ourselves in “Faerieland”! As any hardcore Neopian knows, Faerieland fell out of the sky in Y12, landing the Faerie city in a lush Greenland between the Haunted Woods and Brightvale. We didn't shoot many photos here, instead deciding to focus on video. But we did get this very cute shot of the three of us in front of a bush! 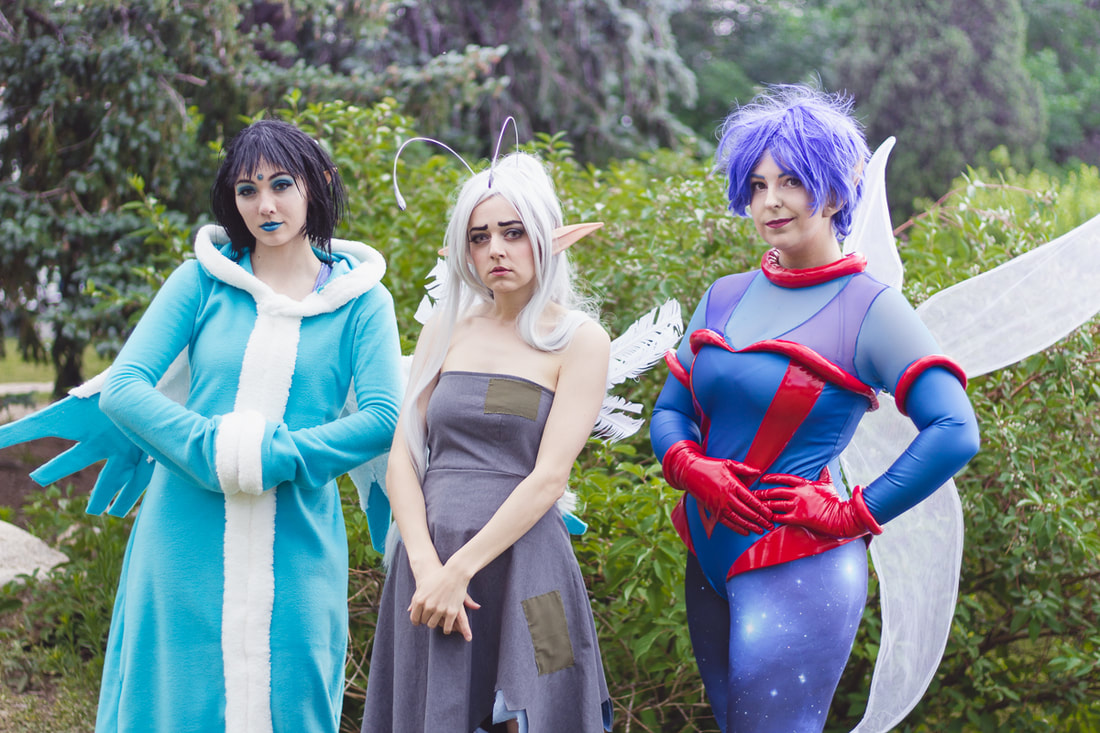 The full video will be coming soon, but until then, here's a teaser of Taelia in the snow! Keep an eye out for early access to images on my Patreon feed, as well as on Hide and Ginny Di's social media! All in all, this was a fantastic shoot where I learned a plethora of new things and got to collaborate with some incredible people! I'm really excited to be back in Philly and to work on some more fun, collaborative projects like this!
0 Comments
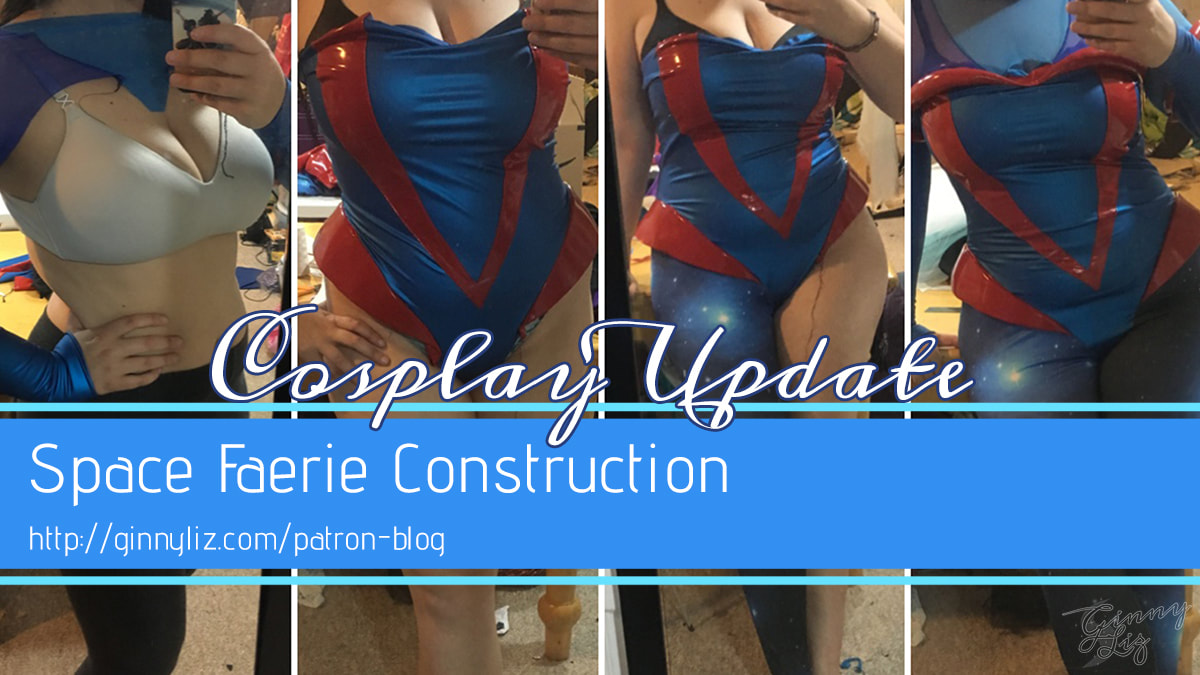 Sewing Up a Space Storm
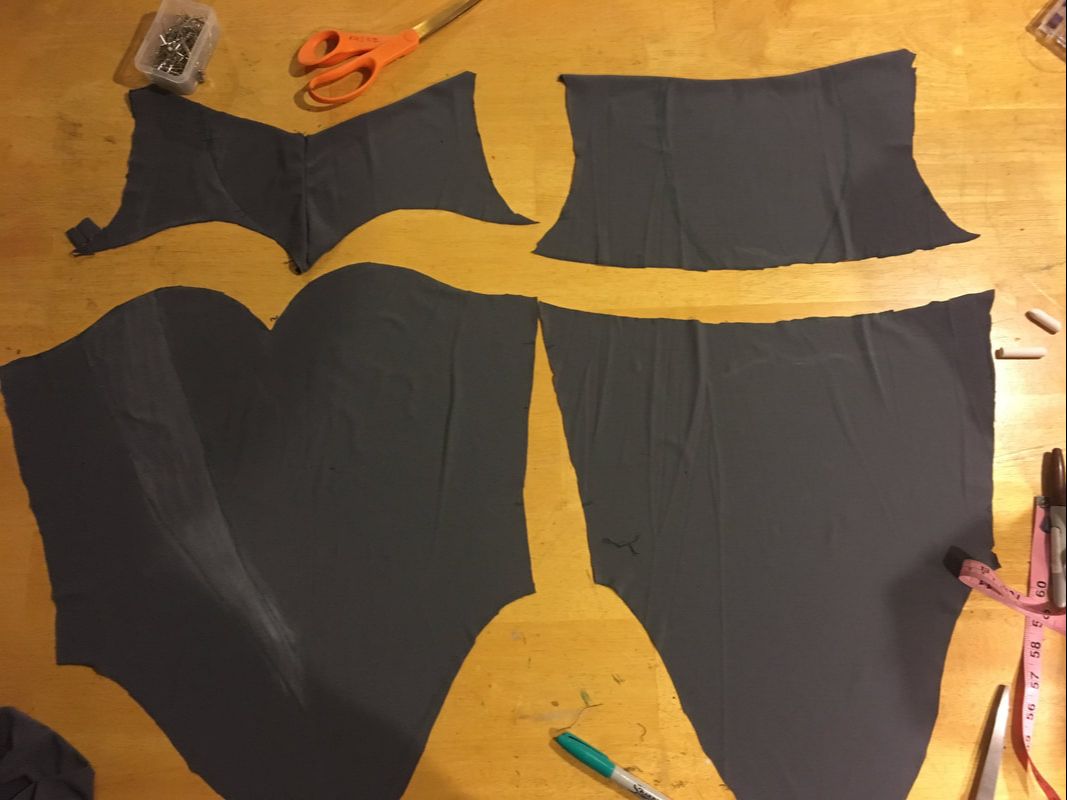
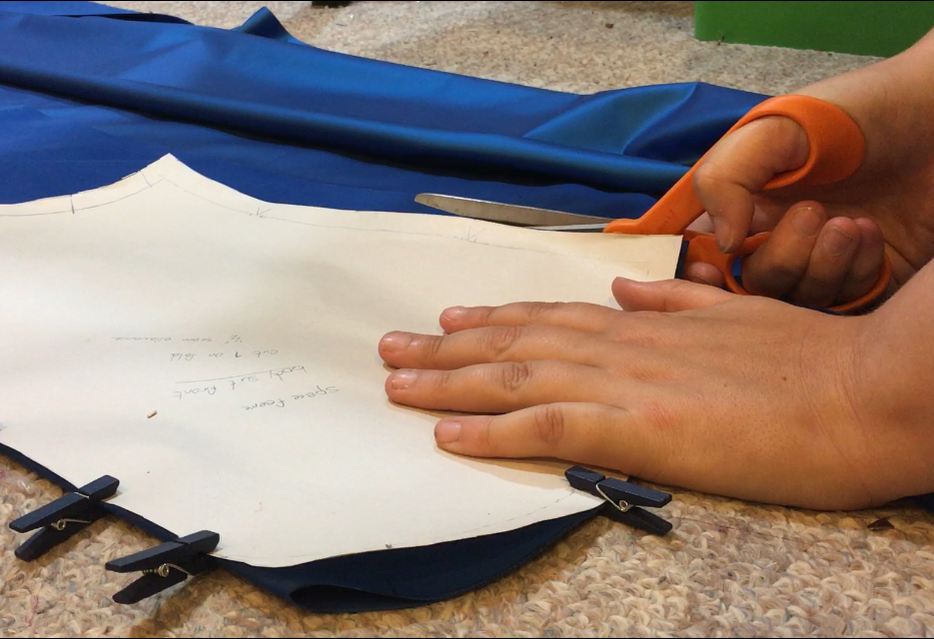
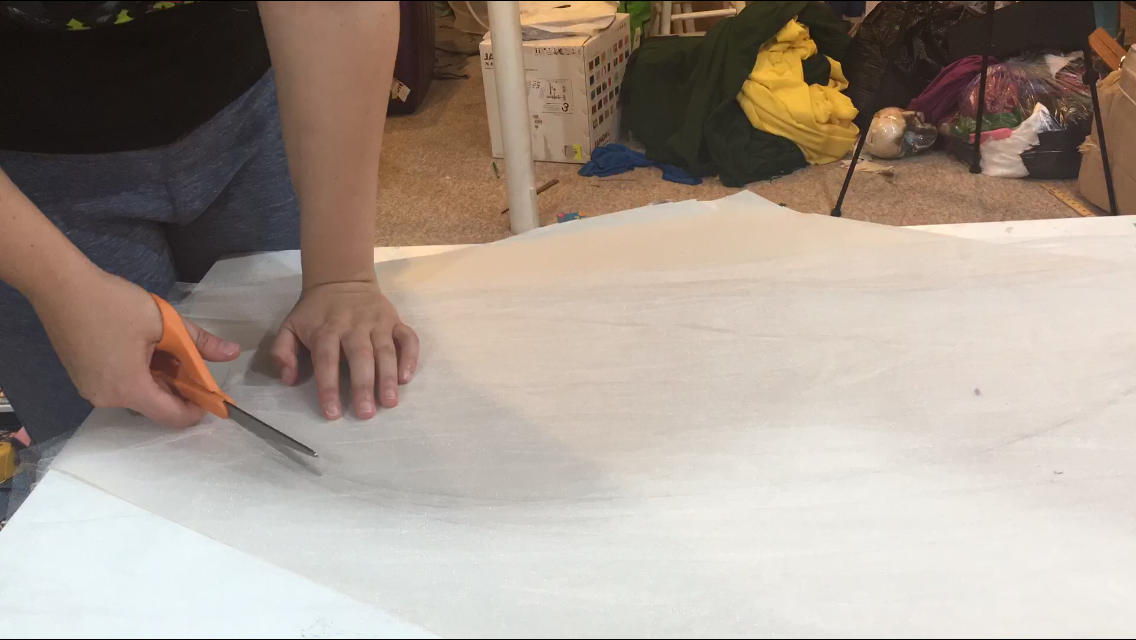
Once the pattern was finalized, It was time for the most terrifying part of the project: cutting into the expensive fabric. The first cut is always the worst -- once you make that cut, you can't go back! The Yaya Han Ultrapreme and Super Stretch fabrics can be daunting to work with until you know the tricks! Here’s my process:
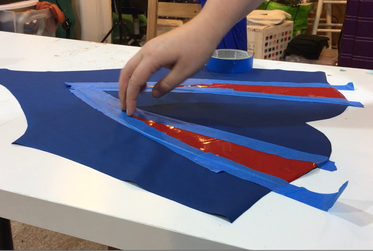
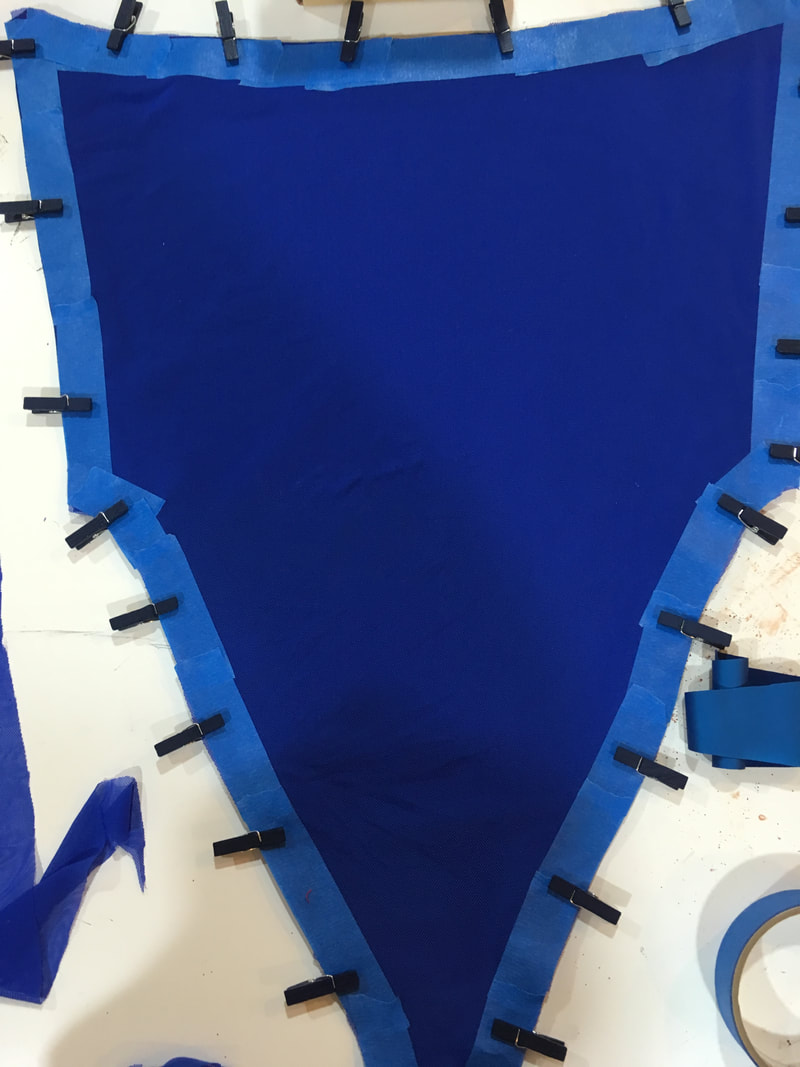
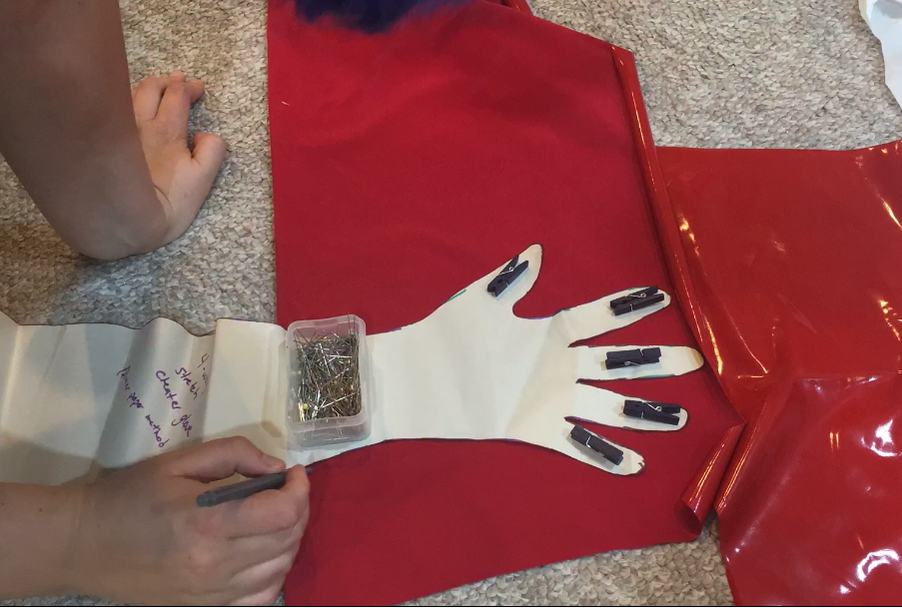
Quick note here: Super stretch is much harder to mark and cut than Ultrapreme simply because the fabric really likes to curl up along the edges. Use pattern weights and fabric clips to help counteract the curling! Once all the pieces were cut out, I appliquéd the red V on the front part of the bodice. Appliqué with coated stretch fabrics presents a few problems:
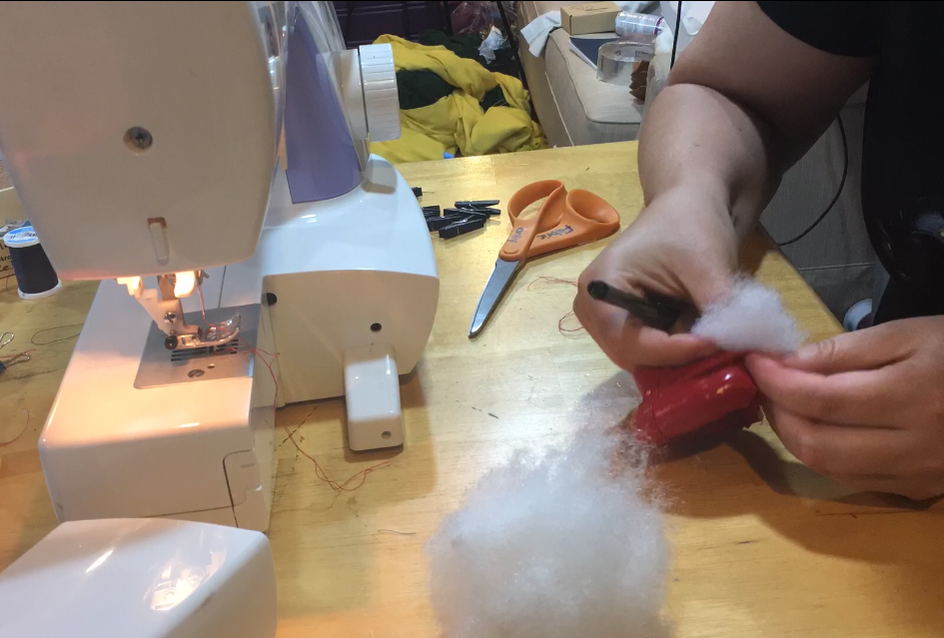
To attach the power mesh, I again used the tape stabilizer method to keep it from stretching and fabric clipped the heck out of it to keep it from shifting and stretching while I was sewing it down with my sewing machine. I used a simple straight stitch, but upon reflection, I should have used a zig-zag! Once that was all taken care of, all I had to do was attach all of the pieces of the body suit together! Many of these pieces have poofy red tubes connecting them. I created these by making tubes of fabric, sewing them in between the pieces, and then stuffed them full of polyfill (the same stuff used to make stuff animals; you can find it at JoAnn!)
The hip pieces were a little different; rather than using polyfill, I stuffed the pattern with a 5mm piece of EVA foam. This gave it structure and makes it stick up off of my hip a little bit!
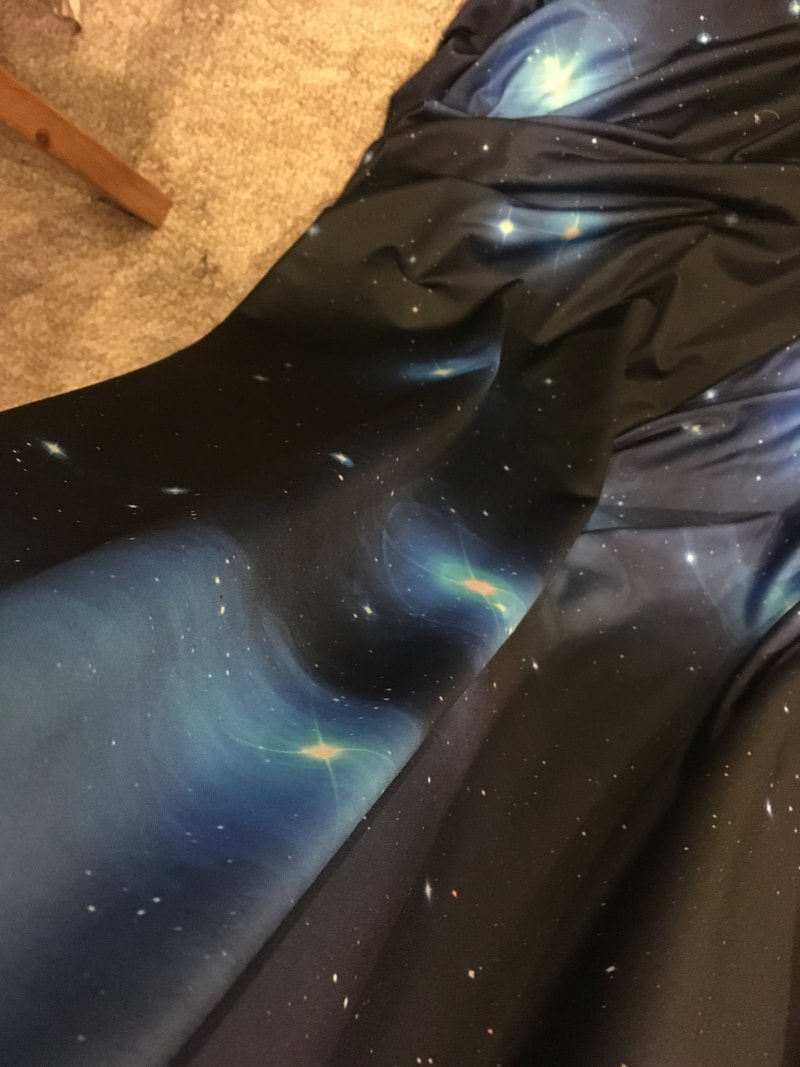
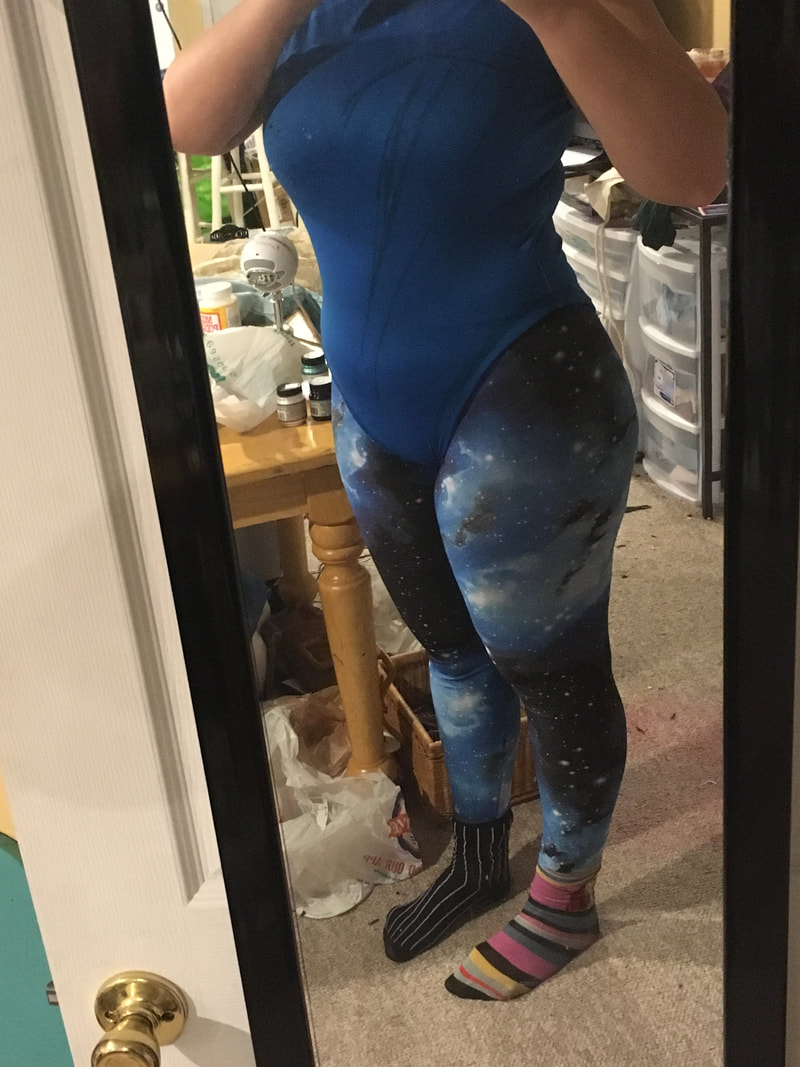
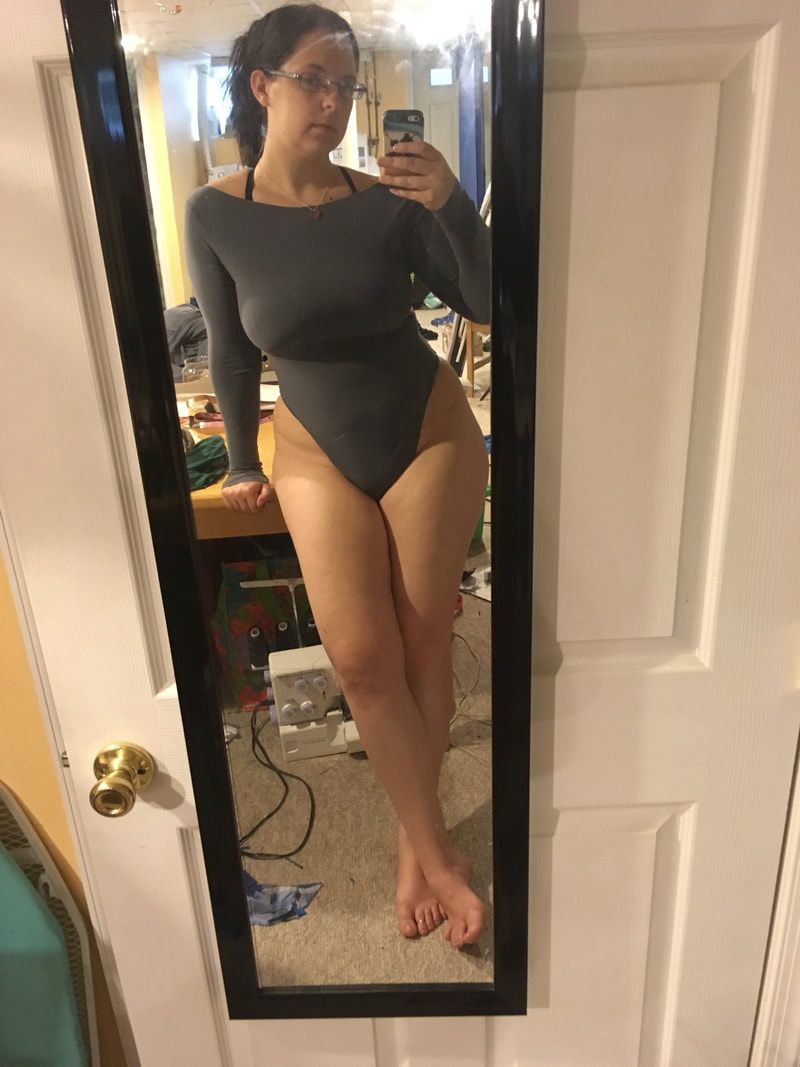
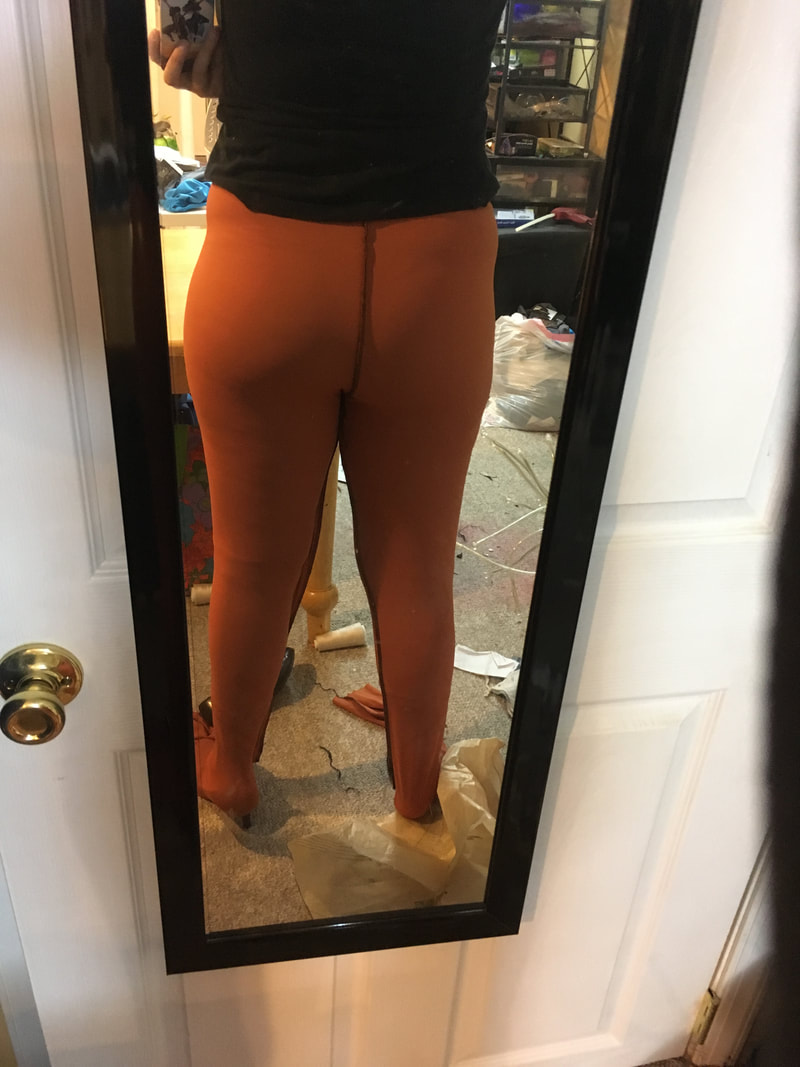
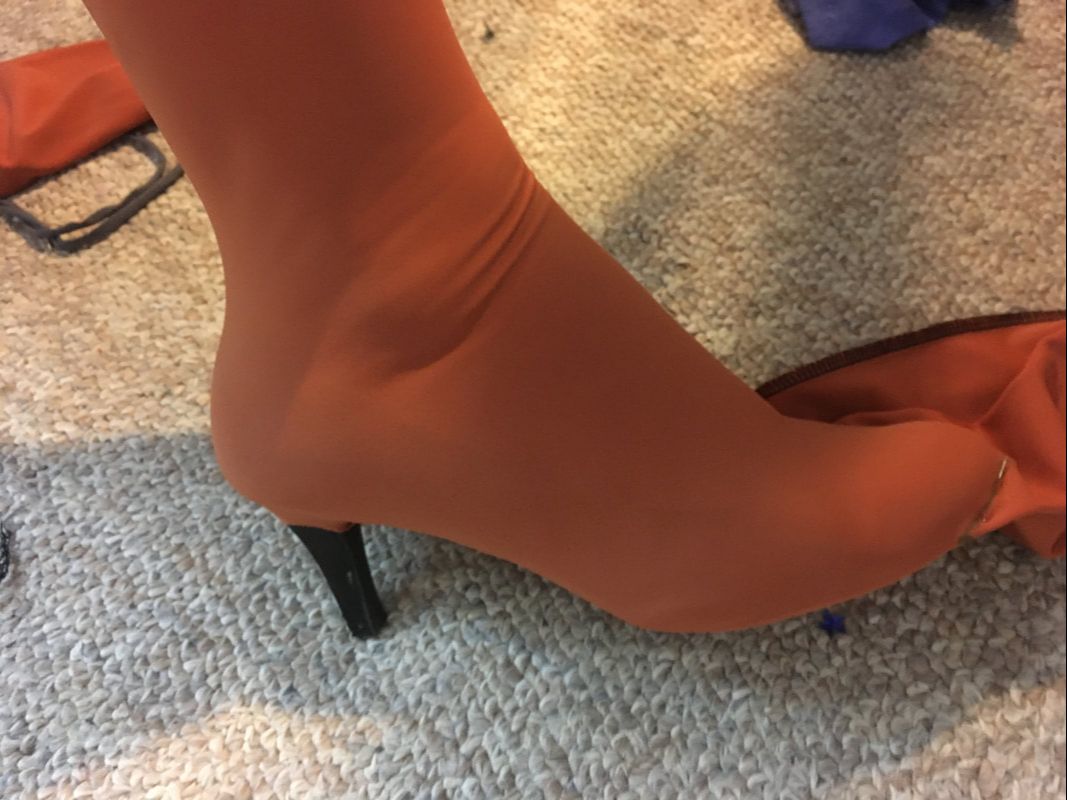
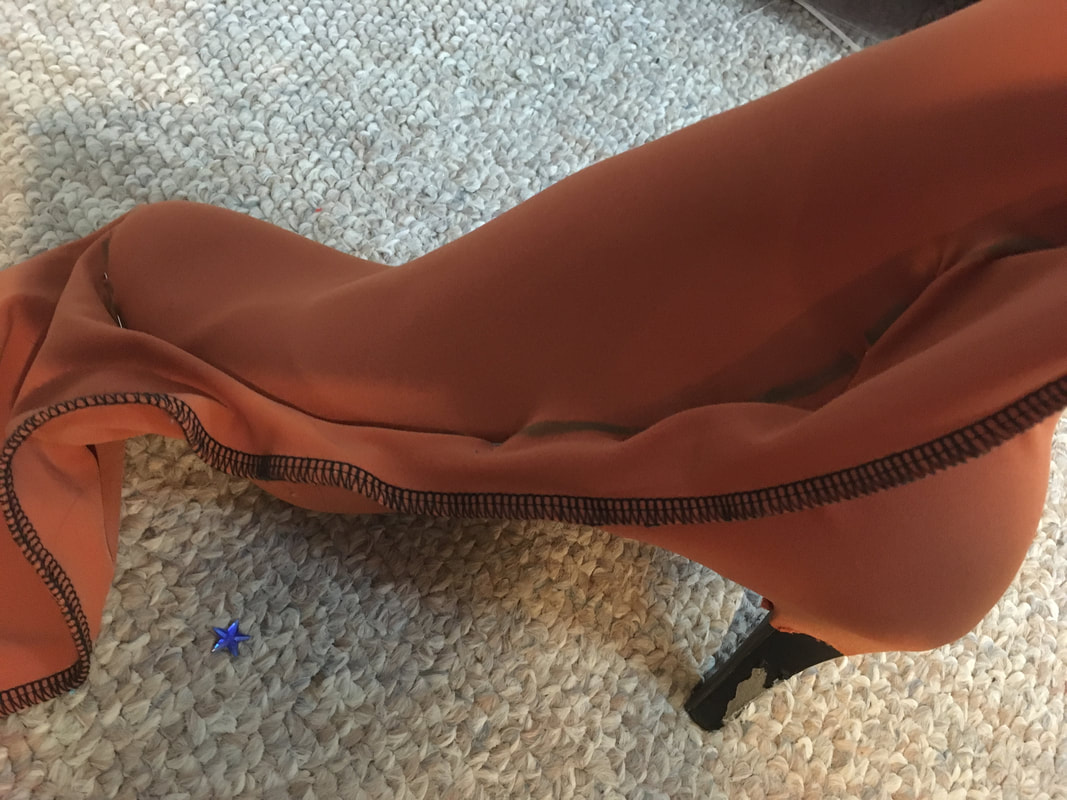
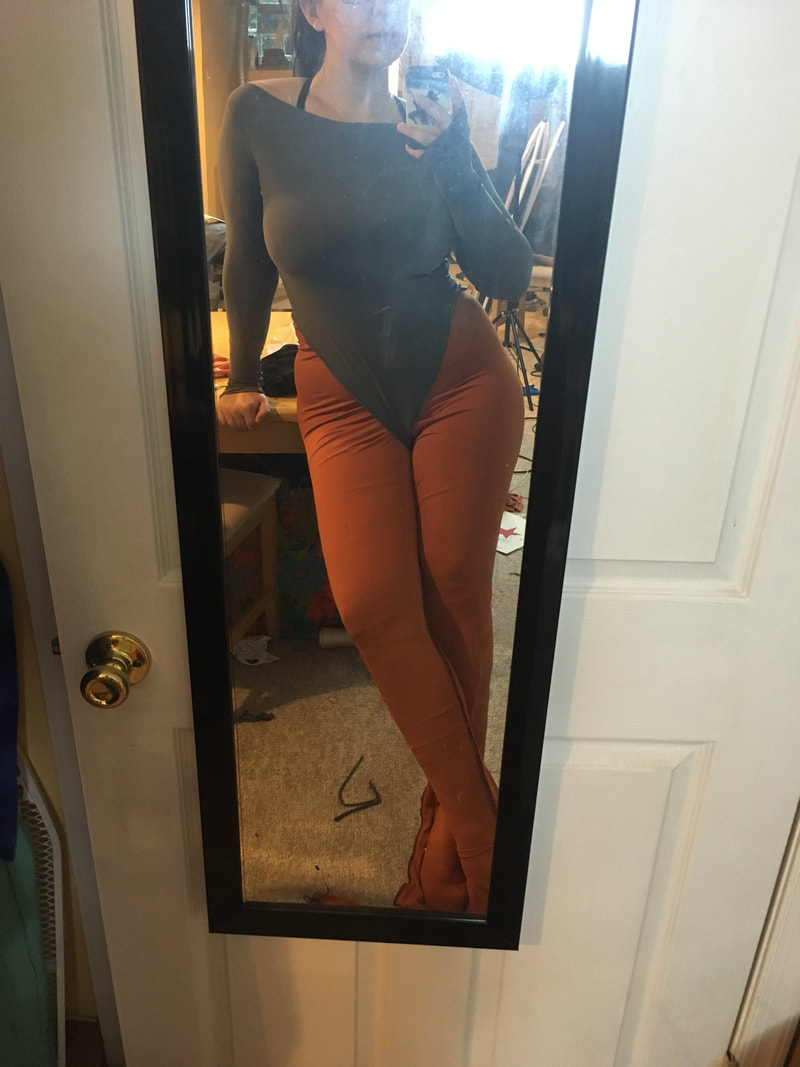
The leggings were pretty straightforward for how nervous I was to cut them. I simply positioned my pattern over the fabric, cut, and sewed — the leggings came together in just two seams. I then pinned & sewed them to the main bodysuit. I built from the outsides in: first I connected the sleeves to the mesh top, then the bodysuit to the leggings, and finally the bodysuit to the mesh top! 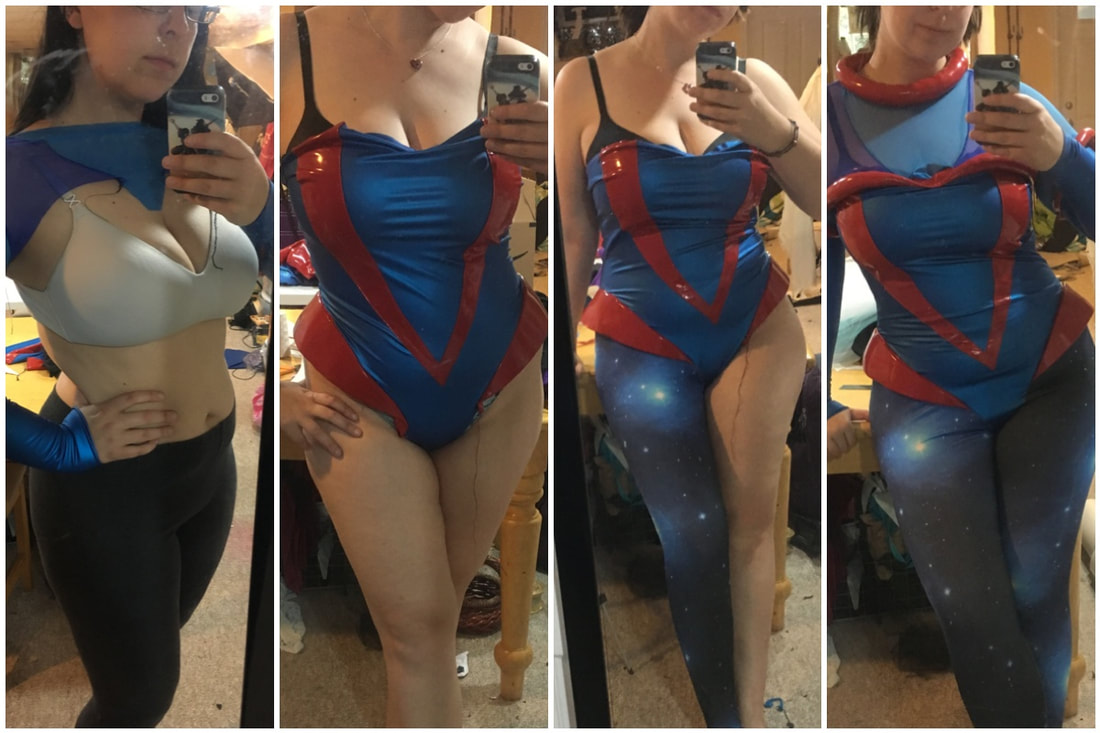
The wing's the thing!I didn't do the final version of the wings for Denver Comic Con for a few reasons:
I used a simple U-mount, where you take the wings and attach them to a "u" shape made of wire, which is then shoved underneath your corset -- or in my case, under my bra & costume. It turned out that this was not enough support to keep the wings upright throughout the day, so for version 2 of the wings I will make sure to create some sort of rigging system underneath the costume. Finishing Touches
 WHOOP so it's been a hot minute. I want to start out this update post by saying thank you so much for your patience during these past months as I wrap up my fourth year of graduate school! To celebrate the end of the school year (and the end of my student government position!), I'm going to be taking a travel break to go to Coloardo and Montana, hitting up Denver Comic Con in the process! I really want to try to have Space Faerie wearable by then! I've been working on quite a bit of behind-the-scenes stuff until now, and I think it's about time I caught you up before I move on to, you know, actually making the costume! Are You Mocking Me?
Next I tried (and failed) mocking up the arms. I ran into a few issues, all very frustrating. First of all, I accidentally had used the "back" piece of the body suit for both the front AND back of my initial mock-up pattern. As such, any sleeve I cut would not fit into the armscye. Second, I kept cutting the mock up pieces out of mockup spandex that just wasn't stretchy enough. I couldn't get it up my arm enough to make sure the fit was accurate! I ended up having to return to the store for more mock-up spandex. After three failed arm mockup attempts and numerous rounds of fitting, the poor quality spandex I had used for the bodysuit base was beginning to pull and fray. I decided to salvage the work I had done and just make an entirely new mock-up using the measurements I had taken so far.
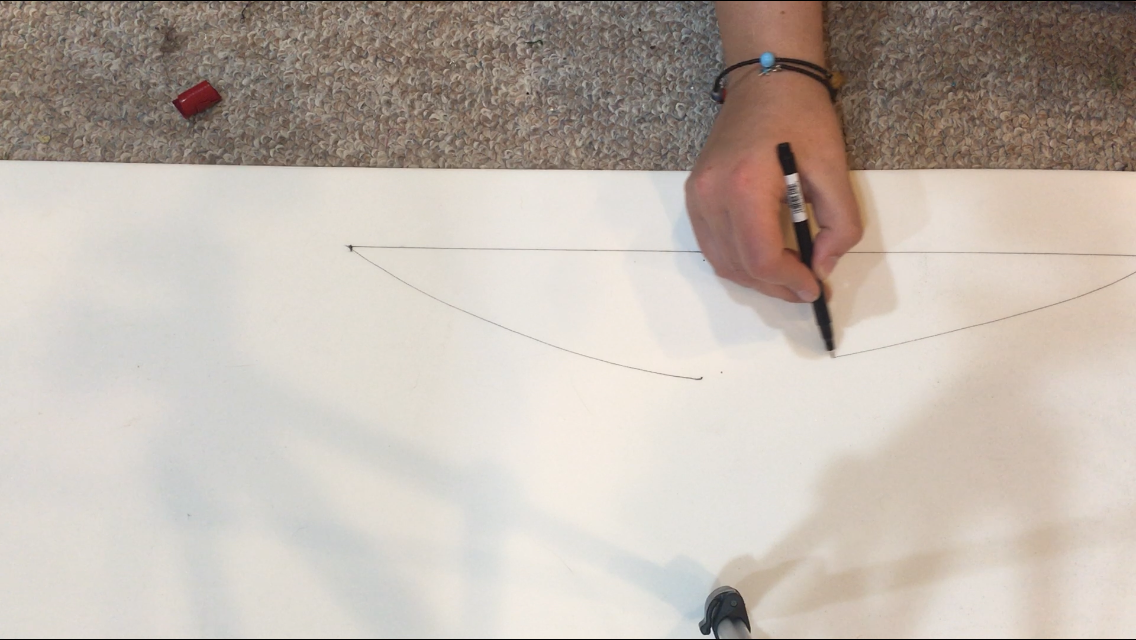
I then sketched out the shape of the red designs onto the bodysuit. I’ve decided I’m going to topstitch these rather than color block them; I really like the look of topstitching on bodysuits. It adds a touch of realism to the costume which I’m all about.
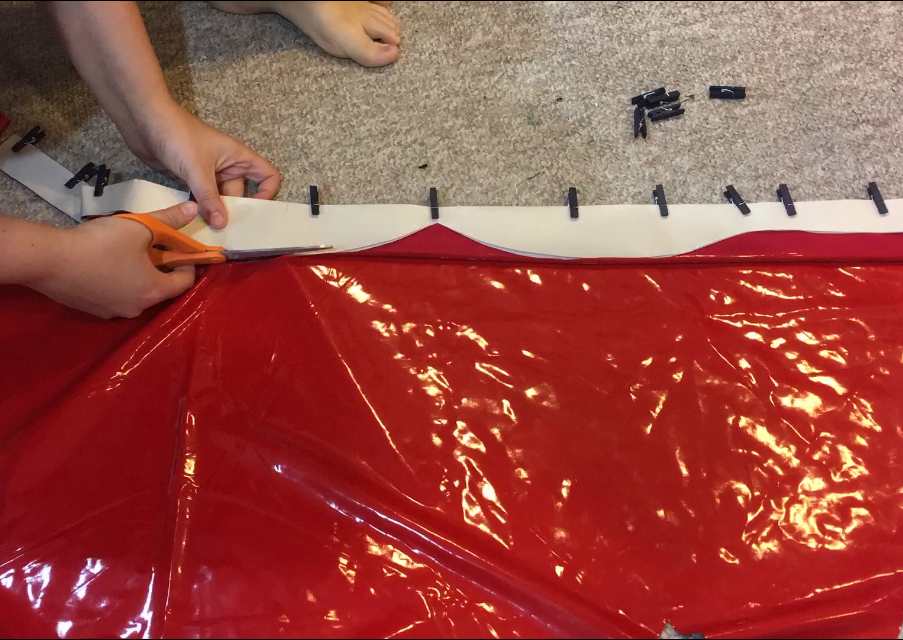
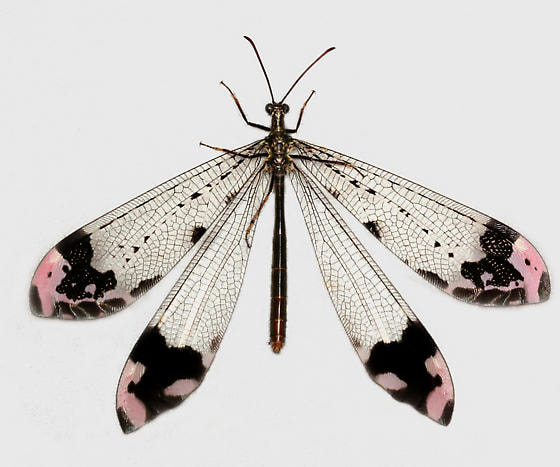
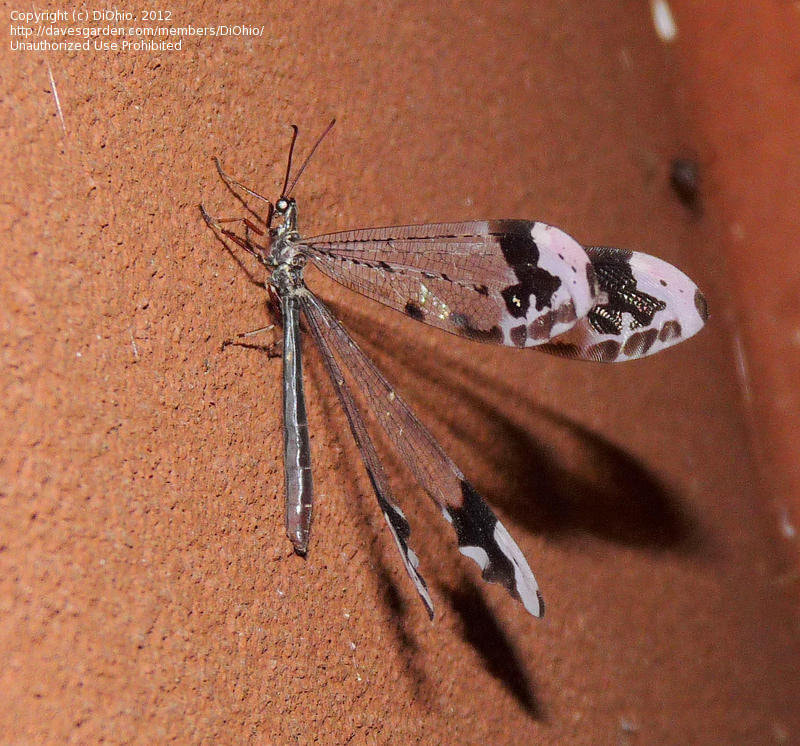
WingDingsIt took me about a month to settle on a wing design. I wanted something inspired by a real-world insect, with a similar wing shape to Mira’s. I also wanted said insect to be nocturnal, as it only makes sense that the Space Faerie would be most active at night.
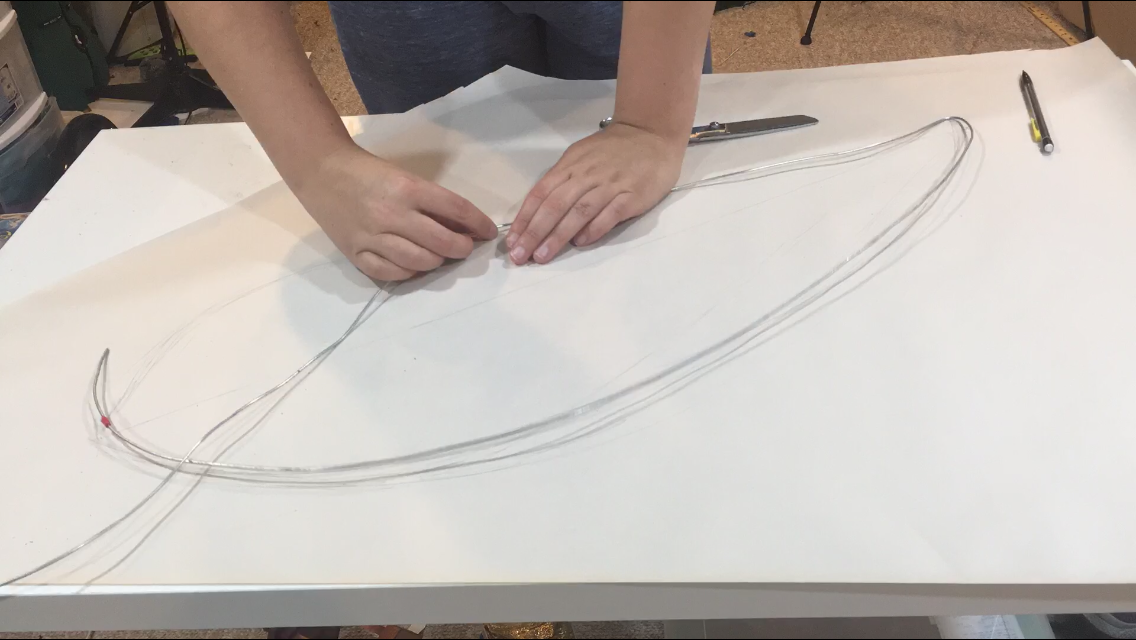
I finally settled on an adult antlion, specifically the glenurus gratus species, which is found throughout the eastern United States! The wings are a teardrop shape and spread far apart, which makes them very inefficient compared to a dragonfly. Antlions are also nocturnal (bingo), and the specific species I chose has an absolutely beautiful coloration pattern on its wingtips. It's not much of a stretch to take those black and pink blotches and turn them into beautiful hand painted nebulae! I grabbed a few photos of antlions off the internet and got the heck to work in Adobe Illustrator, painstakingly laying down a bunch of tiny lines. I'm sure this won't come back to bite me. I'm currently about 1/2 done and plan to finish up during my train commutes this week! 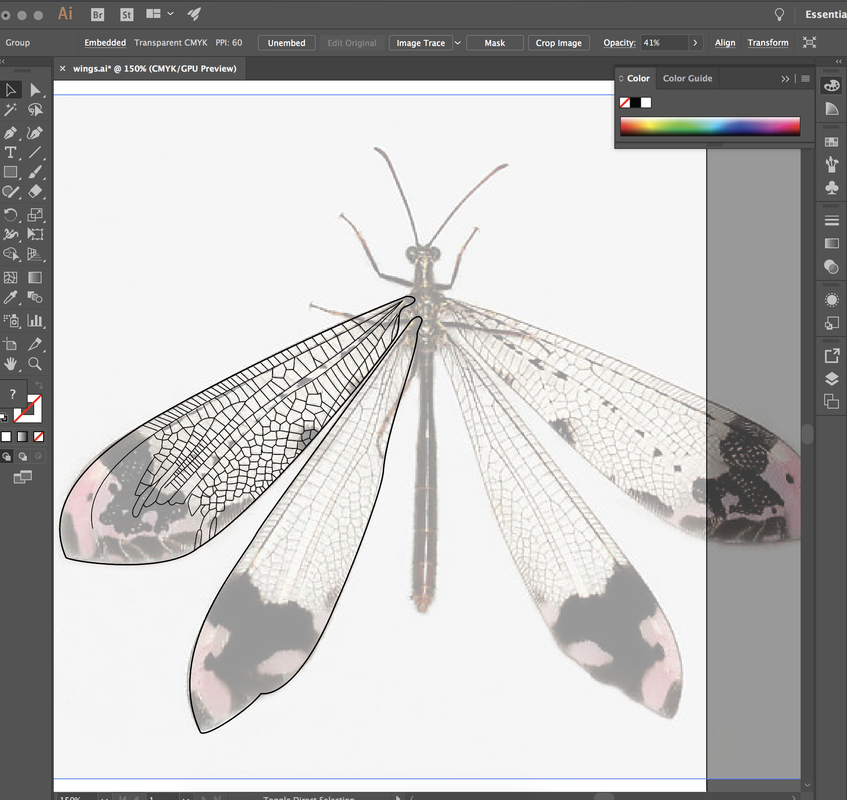 The next challenge was to figure out what materials to use for the wings. I’ve seen people make wings of cellophane and wire, but that method can be finicky and unruly for those who aren’t experienced with it. I also wanted to avoid a crinkly look — Antlions have very clear wings with well-defined veins. I brainstormed a bunch of ideas for materials -- pantyhose (too opaque), PETG plastic (too expensive/toxic), saran wrap and mod podge (don't ask), and finally settled on something I already had in my craft room: clear vinyl! I'm planning to satin stitch all of the veins before painting the wing tips to look like SPAAAAACE. Red Hair, Hand-Me-Down RobesFinally, I'm working on a super quick, extra fun costume for Denver Comic Con! I get to meet Other Ginny in person for the first time, and I couldn't be more excited! We decided that we both needed to dress as Ginny Weasley because OF COURSE WE DO, COME ON.
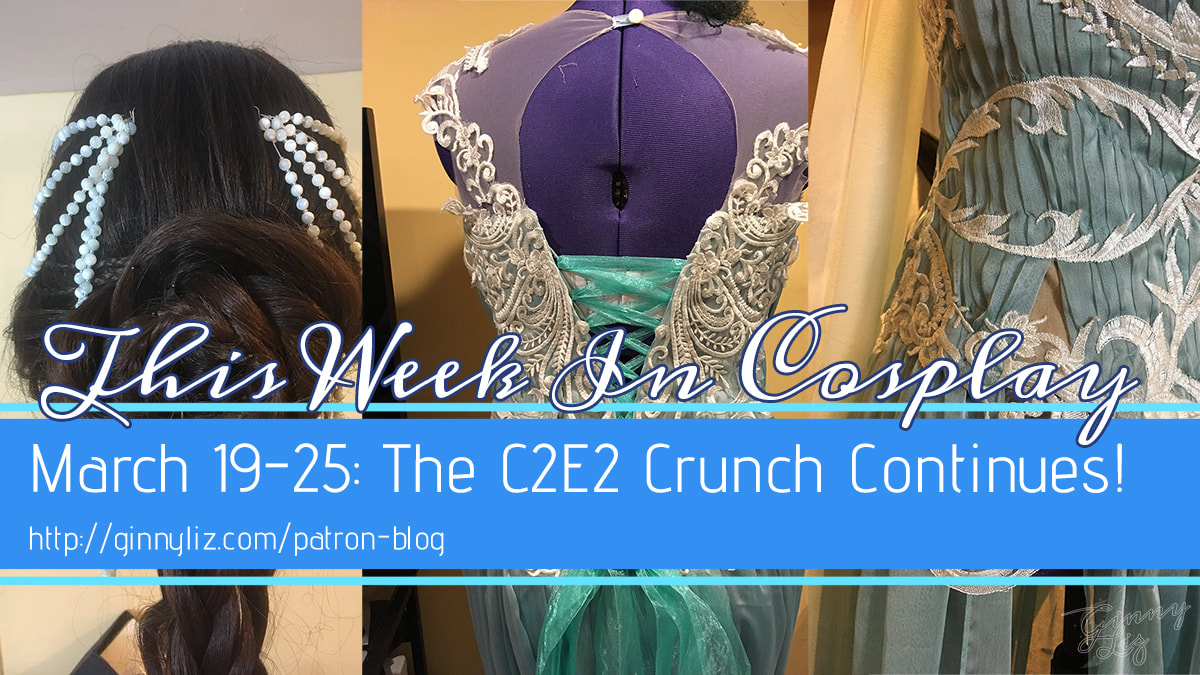
 Strap in, kiddos, this is going to be a long post. We're looking at all the last-minute stuff I finished up just in time to compete in the C2E2 Crown Championships of Cosplay! I'm combining the last week of March with the first week of April because it was all one frenzied blur of sewing. I'm not sure which things I did on which day anymore! Let's pick up where we left off! I'm out of witty hand sewing puns
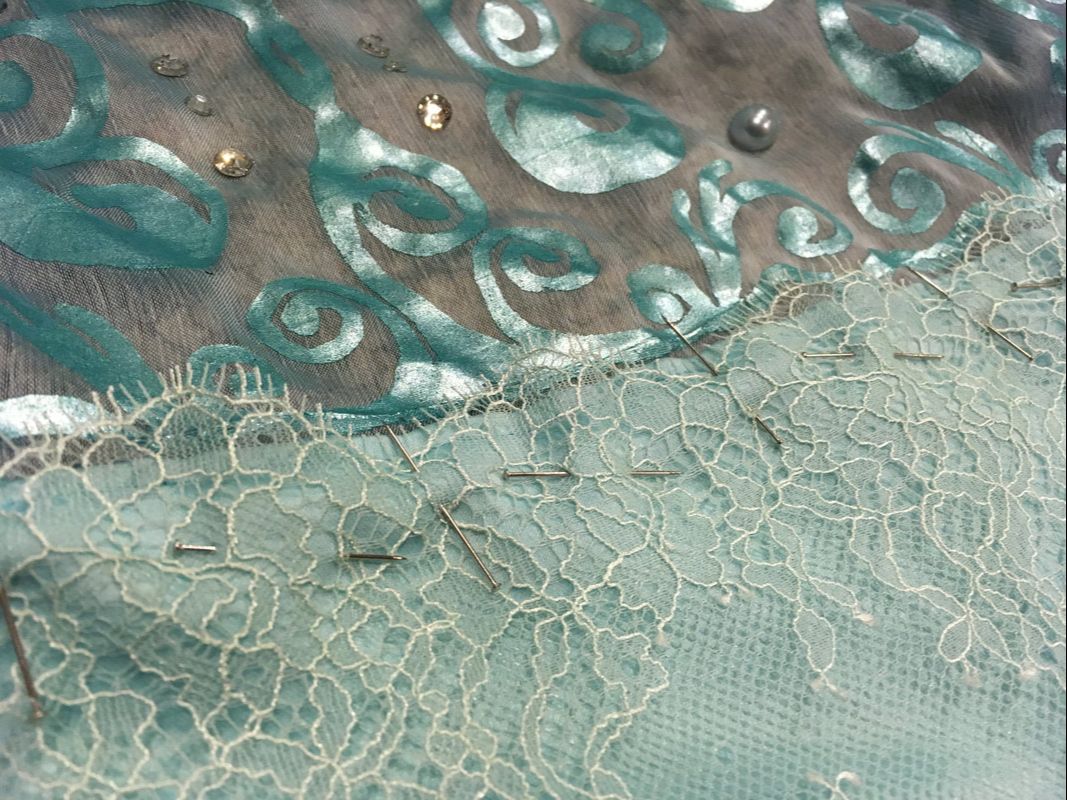
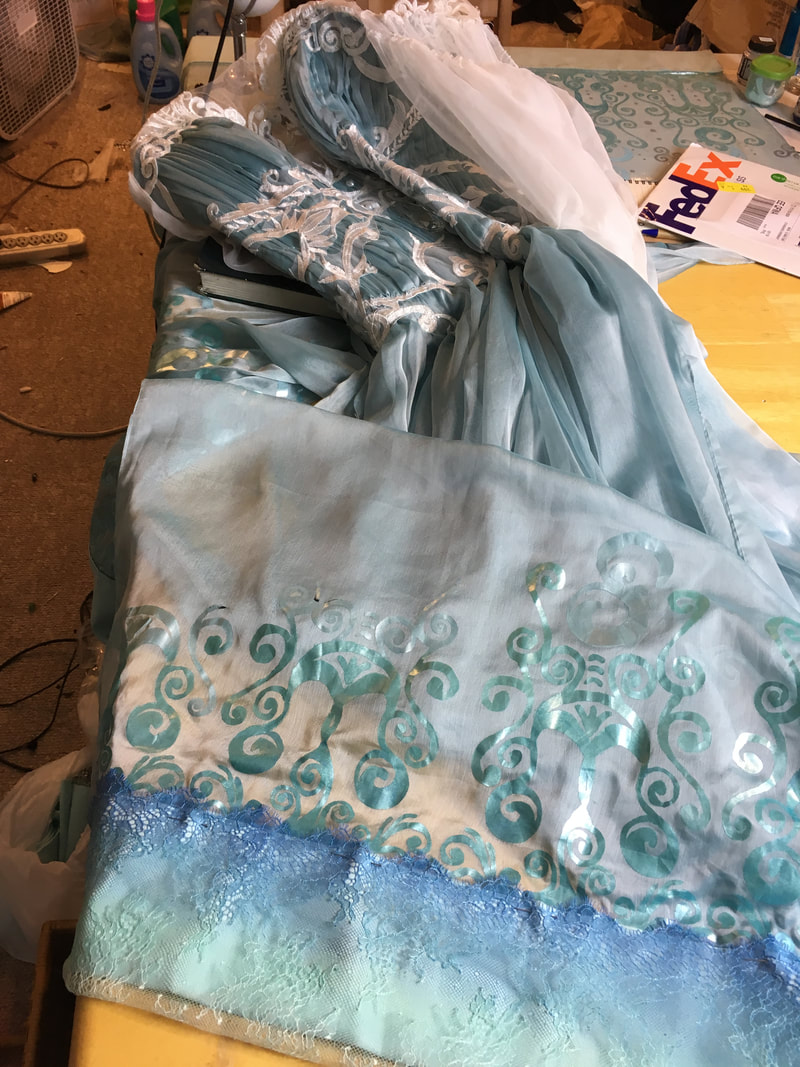
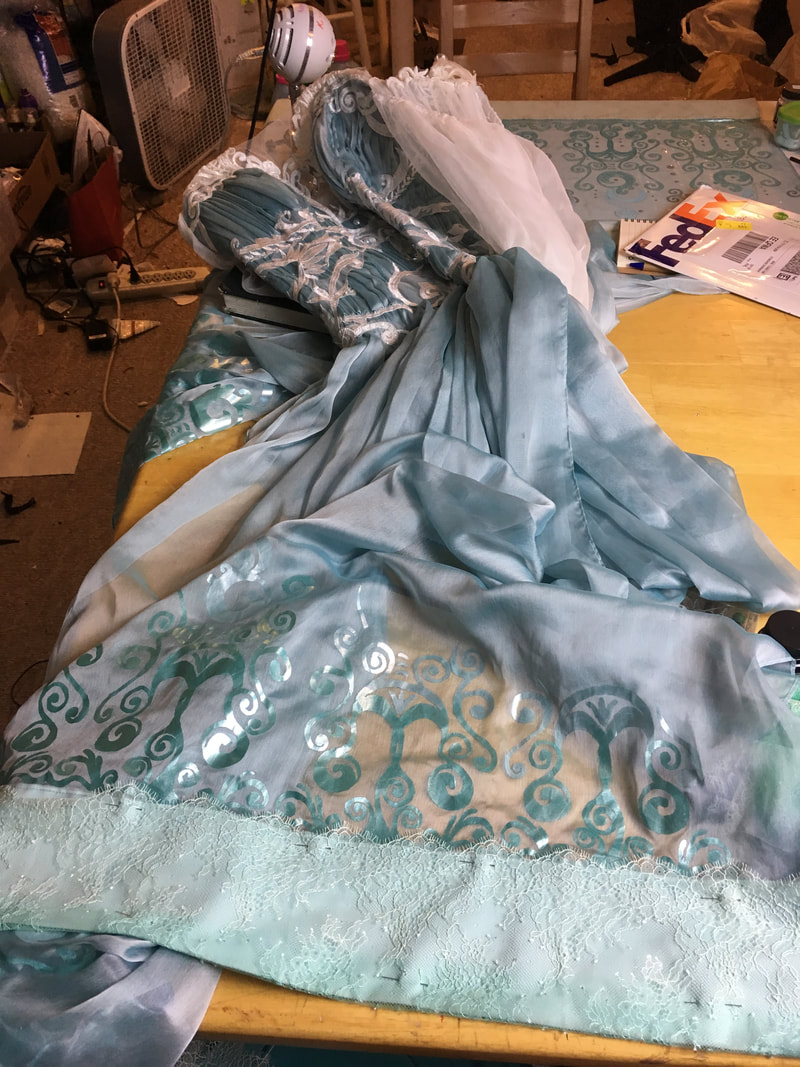
Lace PlacingI mentioned the new skirt trim I acquired a few weeks ago, and this week I actually applied it! I carefully pinned it to the satin along the bottom edge of the skirt, then sewed it down with a small zig-zag stitch (width 2, length 2) along the scalloped edge of the design, following the contours of the lace. You can barely see the stitching line!
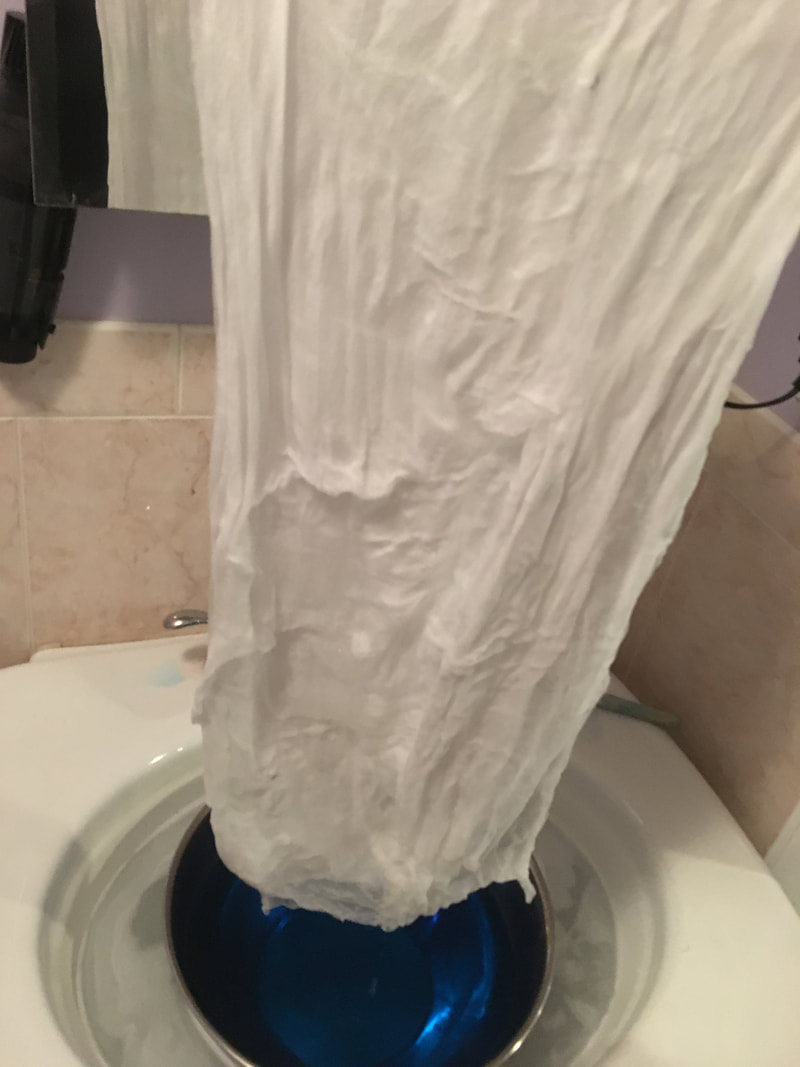
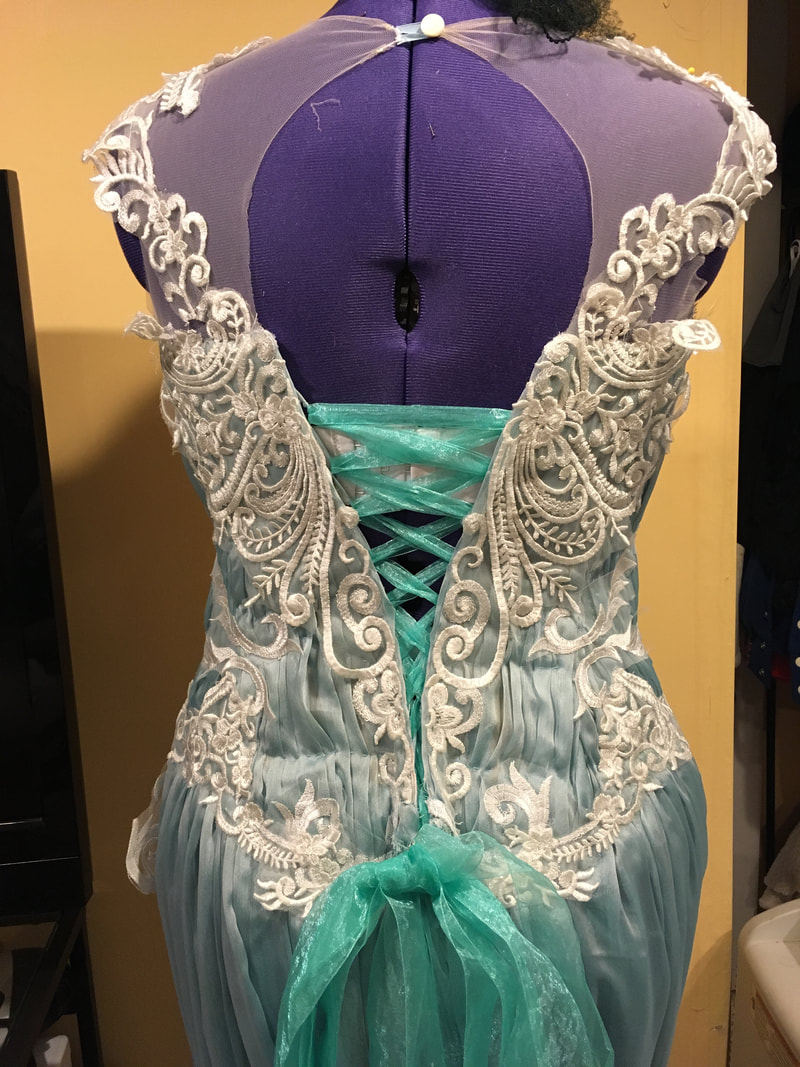
And here's the back of the skirt, folded all pretty! (Also note the extra lace decorations on the back of the illusion mesh and the new, pretty white organza ribbons!) 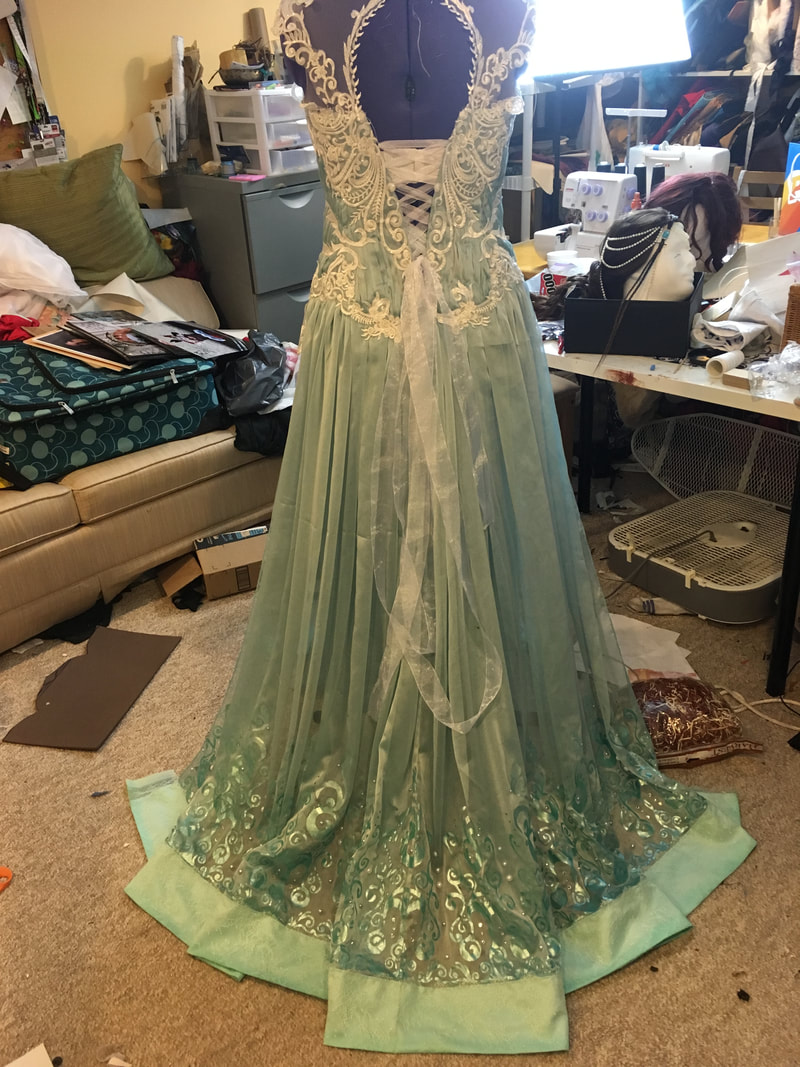 It's time to D-D-D-DYEI’ll admit that I tend to put off dyeing things until the last moment. Guilty as charged. But this dye job turned out to be relatively painless!
I wet the gauze, dunked it up and down concentrating on keeping the bottom fifth in the water. My method of dyeing is very qualitative; I dip the fabric up and down, keeping the lowest bit in the dye and only submerging all the way up to the top 1-2 times. 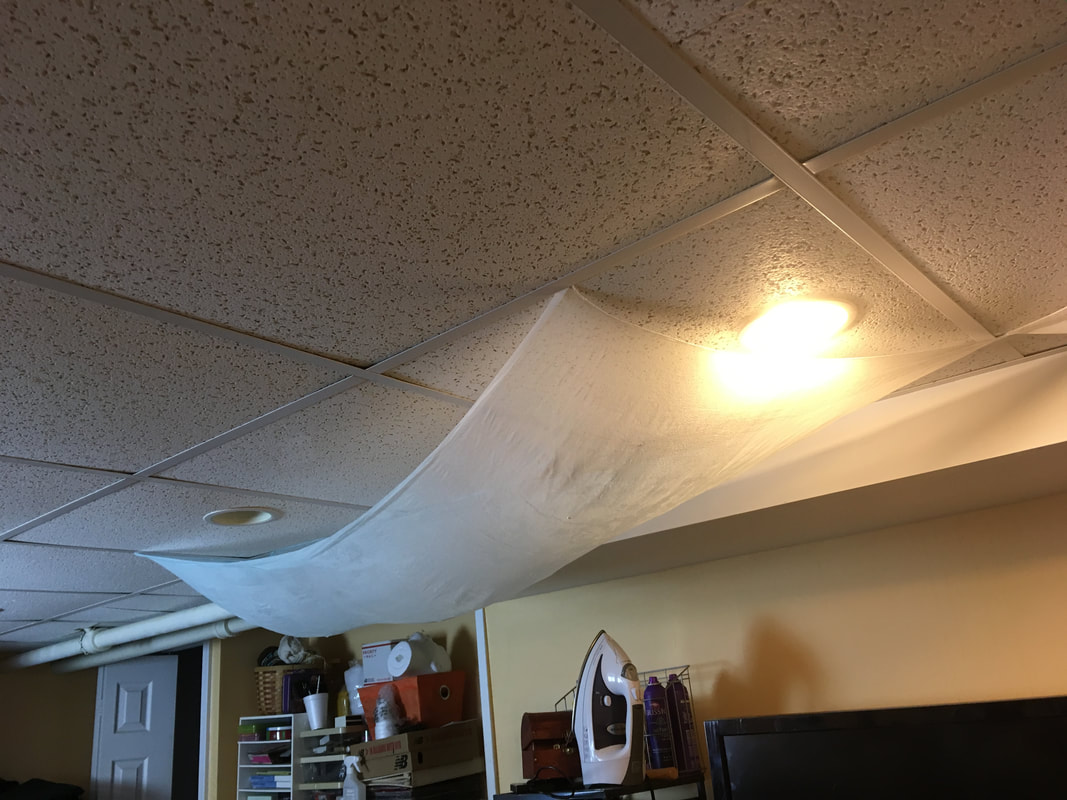 This is how I dry my dyed fabric -- by sticking it in my ceiling tiles! Sleeves are hardHold onto your butts, I'm going to try my best to explain my totally amateur method of flat-drafting gathered sleeves. To actually make the sleeves, I used my dress form to measure around the arm hole (18”), noting where the side and shoulder seams fell (splitting the sleeve into an 8” front section and 10’” back section). and how tall the armhole had to be (6”). I then made a rough pattern for the top of the sleeve with those measurements. I wanted the top of the sleeve slightly gathered, so I multiplied the distance around the armhole by two (18”x2 = 36”). I marked a piece of pattern paper 6” tall and 36” wide, put a marking at the shoulder seam (16” from the front, 20” from the back). I sketched out the curves of the pattern based on a non-extended sleeve pattern. The armhole didn’t have to be *too* precise, after all — gathering would get rid of the smaller errors. 
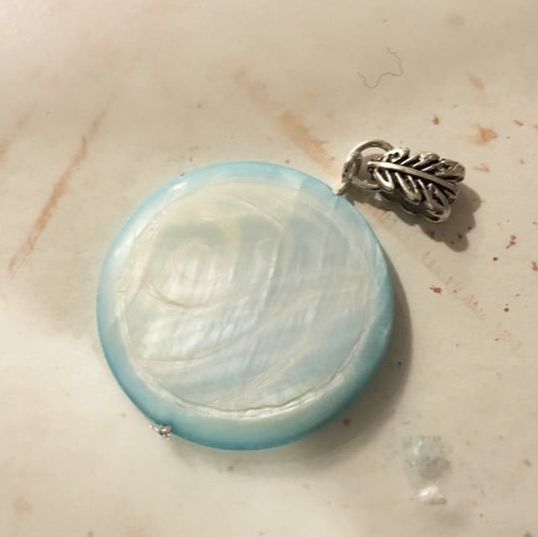
Jewelry? More like NEW-elry.One simple thing that can really take your cosplay up a notch is adding finished jewelry hardware to all your beads. Prior to this, I attached the dangling beads and necklace pendant by simply sewing them onto the dress and necklace. Time for an upgrade! All the techniques and connections I used are relatively simplistic, but they ooze sophistication. On the necklace, I threaded the pendant with a headpin and twisting the top into a loop. I connected this loop to a jump ring, which I then connected to a bail bead, which was then sewn on to the necklace.
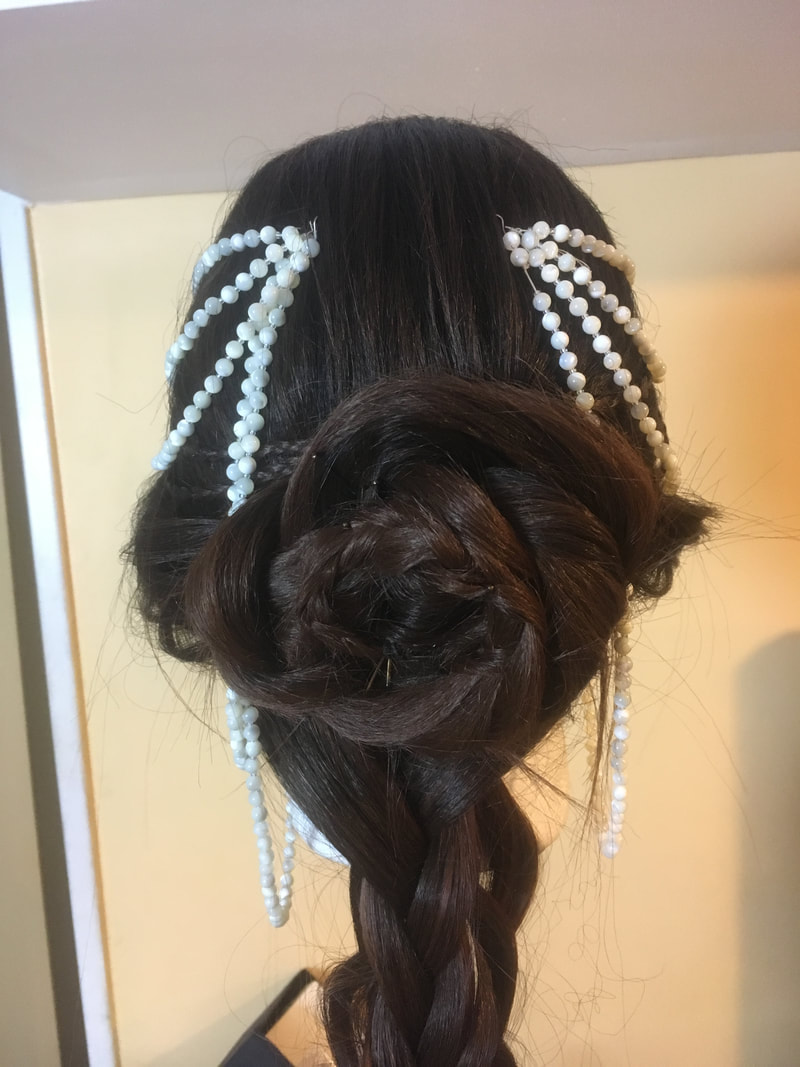
For the dangling crystals attached to the dress, I simply used my jewelry pliers to bend a headpin threaded into the hole. I wrapped the end of the wire twice to get a nice secure loop, and I’ll be sewing them to the dress through that loop. Finally, I had to re-make the headdress. This thing fell apart at MAGFest and barely held it together through Katsucon! I needed to make the construction more sturdy. The first change was swapping out beeswax thread for Fireline, a plastic beading thread similar to fishing line. I stress-tested the thread by wrapping it around my fingers a few times and pulling as hard as I could—no breakage! 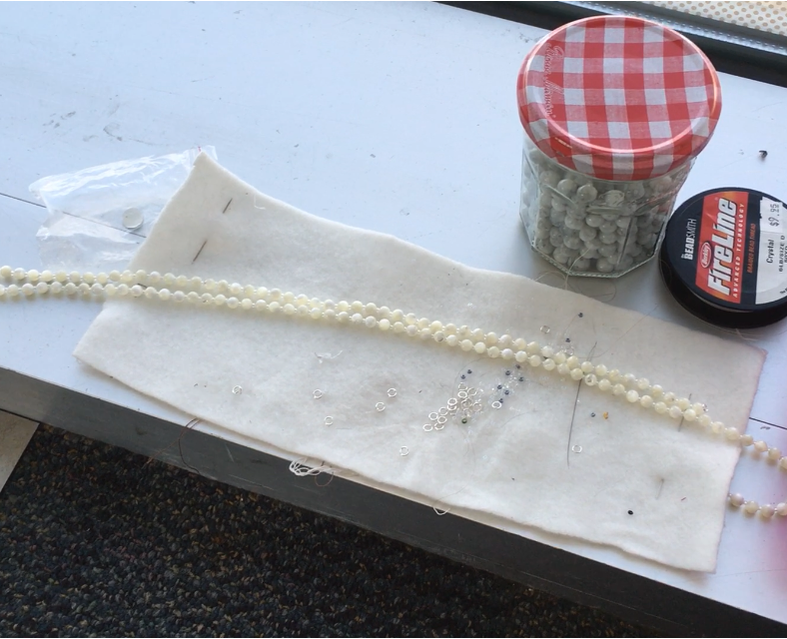 The next challenge came in how to thread the headdress. I settled for a configuration where I threaded the seed bead into the middle of a long strand of wire, double-knotted it, and then threaded the bead onto a jump ring. I used the doubled up thread through the rest of the strand, then tied a seed bead at the end, added another jump ring, and threaded a few inches of excess Fireline back through the last few beads of the strand. I also added a few small spiral seashells to the headdress! They really added a subtle something extra and I’m very glad I had them lying around. I made the bead strands on the dress in a very similar way, with the addition of handmade hooks latched onto the jump rings. These strands hook onto some nearly invisible thread chains hidden in the lace of the dress! My cat is very lucky she's cuteWe have to talk briefly about The Event.
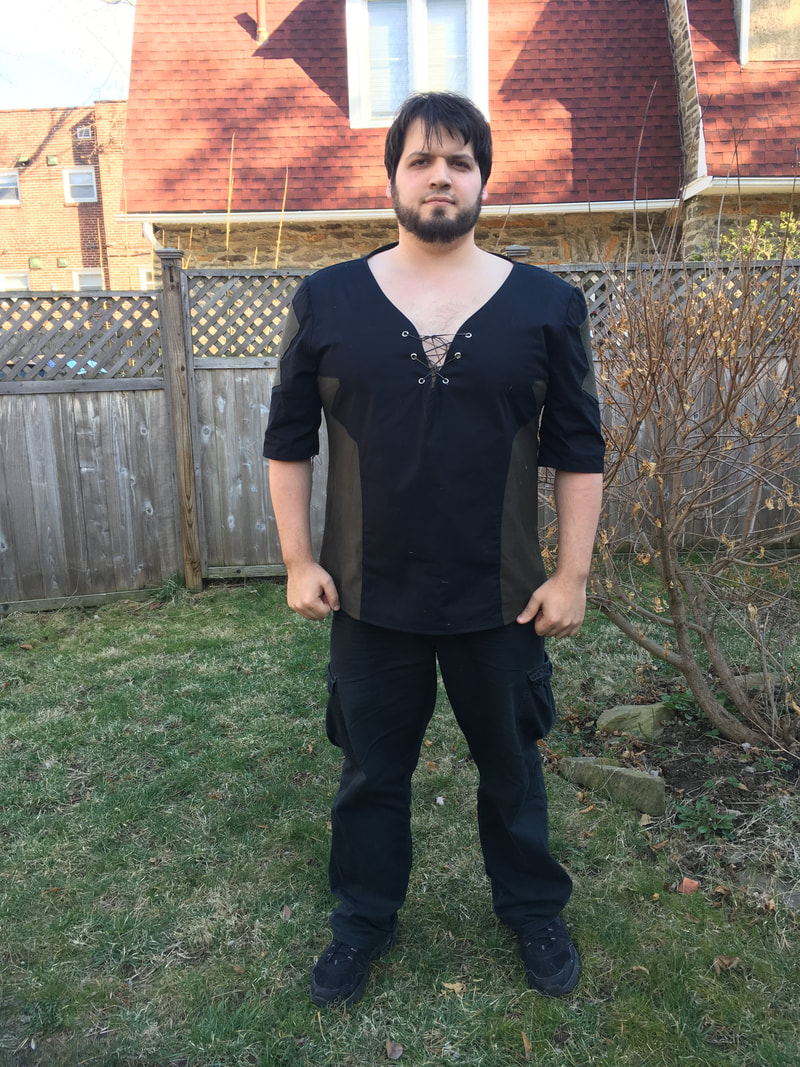
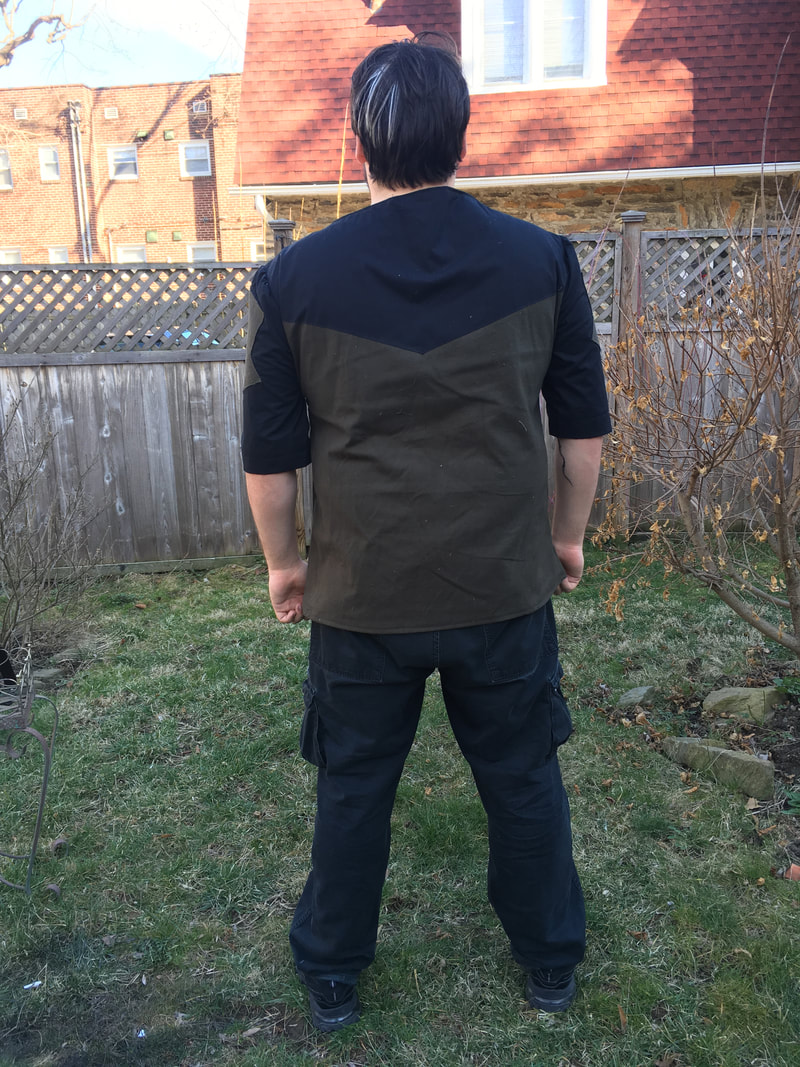
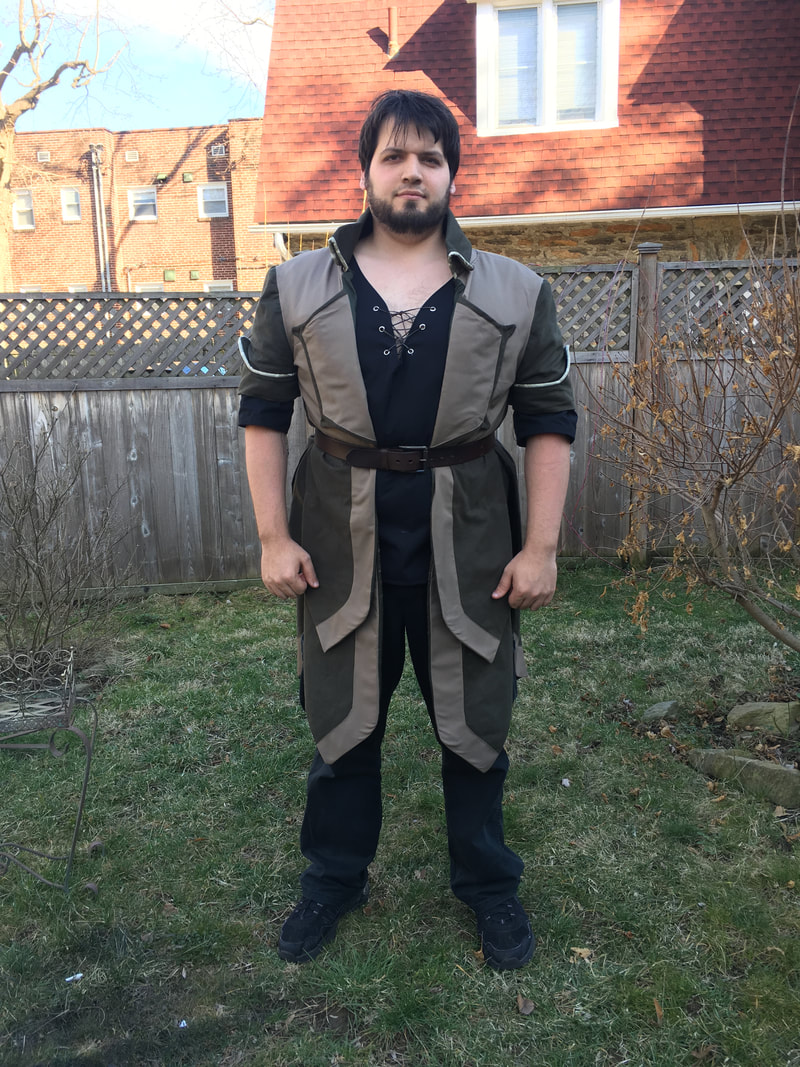
But thanks to the numerous wonderful people who sent me messages and good feels and support, I picked myself up. I did a very quick patch job with a hand needle. While it wasn’t the same, and I knew I’d have to remake it in the future, there was nothing I could do about it now. I grimaced and bore it, and still had a ton of fun wearing my costume! 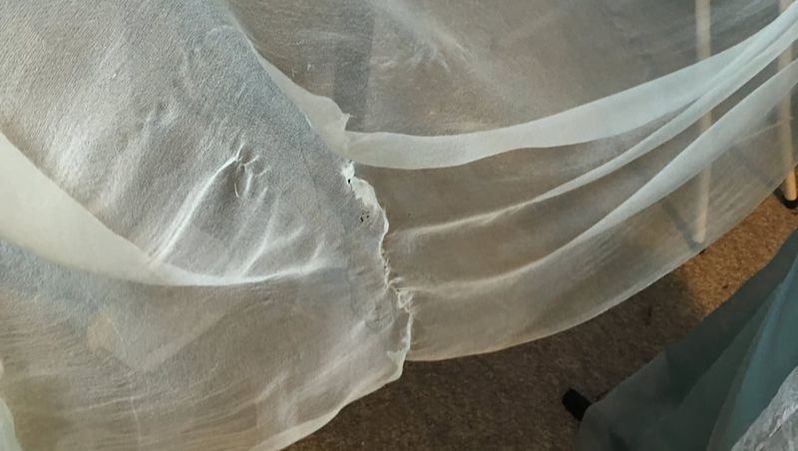 Sometimes you need that freakout moment. You need to hit a low point to rebound back up. And I’d say I rebounded pretty well for the contest! Shirt-ing My ResponsibilitiesOH YEAH. I also did another thing this week amongst the Katara madness! I took a break from chiffon, gauze, and glitz to make a shirt for my good friend Slippers Cosplay! He’s cosplaying Hazel at PAX East and commissioned me to make him a shirt to go with the jacket I made him a few months ago.
 EVERYTHING IN MY LIFE IS C2E2. Except, you know, grad school stuff. WHOOPS. Wiggle Wiggle Wiggle, yeah
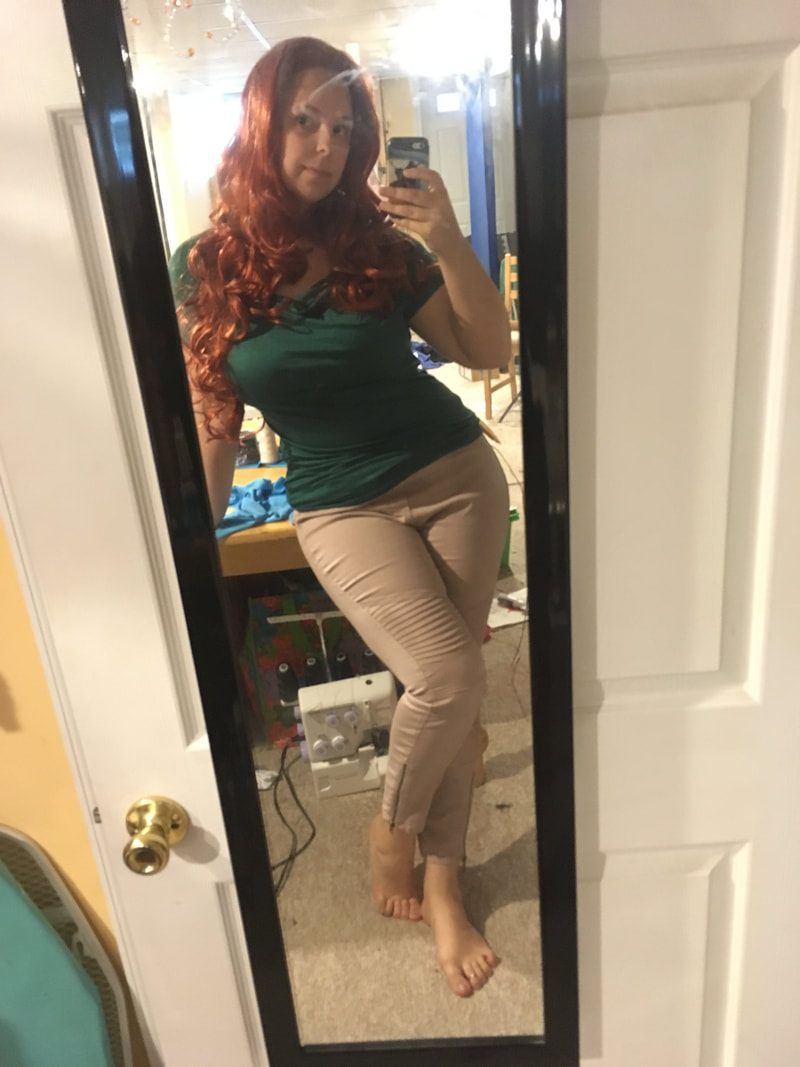
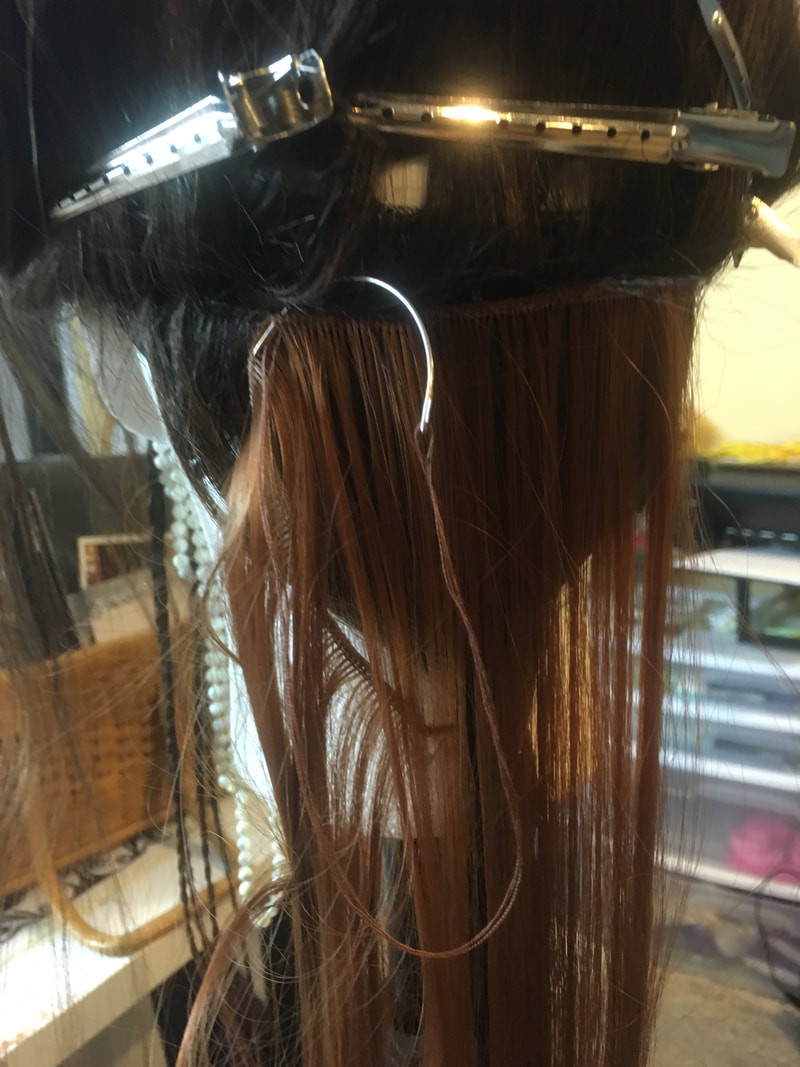
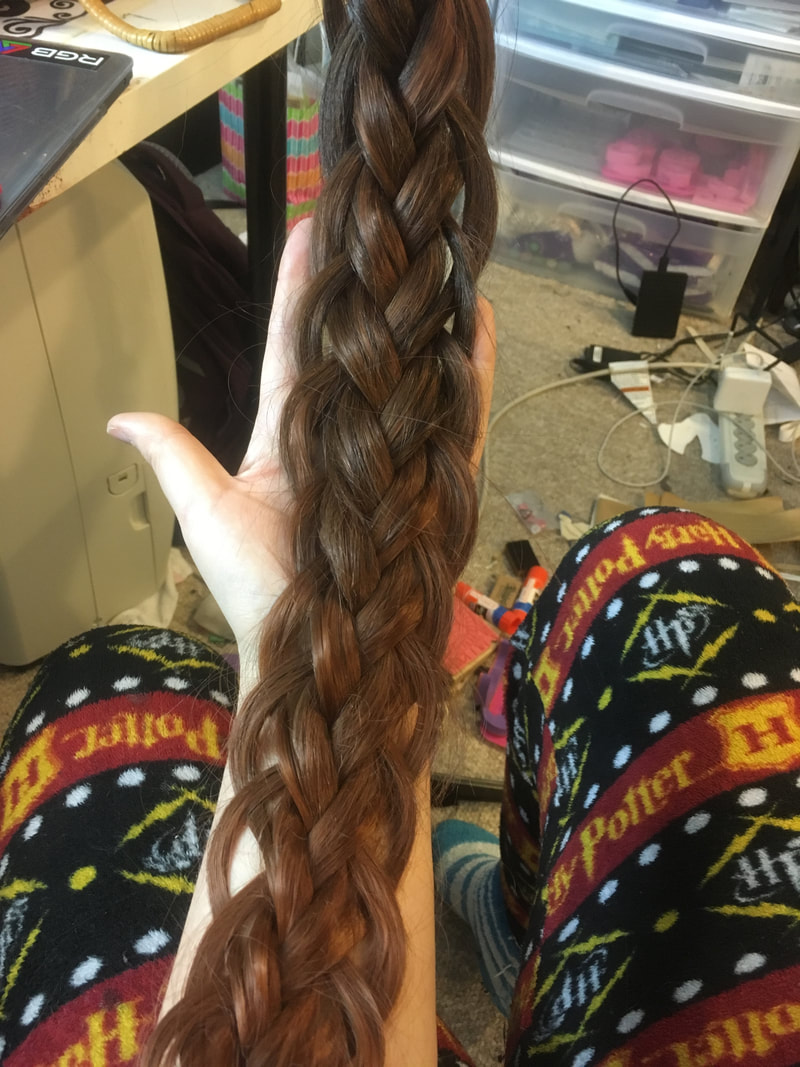
I changed up the styling slightly by switching from a five-strand braid to a loop braid and teaching myself how to do a hair flower (thanks, Youtube!). I’ve never tried one of these before, but it’s surprisingly easy to do!
The braid on the left is my first try, and the hair flower on the right is my second! When I'm actually styling these in the hotel, I plan to wet the hair a bit first to make it more manageable.
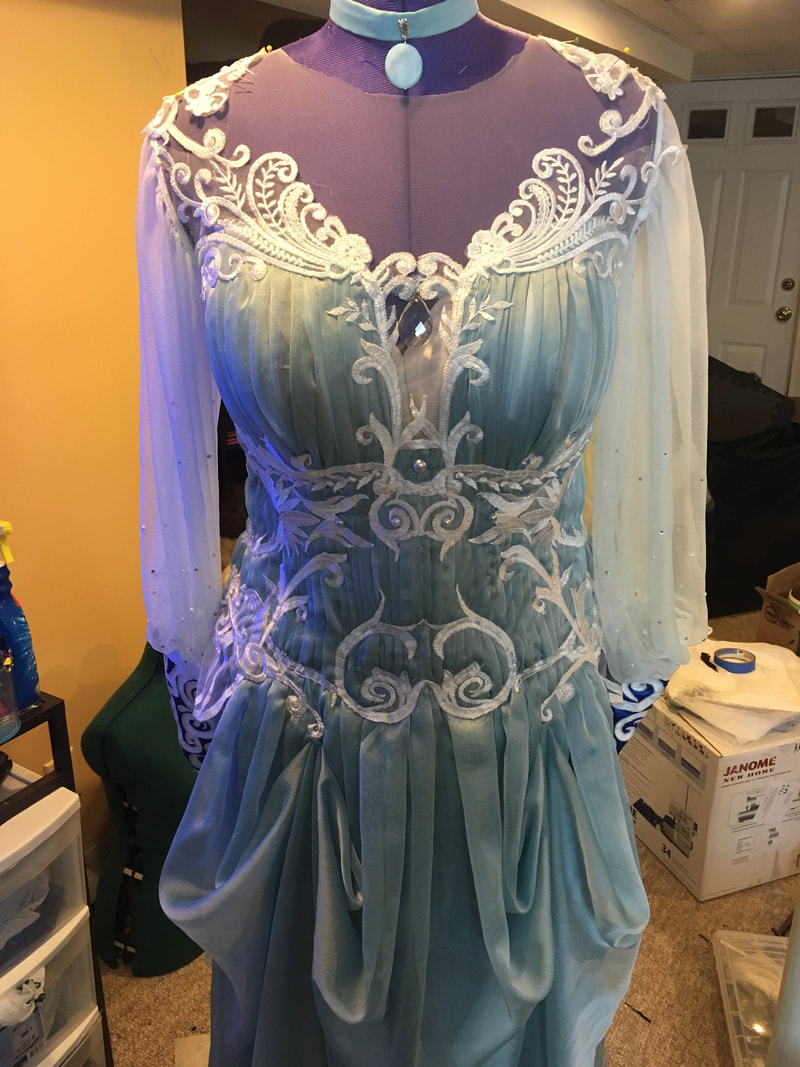
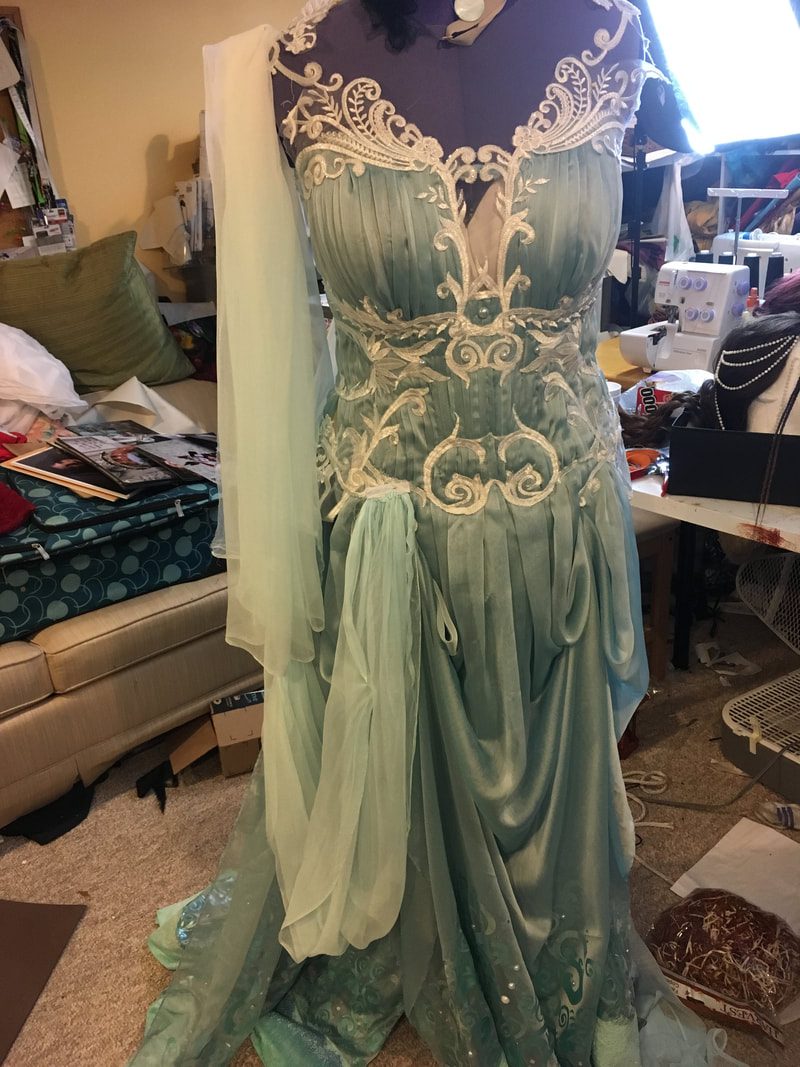
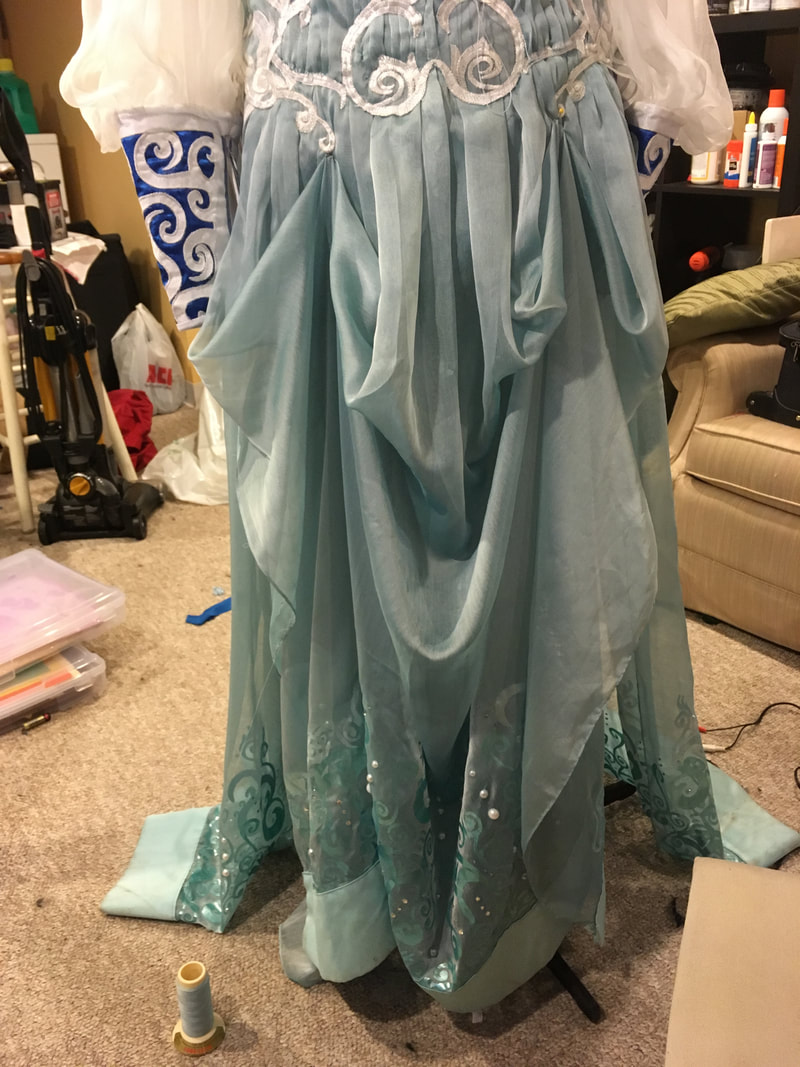
Erryday I'm bustlin'Onto the dress upgrades! I first tackled the front of the dress. While the dress is beautiful when it’s all spread out, it’s incredibly hard to walk and move about in without tripping over. To fix this, I decided to do a quick bustle. No fancy sewing tricks here; I just took a single pinch of skirt fabric and brought it up to the hip on each side. I sewed small hook and eye to each connection point, hiding the hooks underneath the white lace on the bodice. Now it takes just a few seconds to hook the skirt up and I can walk to my heart’s content!
I decided against bustling the back skirt; it’s just too much fabric, and I can pick up and move just the back skirt more easily than both the front and back skirts at the same time. Appreciate the little thingsThere are a few more subtle but important alterations I made to improve the overall look of the costume!
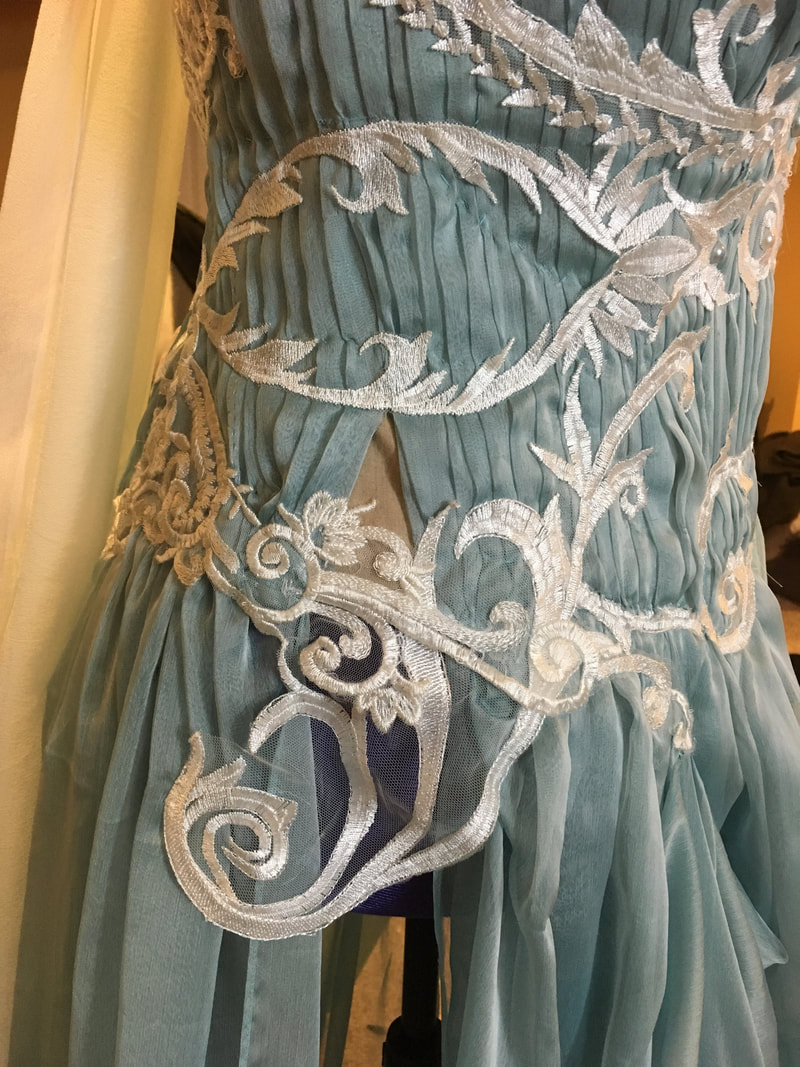
While all of the lace is currently anchored on the bodice, it requires a bit of cleaning up. I'm in the process of meticulously hand sewing several lines of lace that are currently anchored with a few haphazard stitches. I'm also snipping off the extra mesh around the lace. 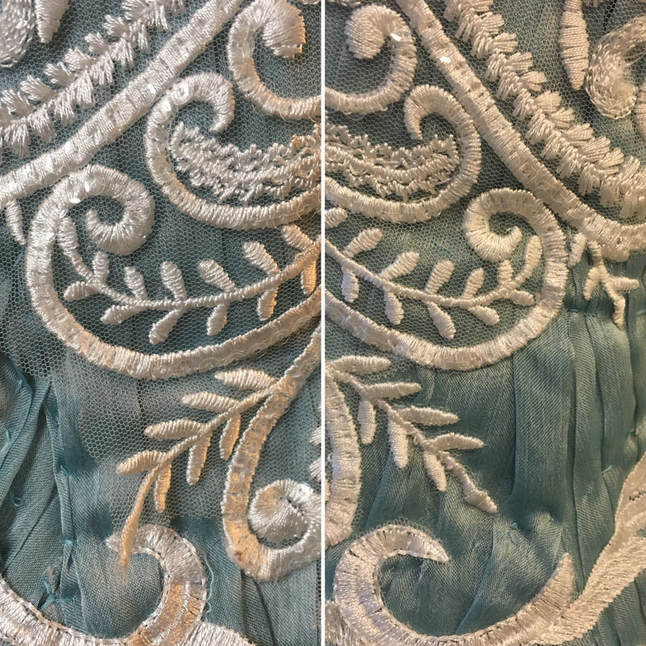 Here's a quick before & after, ENHANCED to show the difference. It's subtle, but results in a much more polished look! That's it for this week!Tune in next week for more hand sewing, rhinestones, lace, dye, and MOAR SPARKLES!
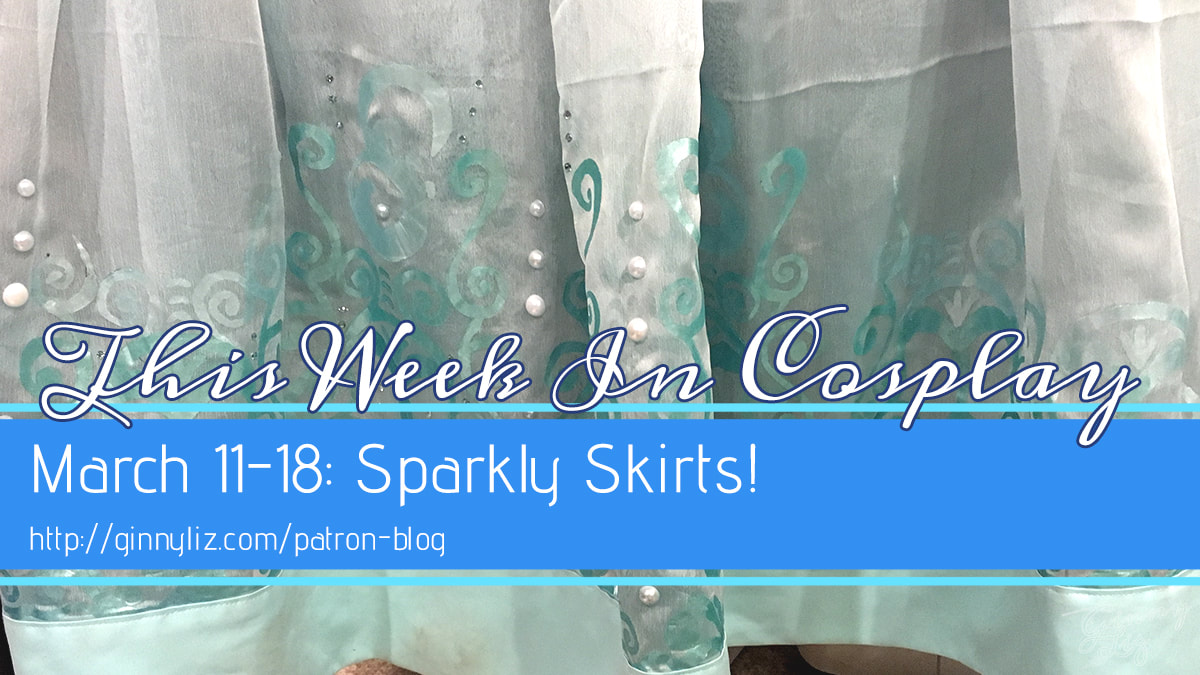 This week was fairly monotonous as far as cosplay progress is concerned. I got quite a bit done, but it’s several small details that take a significant amount of time.
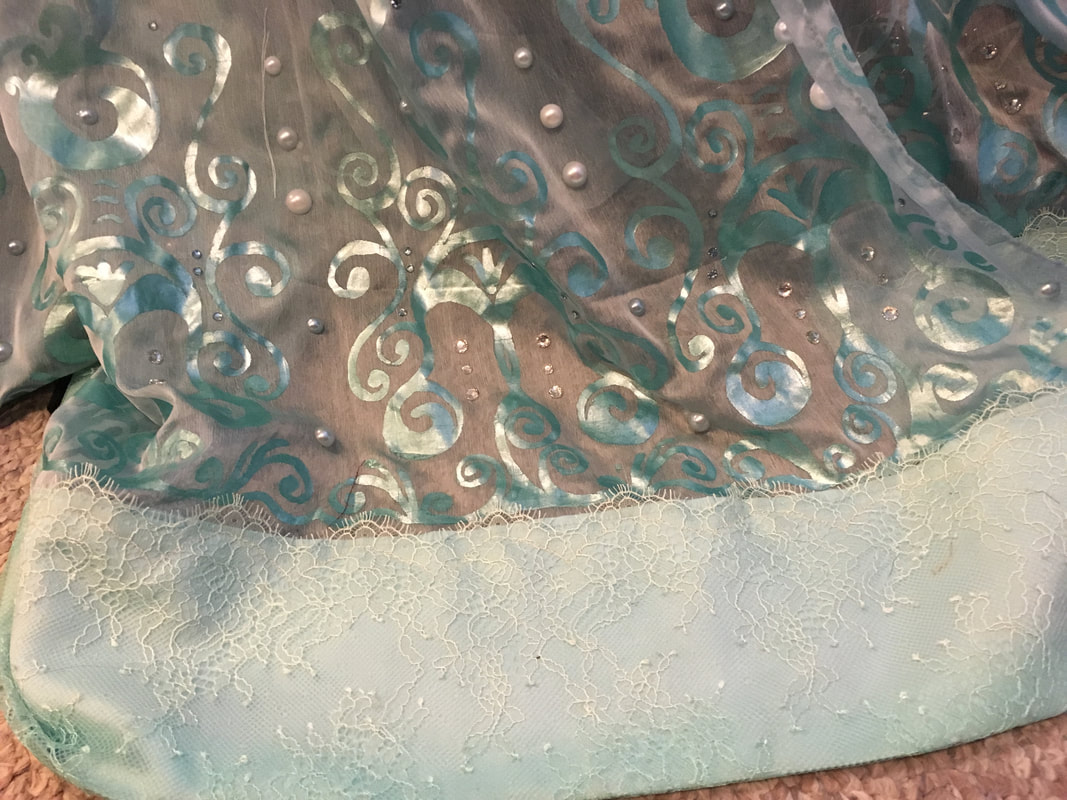
That is to say, this week I worked on finishing the first round of detailing on Katara’s skirt — first with hand painting, and then by adding rhinestones. The second custom mixture was MUCH more successful, and I got right back to painting! It took about 4 hours to paint each the remaining two iterations of each pattern, and then I was GLORIOUSLY DONE. Painting the whole skirt took about 25 hours, and MAN is it satisfying to finish a large part that detailing. Next it was onto the bling! I used a mixture of light blue and white halfback pearls (6-10mm), silver rhinestones (4-6mm), and light blue rhinestones (4mm) to add a bit of sparkle and movement to the skirt. 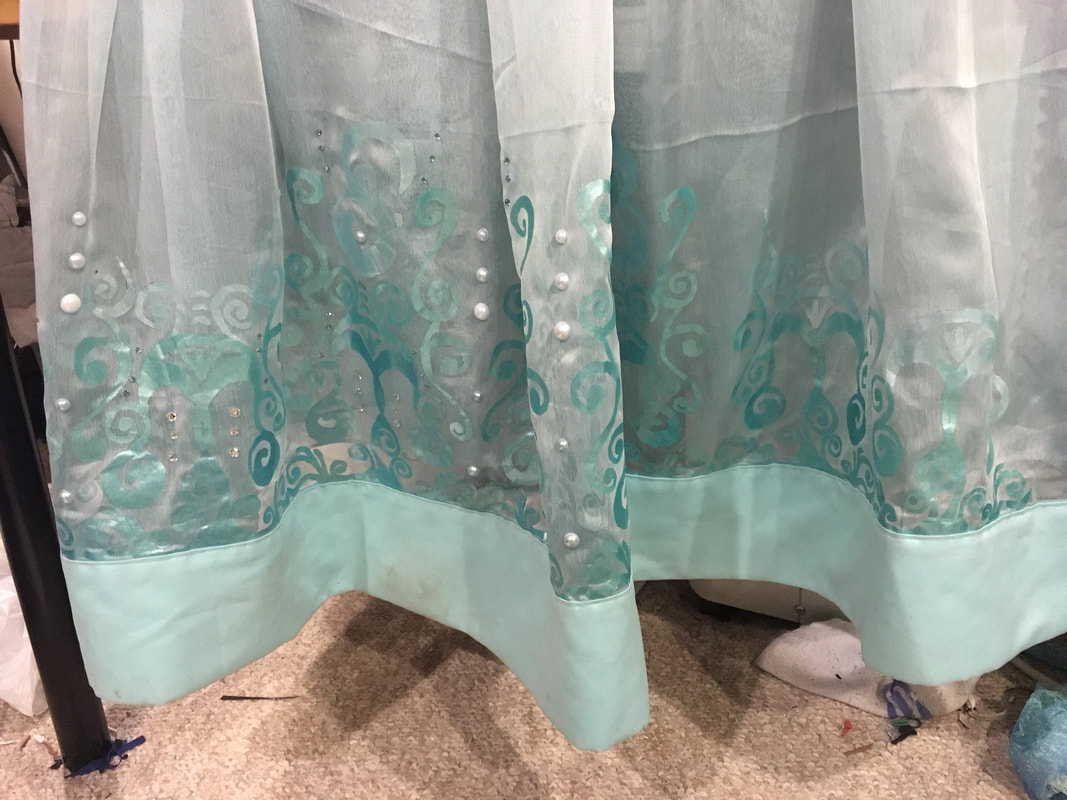 I place rhinestones by applying E6000 onto an old, dull pin and transferring it to the back of the rhinestone, then placing it carefully on the fabric. On a translucent fabric like chiffon, the glue will bleed through, so I made sure I was working on a laminated surface (my painting pattern). I scrubbed the dried E6000 off of the pattern in between sections to avoid glue buildup! Each section took about 30 minutes to apply 100 rhinestones and pearls, which I then let dry for 20-30 minutes. IT SPARKLE~ I also ordered some blue ombré lace through Etsy to fancy up the skirt. The lace is about 8” wide, or about twice as wide as the satin on the bottom edge of the skirt. I’m going to fold the lace over the edge, like a taco, and took some time decided which color gradient I liked more.
I think that the blue ombré photographs better, but the light teal looks better in person and is more accurate to the artwork— so I’m going with the latter. That’s it for this week! Next week will be MOAR KATARA UPGRADES!
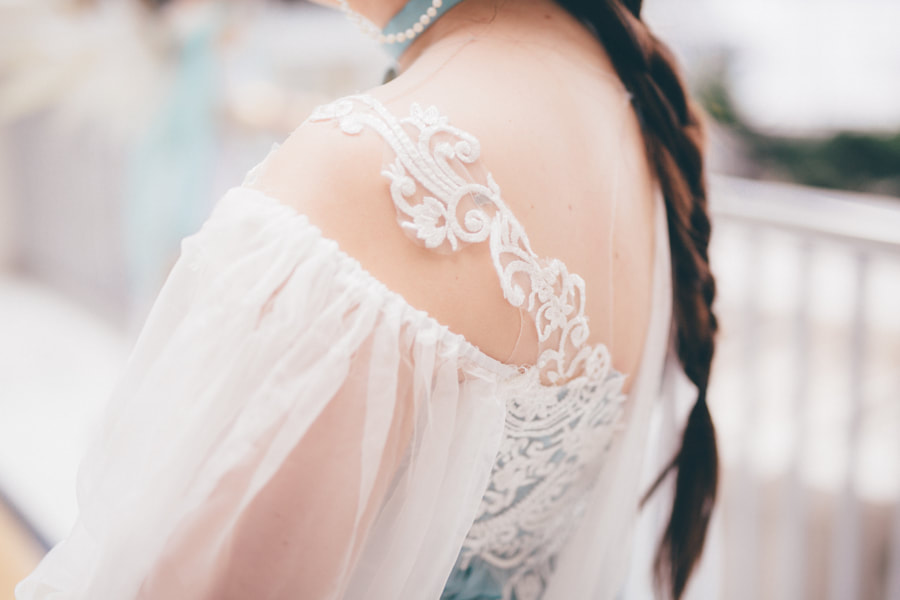
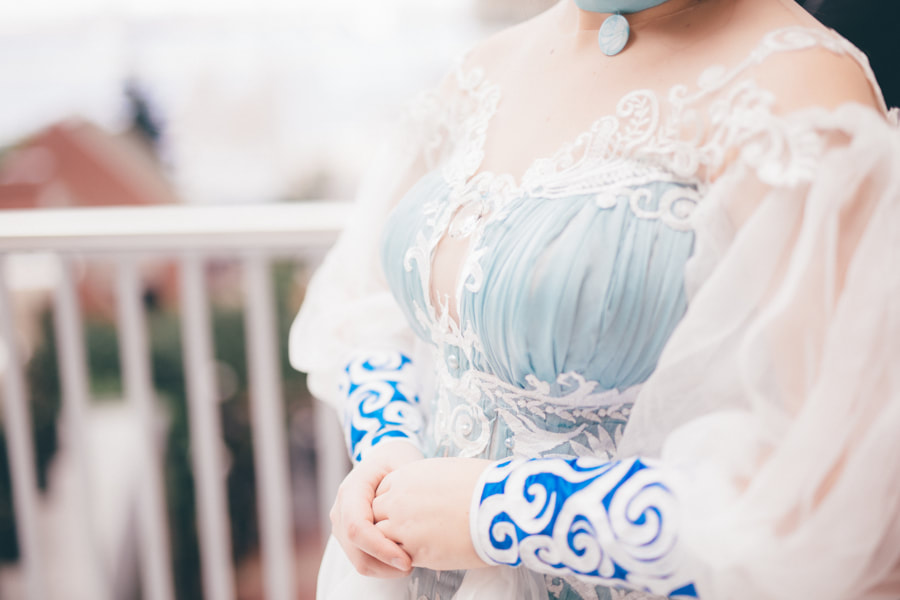
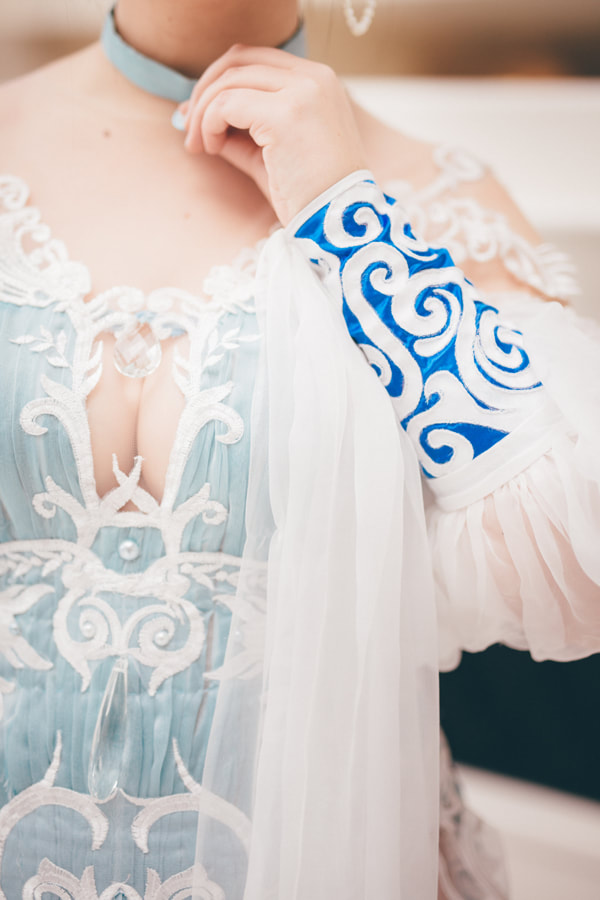
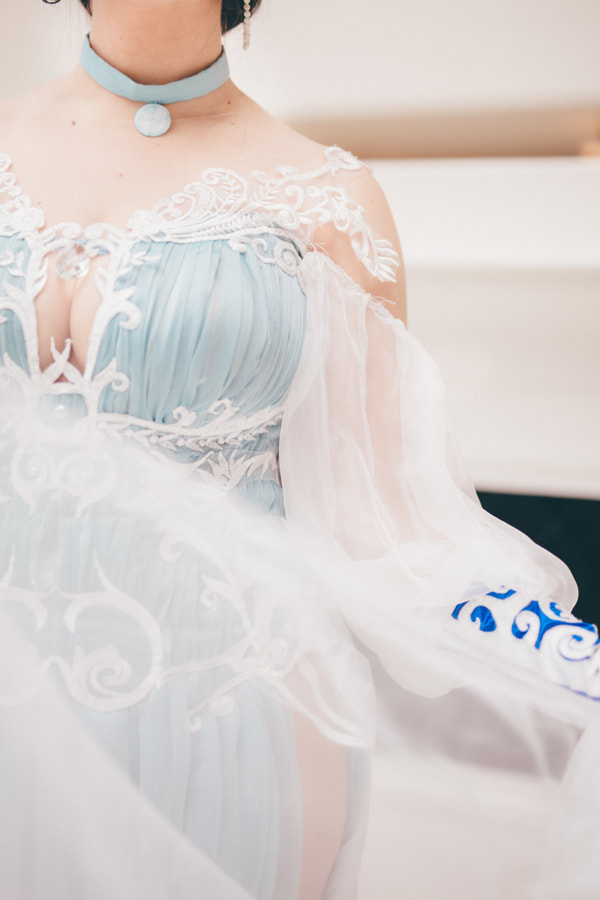
 One of my favorite things about shooting Katara with Colfox Photography is her obsession with detail photos! She returned several close-up photos of my costume that are just... perfect. Enjoy! These photos were taken before I put another 50+ hours of work into the costume for C2E2, so I'll definitely re-do detail photos for ya'll soon <3 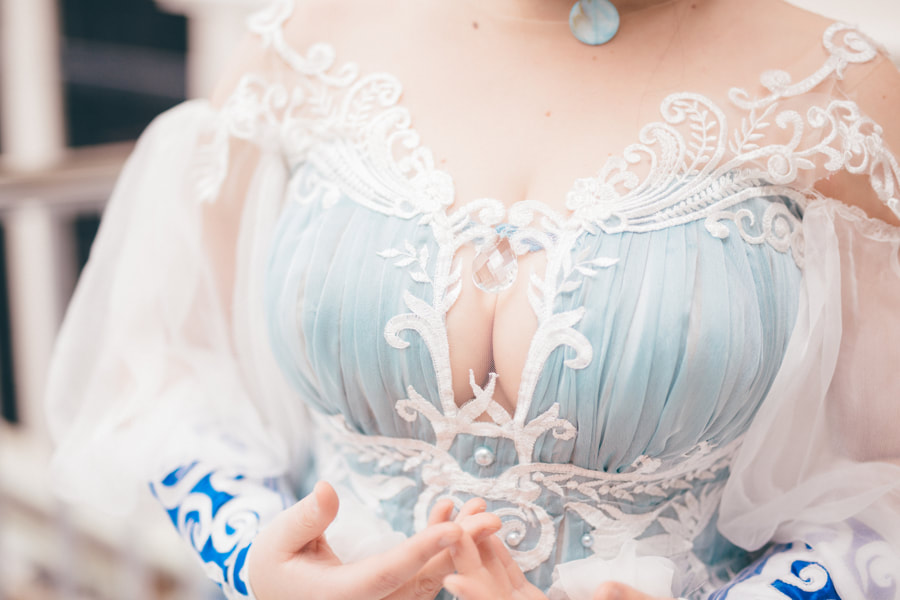
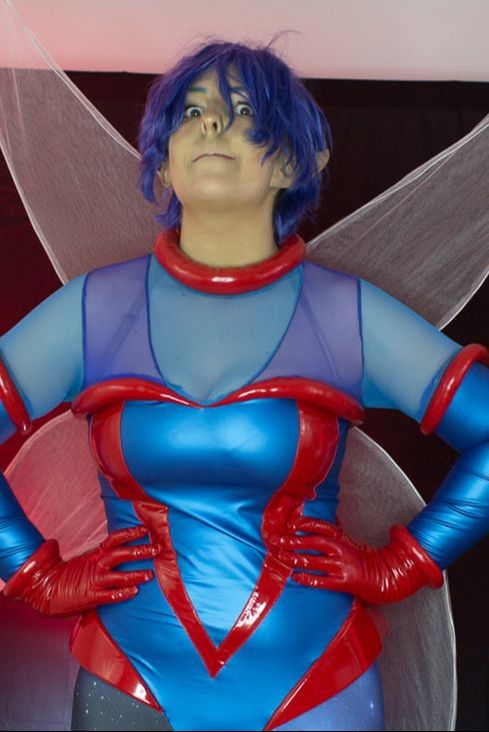
  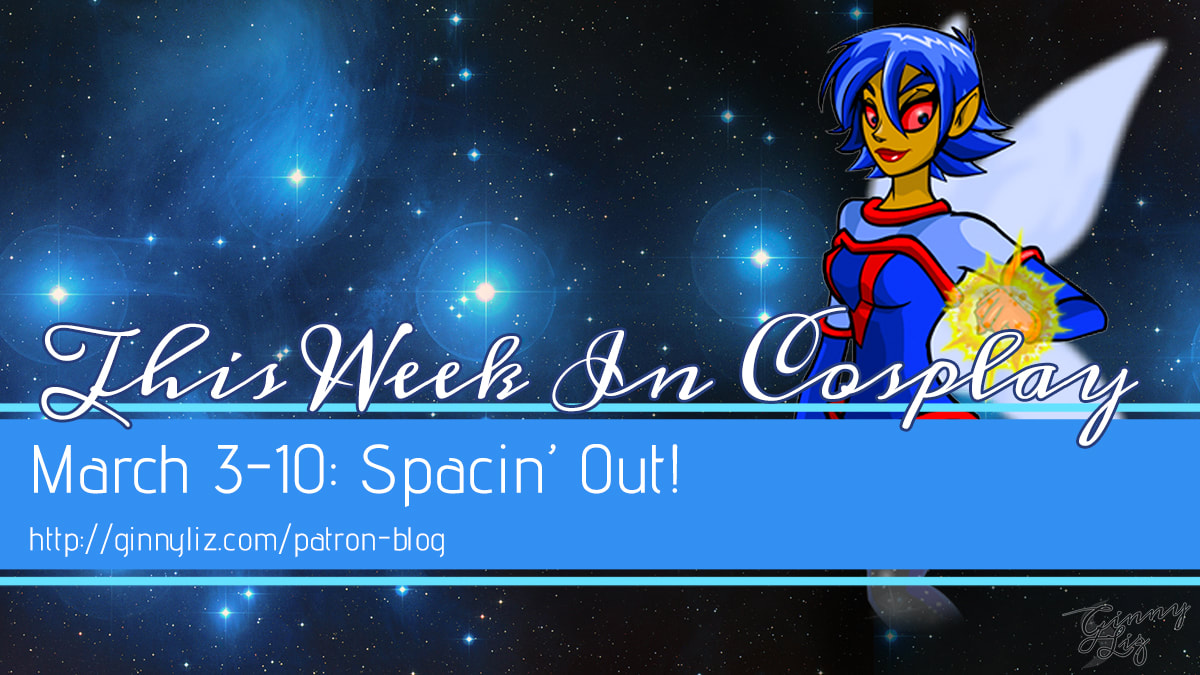 I spent the majority of this week starting the prep work for Mira, the Neopets Space Faerie cosplay! Mira was my absolute favorite Neopets faerie growing up because, well… space, duh. Her design is a unique blend of 80s sci-fi and ethereal fantasy, and I really want to bring those elements together in my personal interpretation! 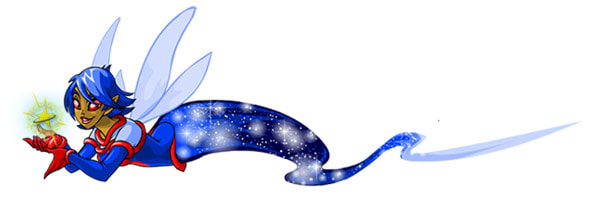  Soooo instead of working on Katsucon costumes, I edited a Journey photo from the self-shoot in my driveway I did last week!
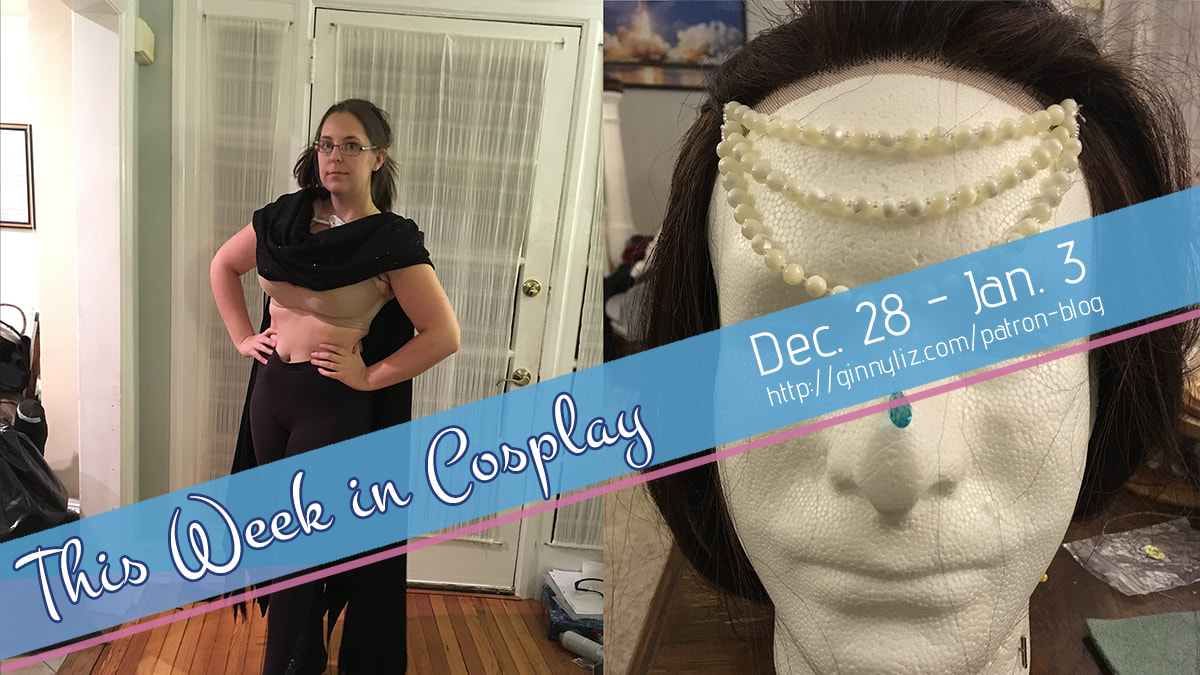 All right, so where did we leave off? That's right, I flew back home and landed in Philadelphia. My friend Ally picked me up at the airport, and then we went back to my house for a cosplay crafting filled few days! Ally has been spending a lot of time working on her Queen of the Dark Forest Barbie design, and you should definitely check out her progress! It's her first major costume build, and she's handling it like a CHAMP. GJ FAM <3 GET ME A COSTUME, YOU SWINEAs for me, I had decided to create a genderbent version of Voldemort from A Very Potter Musical. Why? More like WHY NOT. 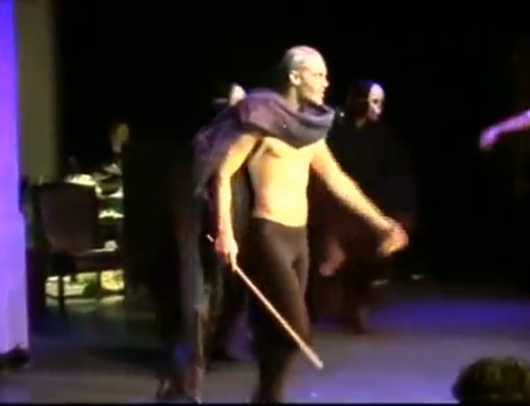 |
Ginny Liz StorytimeEntirely too much rambling about costumes, but if that's your thing... Archives
October 2018
Categories
All
|


 RSS Feed
