|
Let's start the dress! Or, a section of it, anyway.
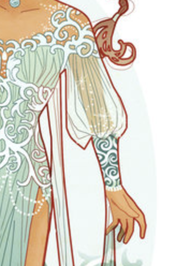
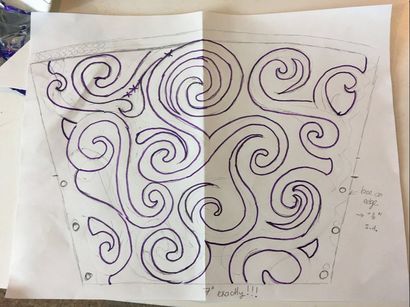
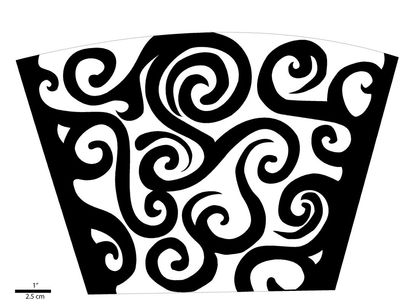
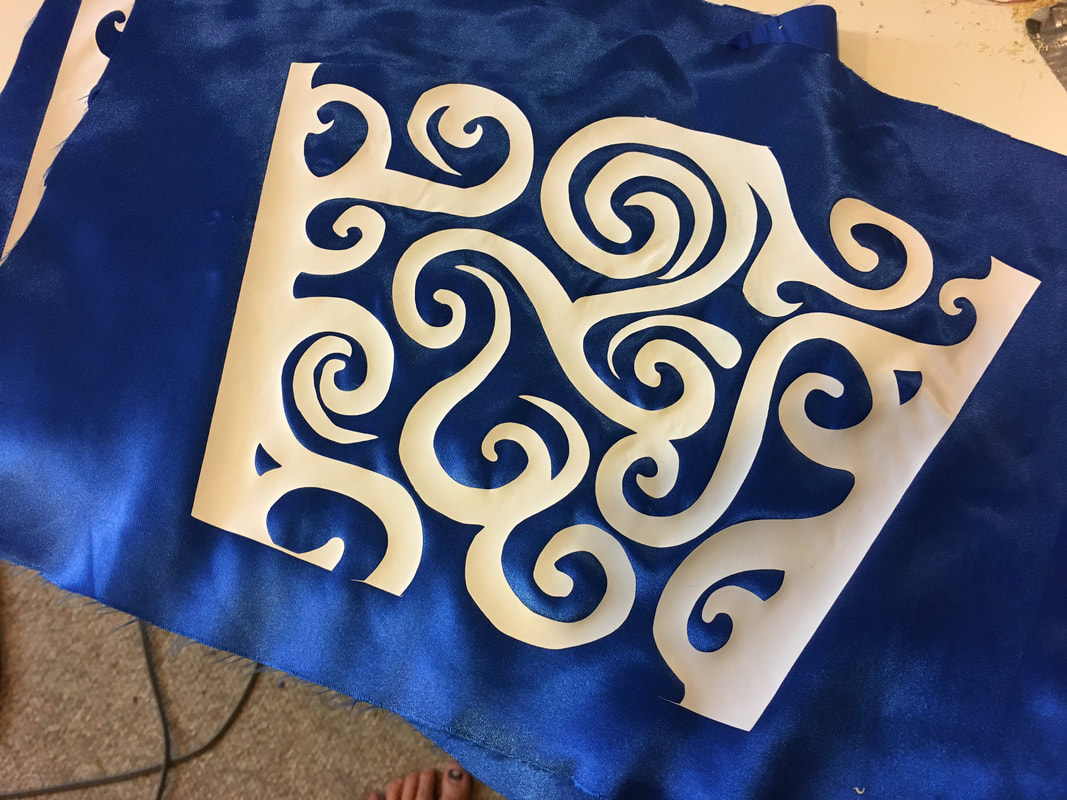
It all started with a pattern. I made this pattern by taking my arm measurements and drawing a trapezoid-ish shape using those measurements onto paper. This website has a pretty good overview. Then I sketched a swirly pattern based on the bit of the sleeve I could see on the artwork. Then I scanned it into Photoshop and used the Paths tool to trace the swirls and convert the whole design into a vector format.
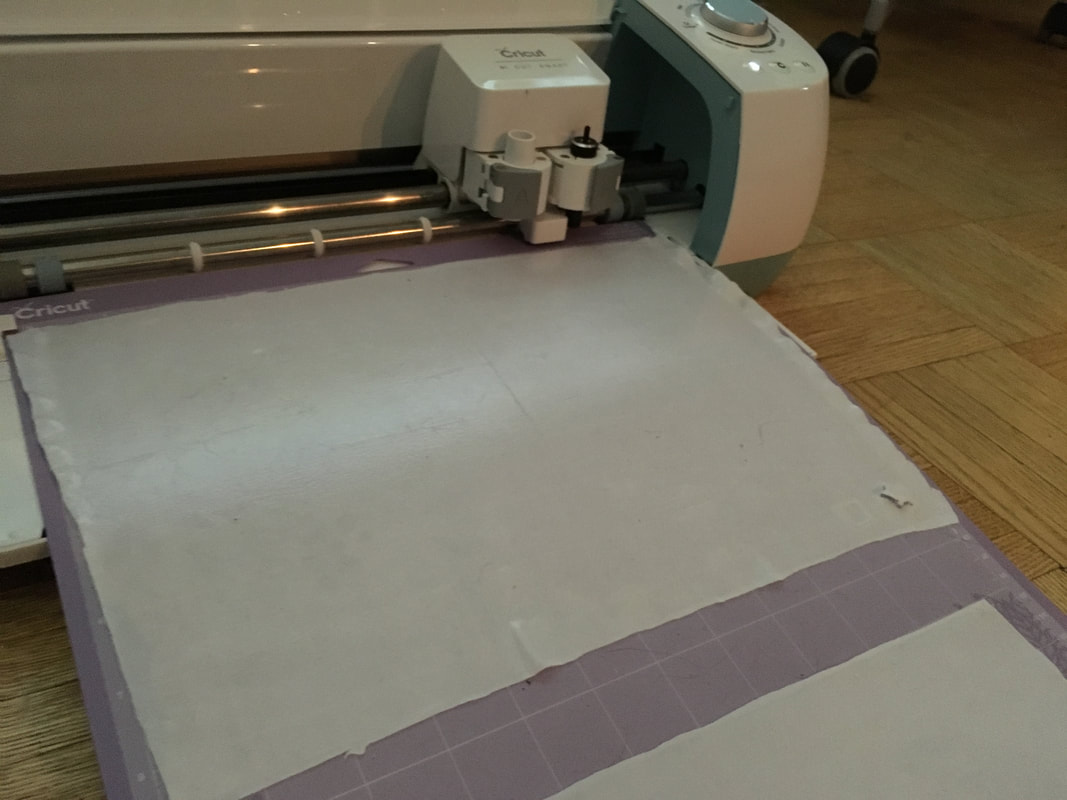
Okay, so now it's all ones and zeros. Great! It was time to make it real!
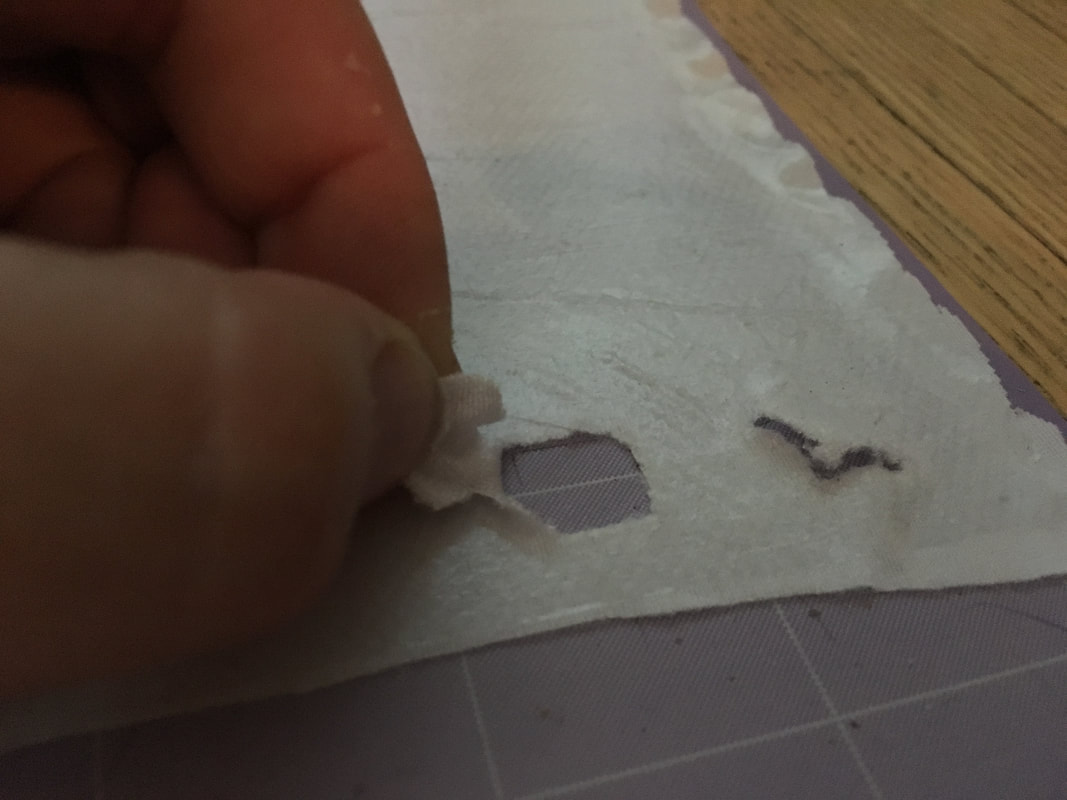
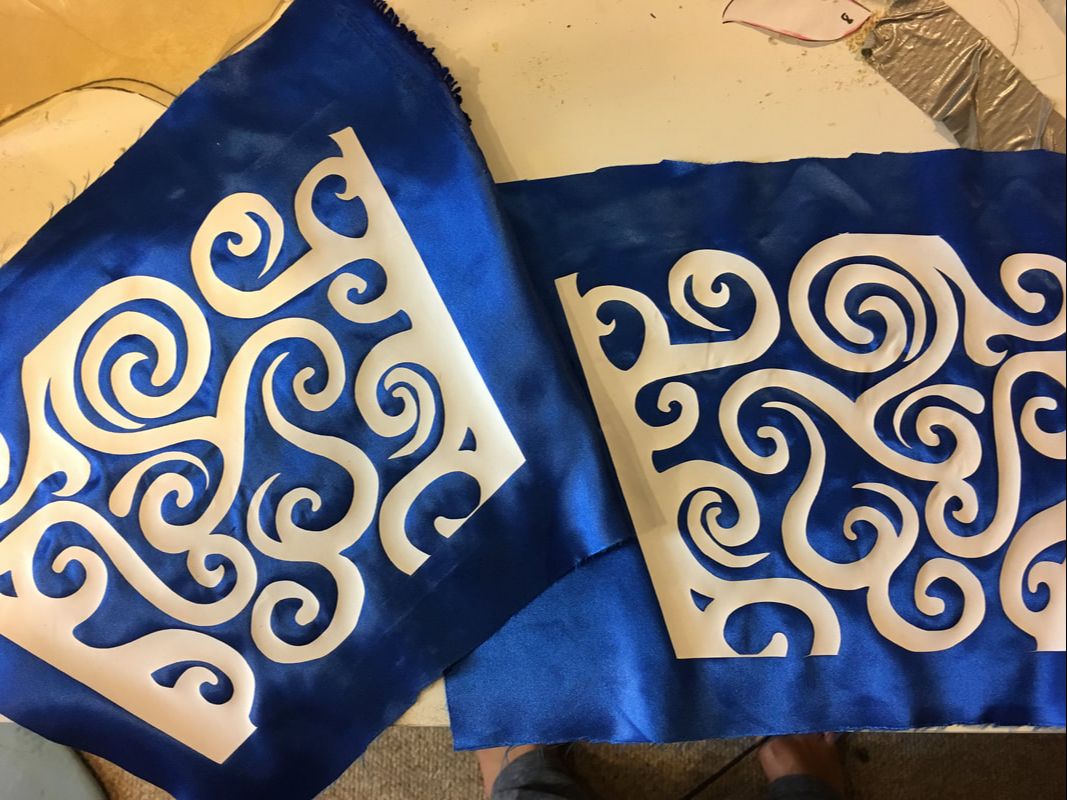
So yeah, lesson learned. Don't cut spandex with a Cricut machine. We ended up using some white heat transfer vinyl Sara had on hand instead. 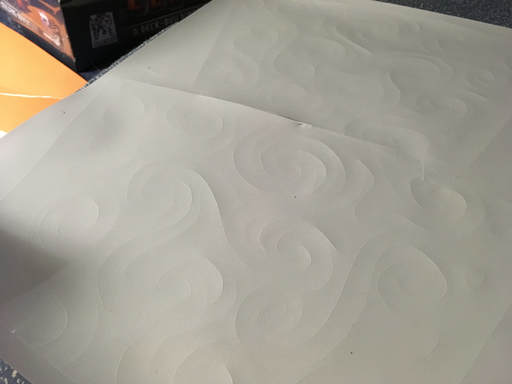 Ah, much nicer! As you may remember from the materials post, I used a blue satin as the base for the bracer. Once the heat transfer vinyl was cut, I applied it using an iron. It's similar to using heat-n-bond, but the result is a little more permanent.
I was really attached to the idea of having the white be sparkly, so I added a white organza overlay and decided to hand-embroider it on. Why? Because I enjoy repeatedly stabbing fabric out of impatience, I suppose. I the most heinous, scratchy, fray-prone embroidery floss I could find in a 3-ply chain stitch. But it was sparkly, so... worth it? 
0 Comments
Leave a Reply. |
Ginny Liz StorytimeEntirely too much rambling about costumes, but if that's your thing... Archives
October 2018
Categories
All
|
 RSS Feed
