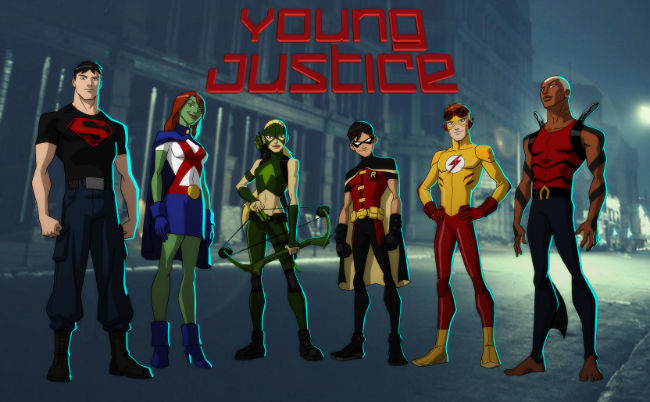
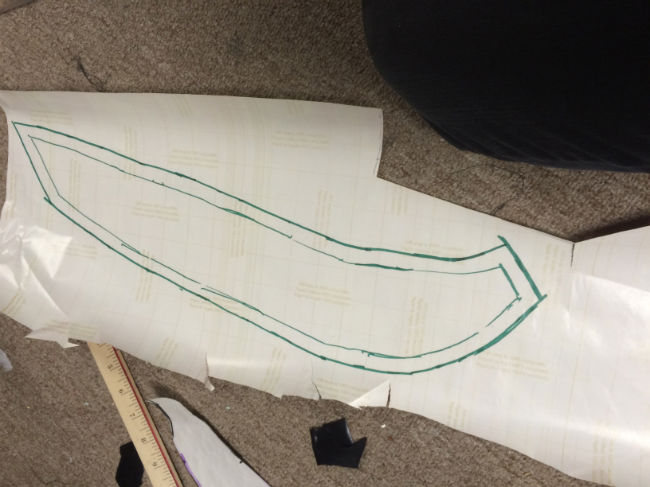
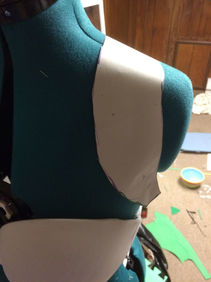
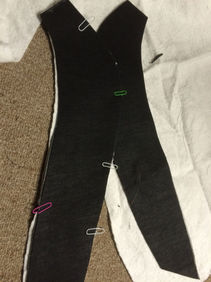
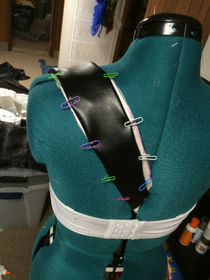
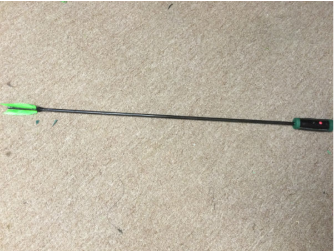
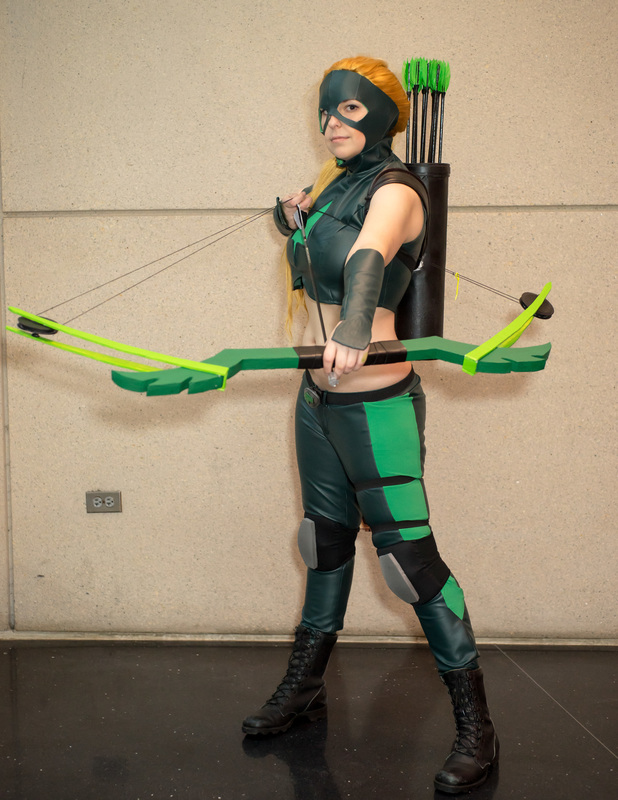
 If there were only two cartoon shows I could recommend to anyone, no more, no less, my choices would be Avatar: The Last Airbender and Young Justice. Very different shows, but both have an interesting world, a compelling storyline, and incredibly fascinating characters that develop very naturally as the show progresses. I can understand why Young Justice was canceled (although I’m still not happy about it). It got really dark near the end of the second season; it became a teen/adult show, rather than the target audience of the channel it was aired on. But the darkness and character growth is so fantastically written and voice acted and the ending… just… feels. If you haven’t watched Young Justice yet, go watch it. I’ll wait. ... All caught up? Excellent, we can continue.  I was immediately drawn to Artemis because of her attitude and badassery. She’s determined, fierce, sassy, and confident, although she definitely has her moments of weakness and uncertainty. I identified with her tentativeness to let people in, to trust them, and to learn that it’s okay to be vulnerable sometimes. This tutorial is going to focus on Artemis's quiver and arrows. If you have any questions about how I made the rest of the costume, feel free to send me a message via Facebook, tumblr, email, or carrier pigeon! First up to make? The quiver straps. I thought that these would be easy, but they ended up being one of the most time-intensive and frustrating parts of the costume. I'd say approximately 42% of that frustration came from never having sewn stretch pleather before (unable to pin properly, sticks to your needle plate/presser foot, and is generally annoying). The whole thing started out pretty simply, though. First I made a pattern by tracing one of my ski backpack straps and then pinned the pattern to my dress form to ensure I liked how it looked.
I then cut out the pattern: twice out of the pleather and once out of quilt batting. I sewed the quilt batting to the wrong side of one pleather strap. Then I sewed the other pleather strap to it, right sides together, along the two sides. For a nice finish, I turned the resulting fabric tube inside out and top-stitched along the edges to make them lie flat. To keep the pleather from sticking to my presser foot, I used a tiny bit of Vaseline along the stitching line.
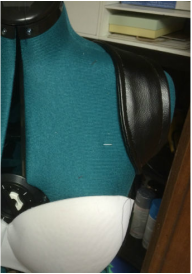
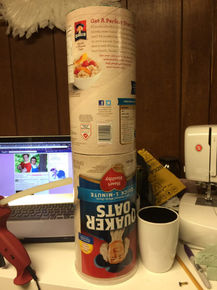
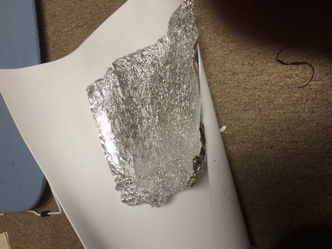
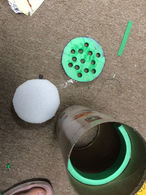
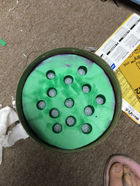
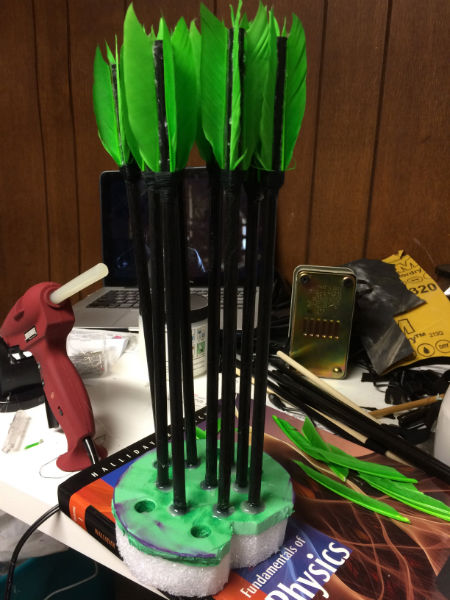
At this point, I used the hottest new craft foam technique by Lost Wax to make the quiver appear leather-y! Seriously, check Lost Wax out on YouTube. Not only are his tutorials interesting and useful, they're also a ton of fun to watch! I used this technique on a nice big rectangle of craft foam and then wrapped it around the quiver, securing it with hot glue. The texture is a little bit too subtle for my camera to pick up, but trust me, it's there. I attached the quiver to the straps, and it was time to prime and paint!
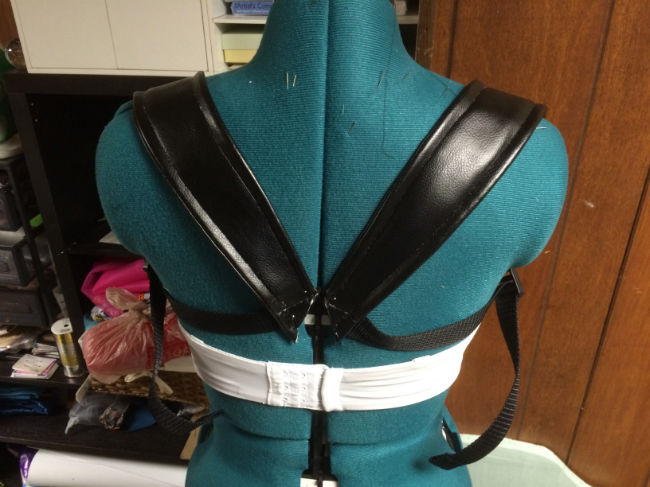
I also added a little bit more craft foam detailing, but I forgot to post pictures of that. At this point I realized I probably should have plasti-dipped and painted the quiver before attaching the straps. Ah well, you live and you learn. Instead, I covered the straps with saran wrap while I plasti-dipped. 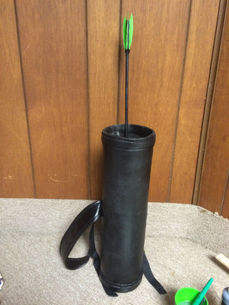
All in all, I’m really, really happy with how the quiver turned out. Thank the Quaker (oats)!
… I’ll show myself out
0 Comments
Leave a Reply. |
CosblogA weird mash-up of physics, math, education, sewing, and stanning Hordrapta Categories
All
Archives
April 2019
|

 RSS Feed
