|
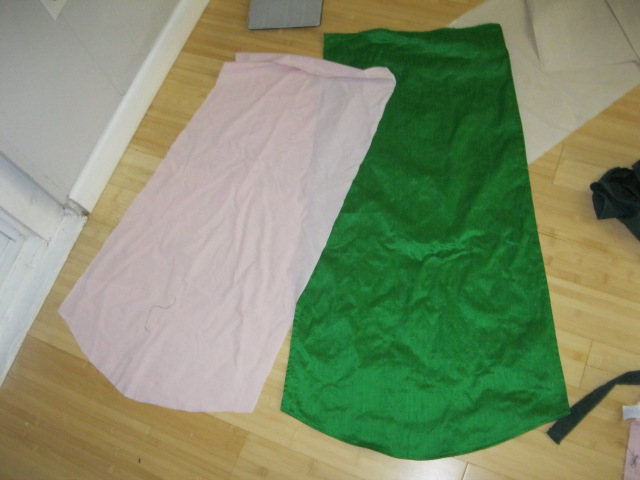
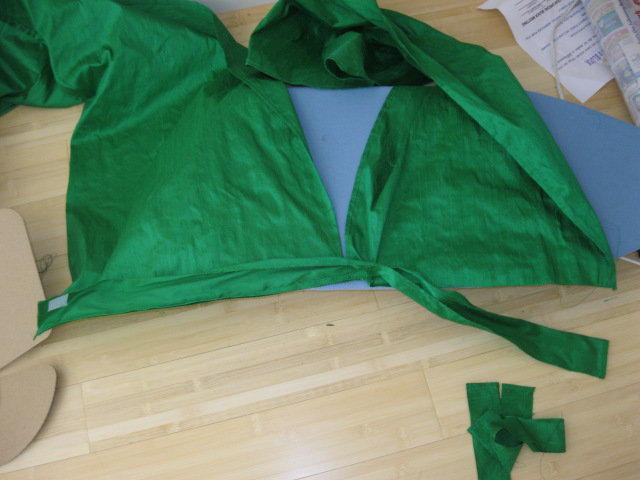
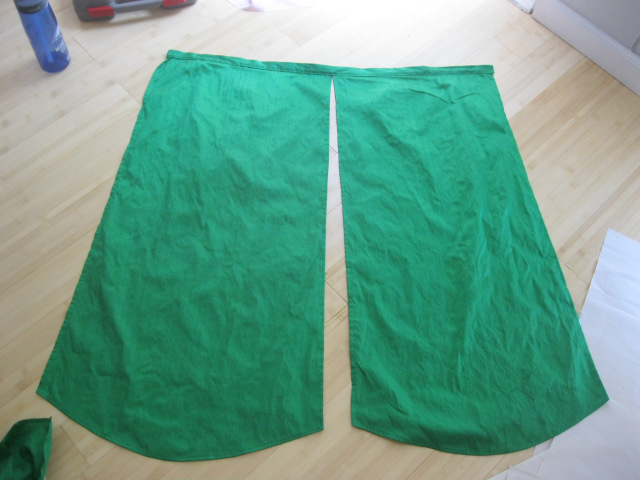
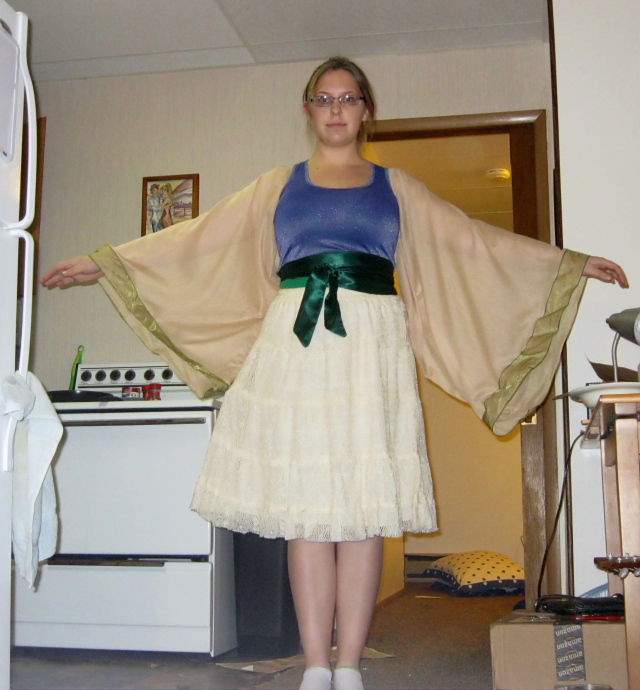
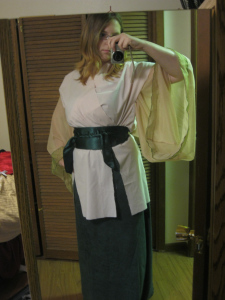
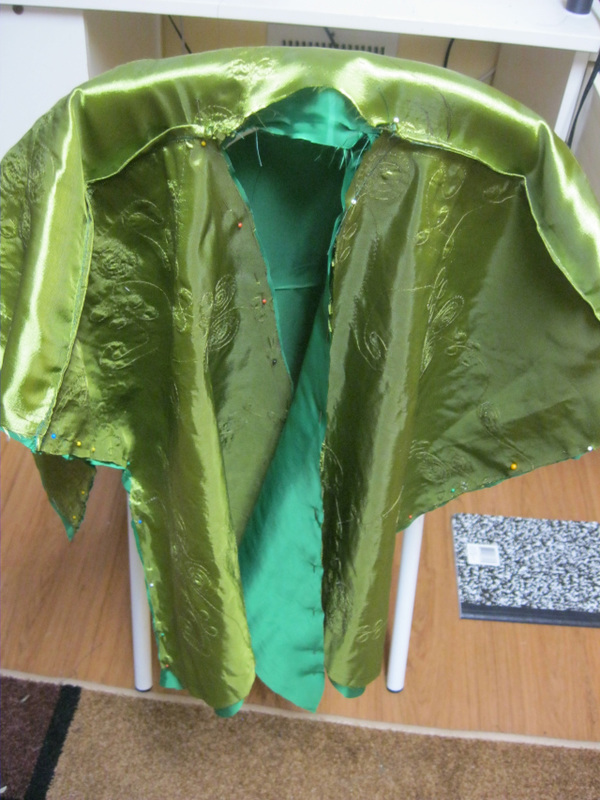
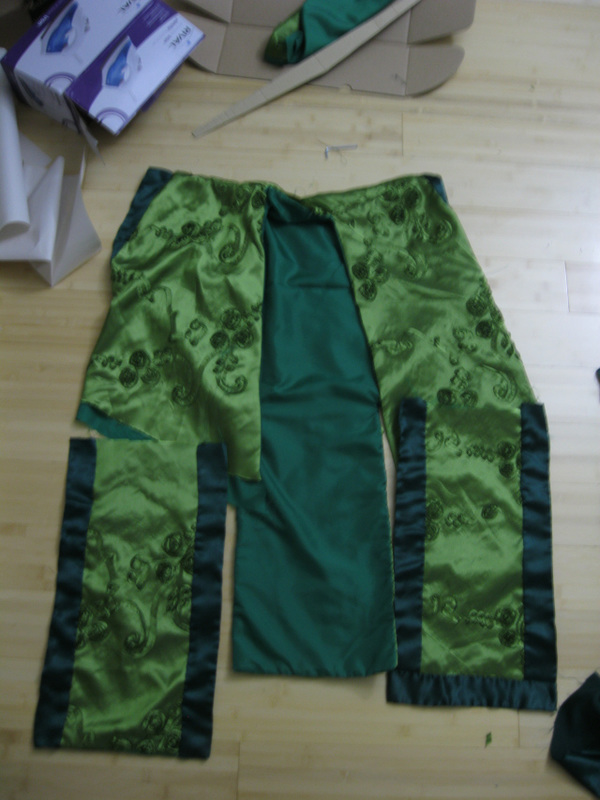
Now that I’ve taken care of the accessories, on to the main event! Kyoshi’s kimono looks complicated, but it’s not; it’s just several simple pieces layered on top of each other. I started out, of course, by looking at as many references as I could find. This primarily consisted of watching the episode “Avatar Day” and playing and pausing profusely during Aang’s trial and Kyoshi’s brief appearance. 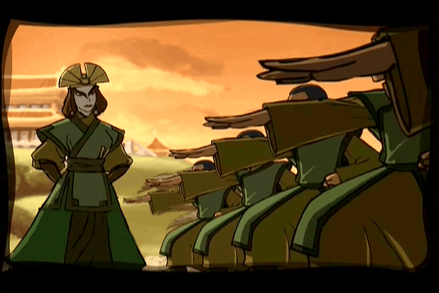 After a little sketching I came up with a general idea for how Kyoshi’s layers of clothing worked. Underneath everything there was an underskirt of dark green, with two panels of a forest green forming an overskirt. Her kimono over the skirt is kind of non-traditional (I’ll get into this in a minute) and she has really long, flowy sleeves. Everything is held together with an obi. Basically the completed costume had to be put on in five layers: skirt, overskirt, undershirt/sleeves, kimono, and obi. I’ll cover them in that order (obi was covered in the previous post). SkirtsFor the skirt I wanted something that wasn’t bulky but would still effectively cover my legs when I posed, particularly for lunge poses. Versatility is important for any Avatar. I was at a bit of a loss for a while… Then one day I rummaged through my closet and an old wrap infinity skirt. In case you’re unfamiliar with those, they’re essentially a wide, curved piece of fabric that has two ties on either end that you can wrap around yourself. It doesn’t restrict your movement but folds up on itself when standing. 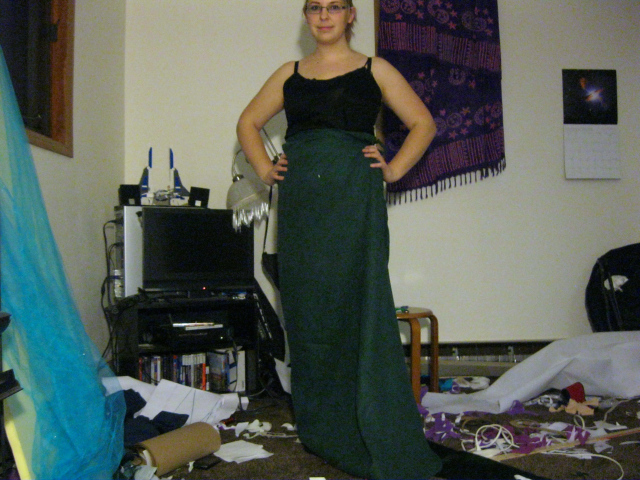 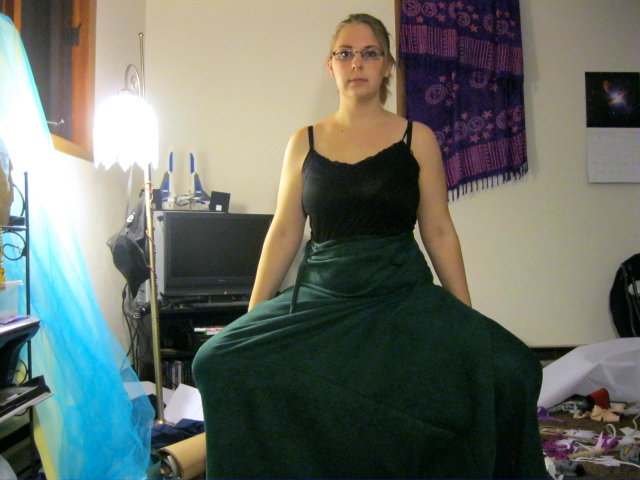 The fabric I chose was a hunter green apparel microsuede from Joann’s. I liked the weight and feel of it, and I didn’t want too much shiny fabric in the final design. I took four yards, attached a waistband, and hemmed it so it wouldn’t drag on the floor. It was easy even as far as skirts go. The overskirt was even easier. I splurged and bought a yard and a half of kelly green silk shantung for $35. I love the sheen and the crispness of the fabric and it added some great dimension to the costume. I made a quick mock up of the panels (basically I just cut some scrap fabric until I had a shape I liked) and did a rolled hem all the way around on both panels, then connected them to a waistband. I closed the waistband with a heavy duty snap I had lying around in my notions drawer and that layer was done. Kimono & UndershirtThe kimono/hayori was definitely the most work intensive part of this costume. I had never drafted before and hoo boy I’m glad I started with something as simple as a kimono. A kimono is usually made using one bolt of fabric that is about 14″ wide. The pieces are cut and then sewn vertically making the sleeves and the kimono. I’m terrible at explaining. Here’s a picture. Kyoshi’s kimono is a little bit strange in two ways:
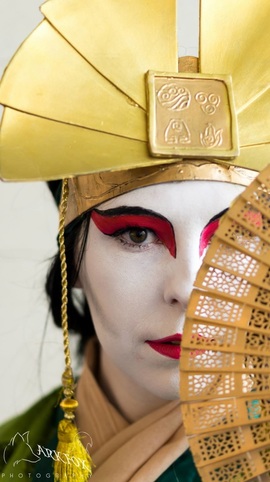
I also bought some bright green fabric to line the kimono and used some long strips of forest green costume satin for the trim. I finished pretty much everything with a French seam because they’re pretty and taffeta frays like a bitch. Speaking of trim, I hand sewed all of it. It took me about 15-20 hours just to sew the trim on. If I had to do this again, I would fix my construction technique so I could sew the trim on with my machine. And I was done with everything I needed to finish before the con! Makeup
And that’s how I became master of all four elements. Here’s the video of me onstage at the costume contest, courtesy of my Sunshine Stitchery!
0 Comments
Leave a Reply. |
CosblogA weird mash-up of physics, math, education, sewing, and stanning Hordrapta Categories
All
Archives
April 2019
|


 RSS Feed
