|
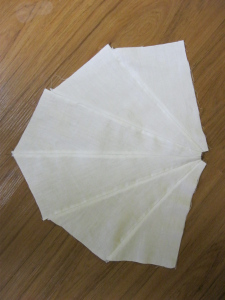
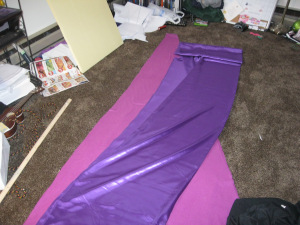
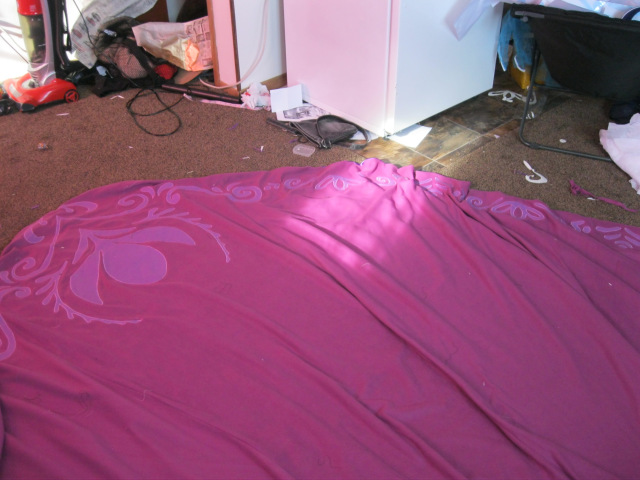
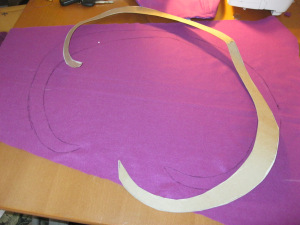
Note: this tutorial was transported over from the old Wordpress site, which is no longer active. 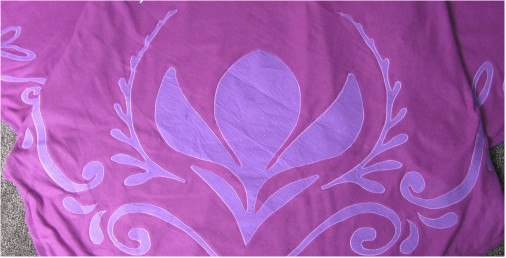 I went into Frozen with absolutely no idea on the main plot. The only thing I had to go on was the recommendations of others and the teaser trailer with Olaf and Sven. Needless to say, I was completely blown away by the film, characters, and, of course, the costumes! As an older sister and as someone who has struggled with imposter syndrom in the past, I really identified with Elsa. I decided to make both of her major outfits: her coronation gown and Snow Queen gown. I’m in the process of making the coronation gown, but the coronation cape has been done for a while, so I decided I might as well write a post about it! This post will cover the making of the cape. As always, I gathered my references by watching Frozen again and taking screenshot after screenshot. 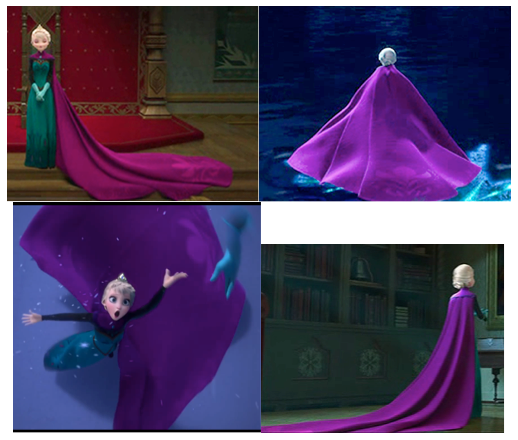 I wanted to make the shape somewhat elliptical. Well, ellipses are basically a bunch of uneven triangles with a curve in between, so why not just do that? I originally thought about doing six panels (like I did on the ice gown) and made a scale mock-up out of cotton. YAY MATH! Upon further inspection, I decided five panels would drape better and be more accurate to the film. In the final design, there’s one long panel, two medium panels, and two short panels in a 3:2½:2 ratio. The cape is about twice as tall as she is, so I used that as a general measure – I’m 5’8”, or 68”, meaning the cape should have a length of 136”. The medium panels had a length of 113” and the small panels a length of 91”. To match my scale model, this meant the bottom of each panel would be 50”.
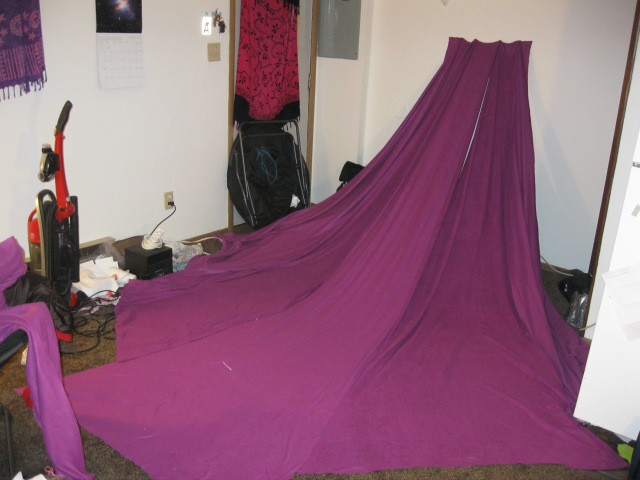
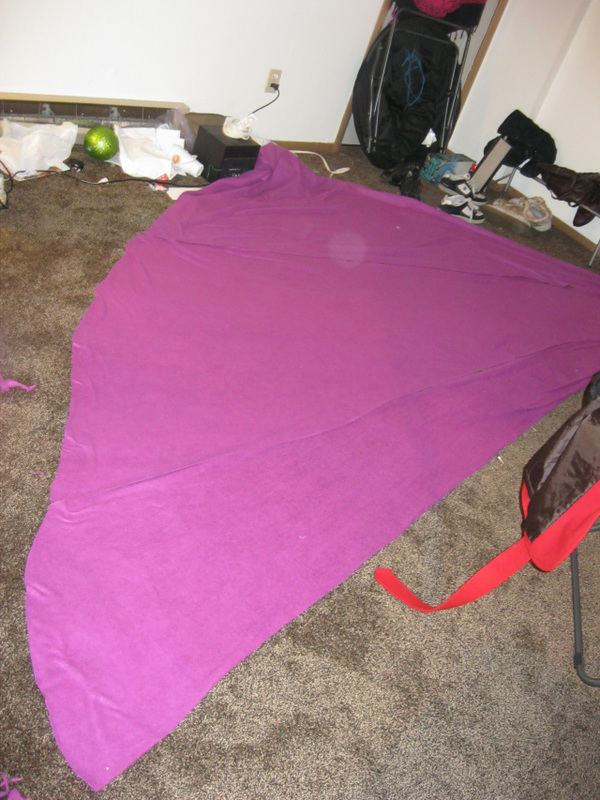
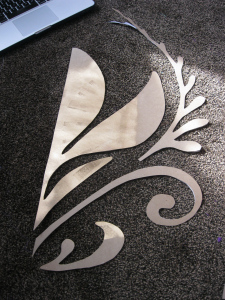
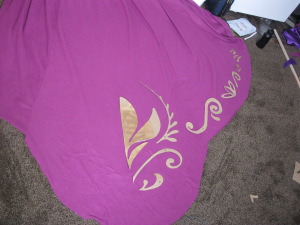
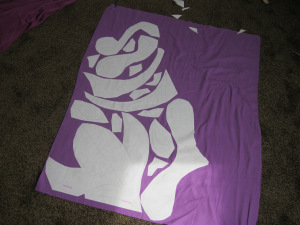
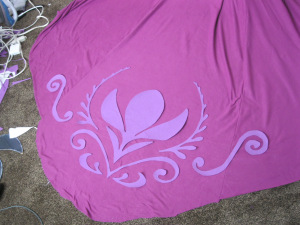
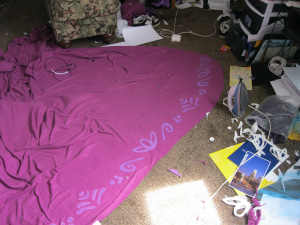
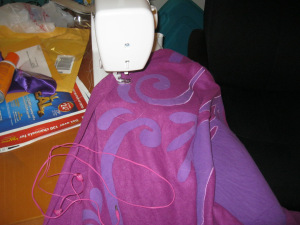
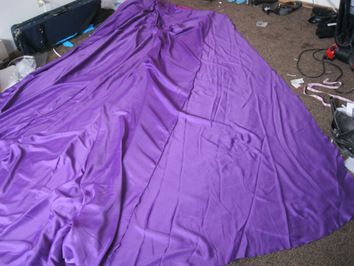
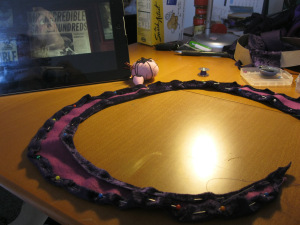
Once it was all cut, I tacked it up to the wall (the poor woman’s dress form) to see how it would drape. I was very pleased with the result. I took it down and laid half the cape out to cut the curves, then copied the curves to the other side of the cape. I then sewed the panels together, which in itself took about a few hours between pinning, sewing, and trimming the seam allowances. Next came the daunting task of embellishing the cape with Arendelle rosemaling. I tossed a lot of ideas around for this; acrylic paint, heat ‘n’ bond to fabric, embroidery, et cetera. After much deliberation, I decided to do a flannel appliqué in a lighter purple. First, I used some cardboard to make a pattern for the appliqué. I used heat ‘n’ bond light between the two fabrics and some iron-on interfacing on the fleece to put the pieces on the cape, then sewed around the edges with a satin stitch. This was the most time-intensive part of the cape as there were around 80 of different pieces to appliqué.
Once I had a duplicate cape, I laid the right sides of the lining and fleece together and sewed around the outside. After pulling the cape through the top seam, I folded that up, sewed it, and then sewed once more around the circumference of the cape to make the lining lie flat.
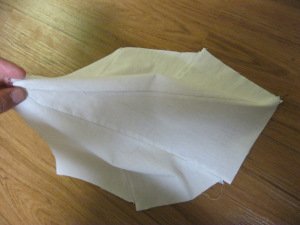
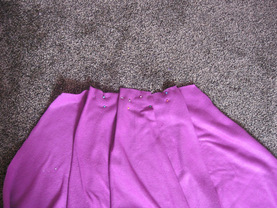
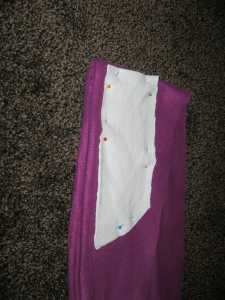
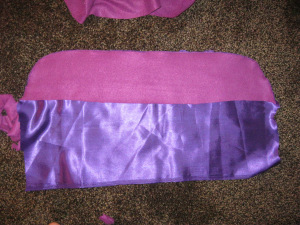
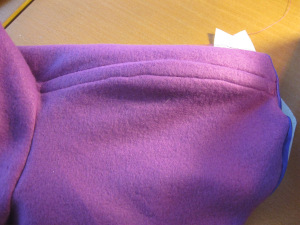
Next came the capelet, or the top part, or whatever you want to call the thing that goes around Elsa’s shoulders. Thanks to many years of participating in various activities, I had a lot of spare T-shirts to help me with the drafting. After getting a length and shape I was happy with, I transferred my pattern to some scrap fleece left over from the Behemoth and cut it out. From there, I added two seams along the shoulders to help me fit the capelet and went about the arduous process of pinning, adjusting, pinning, adjusting, until I was happy with the fit. I then cut a duplicate out of costume satin and lined it. To add a collar to the capelet, I simply cut a strip of fleece and trimmed it until I had a nice curved edge. I traced it onto some lining satin sewed it to the capelet.
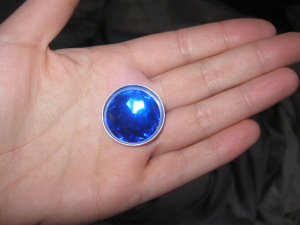
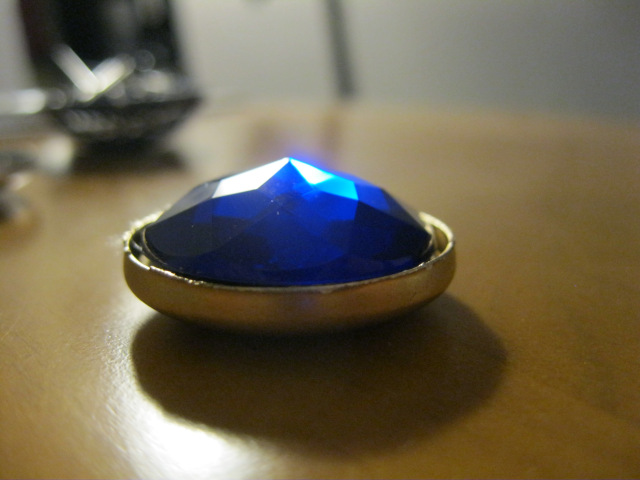
The finishing touch to the capelet was some crushed panné velvet. I cut out a strip of velvet that followed the curve of the capelet. I did the same with a strip of fleece, which I put under the velvet to give the raised texture seen in the film. I sewed the top edges together with a hidden hem stitch so the thread could not be seen from the top. I then placed it on the capelet and folded the unfinished velvet edge over to create a nice edge, and once again stitched that in place. Once that was done, I figured out where I wanted the fastener (a large snap) to go and sewed it in. For the fastener itself, I used an inverted button cover and a lovely blue gem I found at Hancock Fabrics. I spray painted the button cover gold and hot-glued the gem into it to create Elsa’s brooch. And I was done! 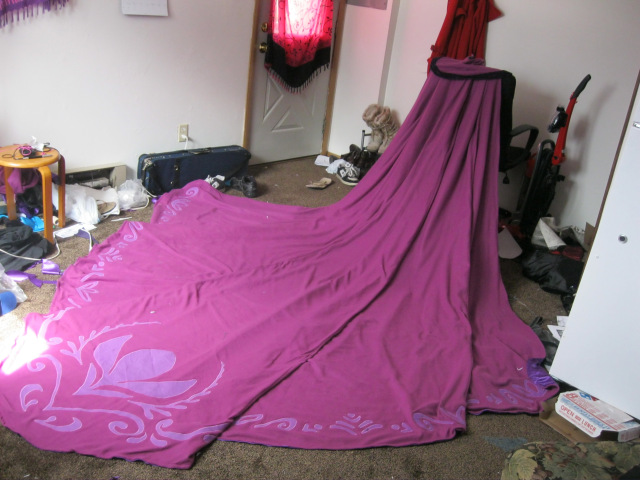
0 Comments
Leave a Reply. |
CosblogA weird mash-up of physics, math, education, sewing, and stanning Hordrapta Categories
All
Archives
April 2019
|


 RSS Feed
