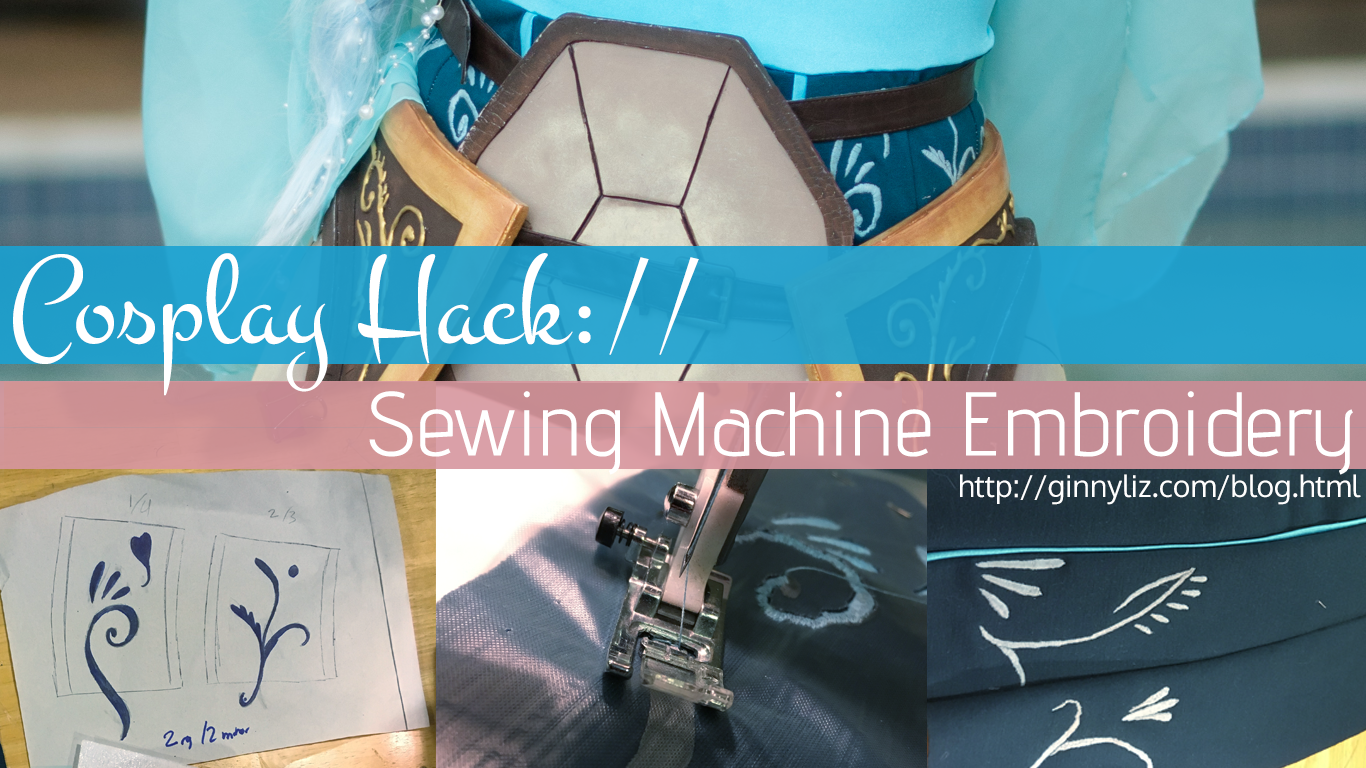
 Have you ever looked longingly at the embroidery machines whenever you pass by them during your weekly fabric run? Promised to spend less on fabric so you could afford such a magical machine (and then never manage to do so)? Wish you didn't have to do embroidery by hand? I am here to save you! In this tutorial, I'll be explaining how to make beautiful embroidery using the basic sewing machine you already own! I used this method to do all of the embroidery on my Hannah Alexander Squirtle costume. I'll be putting the patterns I used up for sale in my store soon, so keep an eye out! Prints are also up for sale in my store during the month of July. Every order gets a free mini-print! If you've ever wanted to hang my face on your wall, now is the time. Okay, enough self-promotion. On to the tutorial! Materials
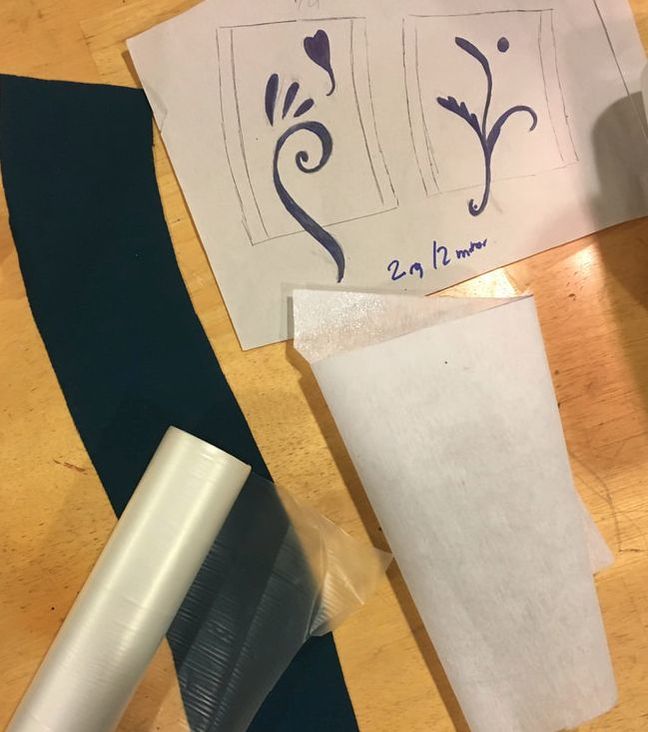
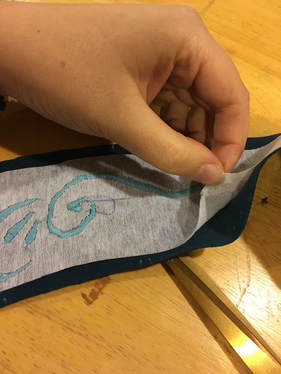
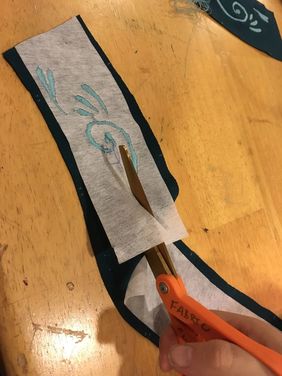
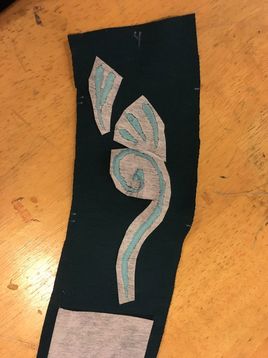
* Your sewing machine should have a stitch width dial, not a digital setting. This tutorial only works smoothly for sewing machines that allow you to change the stitch width on a spectrum, rather than pre-specified values. **Make sure your embroidery designs are no thicker than the largest stitch width on your sewing machine! If they’re too large, you’ll have to do multiple passes to completely cover an area. While you can do this in theory, it doesn’t look quite as clean. Step 1: Transfer Yo PatternYou’ll be using water soluble stabilizer as a template for your embroidery, so we need to transfer your embroidery pattern to it! Lay your water soluble stabilizer over your embroidery design and color it in using a marker. 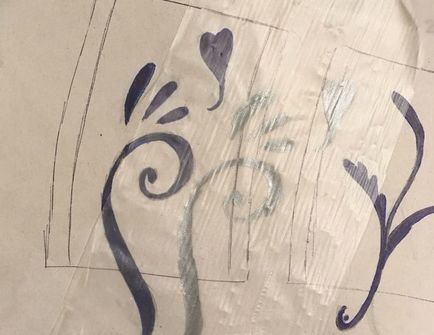 Metallic silver Sharpies work really well for most fabric colors. They’re very easy to see on dark and light fabrics, and are less likely to stain than darker Sharpies. You can also use a marker that matches the color of your embroidery thread. I wouldn’t recommend using a marker the same color as your base fabric, as it will be hard to see when sewing! I highly recommend testing this method prior to implementing it, *especially* if you are using a light-colored fabric. Sharpie can easily stain darker colors once you dissolve the water soluble stabilizer. If this is the case, you may want to to try using a washable children’s marker (like Crayola). This isn’t the only way to transfer embroidery patterns, so if this method doesn’t jive with you, Google ‘embroidery transfer method’ for different options! Step 2: Interface Dat BoiIron-on interfacing fuses to your fabric and keeps it from moving around while you sew. This is especially important if you are working with stretch fabrics; if your fabric stretches when you’re sewing, it will lead to really ugly, bubbly embroidery. On woven fabrics, it will keep the fabric from stretching along the bias or wrinkling while you sew. Trace the pattern pieces for your project onto the interfacing. I also omitted the seam allowances. Next, iron it ’til it sticks! Make sure to keep an eye on the heat setting of your iron; you don’t want to melt your fabric. 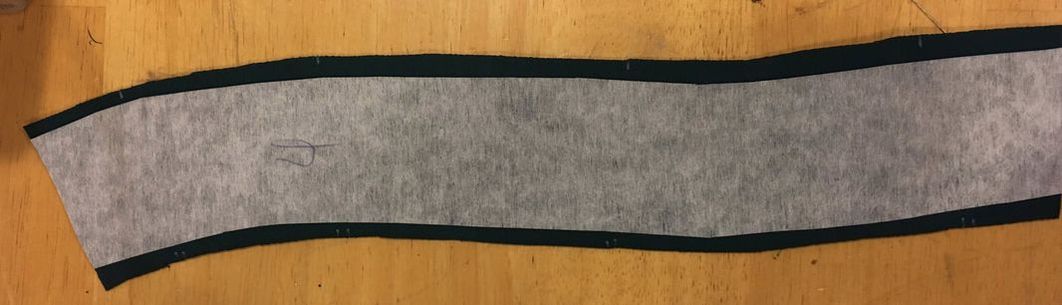 Alternatively, you can use just enough interfacing to cover the section you’ll be embroidering. My fabric pieces were so small and thin, interfacing the entire piece and then cutting away the unnecessary bits worked very well for me. However, if you're embroidering on a big project, you may only be interested in using interfacing along the strip of fabric you'll be embroidering. Finally, pin the water soluble-stabilizer with the embroidery pattern to your fabric. You want to make sure it’s as flush as possible to the fabric surface. Pin it on a hard surface, like a table, and use 4-5 pins around even a small embroidery design to make sure it doesn’t shift during stitching. 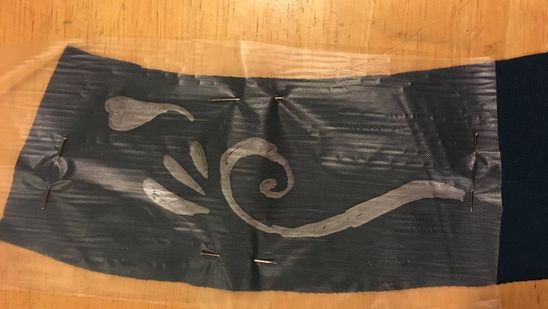 Step 3: Stitching 5-EverNow comes the fun part (haha, I lied, it’s super tedious). Set your sewing machine to a zig-zag stitch, and set the stitch length to zero, or very close to zero. This is called a satin stitch, and looks very similar to embroidery. This type of stitch is commonly used when making buttonholes or appliqué. We’re going to be varying the stitch width of the satin stitch manually. As you sew, you’ll turn the stitch width dial with one hand while guiding the fabric with the other. For example, my stitch dial ranges from 0 to 5. In the thickest parts of the embroidery, I would set it to 5. As the design slowly tapered off, I would gradually decrease the stitch width down to 1. 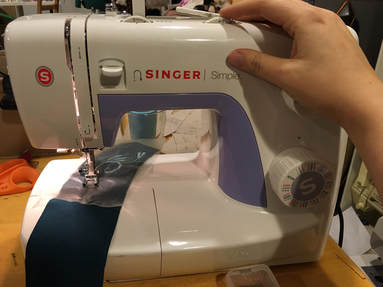 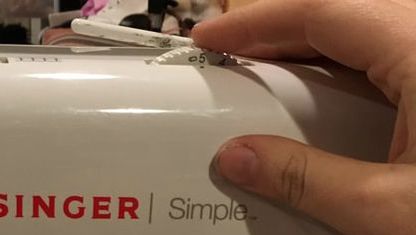 This technique takes a bit of practice to develop the necessary control. I suggest trying it out on scraps of interfaced fabric before moving on to your main project, especially if your design has a lot of curves. 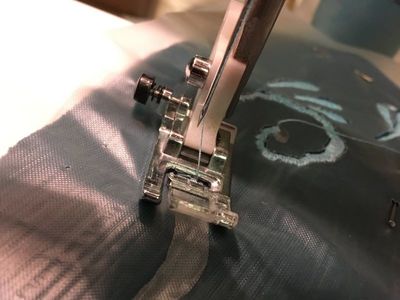 Curves are very difficult to master. The best way is to sew 1-2 stitches, lower your needle into the *inside* of the curve, and then rotate your fabric a tiny bit. Sew 1-2 more stitches, lower your needle to the inside of the curve, then rotate again. Rinse and repeat until the curve is finished! Step 4. Snip Snip!When you finish your current swirly of stitching, snip the threads so they have a couple inches of length, rather than directly against the fabric. Flip your fabric over to the interfaced side and find ends of the starting and finishing bobbin threads. 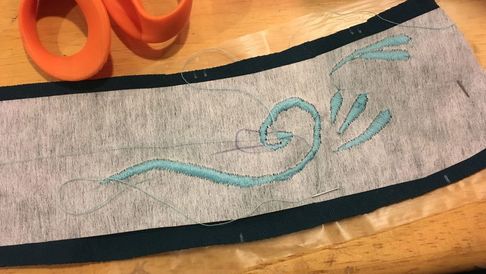 Tie the two threads into a square knot, and repeat at the start of the swirly. Yes, it’s tedious, but otherwise satin stitches can unravel and destroy all of your hard work! 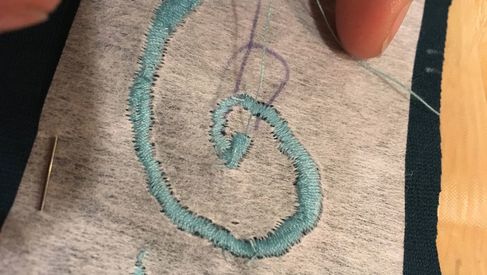 If you don’t care about the longevity of your project, you can skip tying the threads. But if you want your embroidery to last longer than it took you to stitch it, I’d highly recommend doing it. Steps 4&5 take a looooong time. Not as long as hand embroidery, obviously, but still a significant investment. Each swirly design on my Squirtle swimsuit took me around 20-30 minutes, which translated to about 8 hours to sew and tie off all 16 sections. Step 5: De-stabilize & De-interfaceNow you’re going to want to remove the excess stabilizer. The excess water soluble stabilizer should just peel right off due to the perforations caused by the sewing needle. You’ll still have water soluble stabilizer actually *under* the embroidery design. 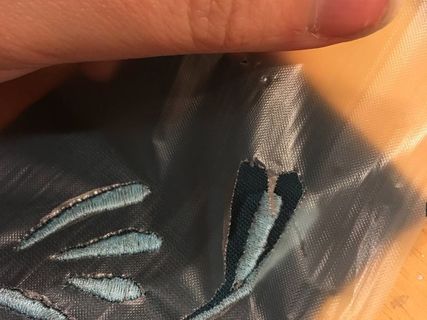 Cut away any excess fusible interfacing on the back of the fabric. Iron-on interfacing will usually peel up from the fabric when pried, giving you room to insert your scissors and cut away the interfacing that’s not supporting the embroidery.
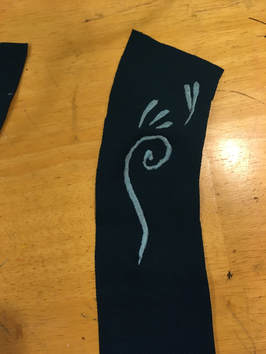
And ta-da! You have some beautifully stabilized embroidery!
To get rid of the last of the water soluble stabilizer trapped underneath the embroidery, take your project for a swim in some water. The stabilizer will dissolve away. Step 6: Admire Your HandiworkOoooh, aaaaah. SO FANCY!  Don't judge my messy workspace, this was a day before the con and I JUST WANTED PRETTY PICTURES OF THIS DARN IT
6 Comments
7/19/2017 04:33:08 am
The best method I've found to secure the water soluble interfacing is water soluble fabric adhesive like 505 (or is it 5o5? 5.5?). It's fairly cheap, easy to wash off, and will hold your interfacing really well without any pins.
Ginny Liz
7/19/2017 08:40:13 pm
That's a great tip, especially if you have large areas you have to embroider!
Andrea
7/19/2017 05:26:55 pm
You are a BLOODY GENIUS!
Sarahnade
7/19/2017 06:16:37 pm
BLESS YOU FOR THIS GIFT Leave a Reply. |
CosblogA weird mash-up of physics, math, education, sewing, and stanning Hordrapta Categories
All
Archives
April 2019
|
 RSS Feed
