|
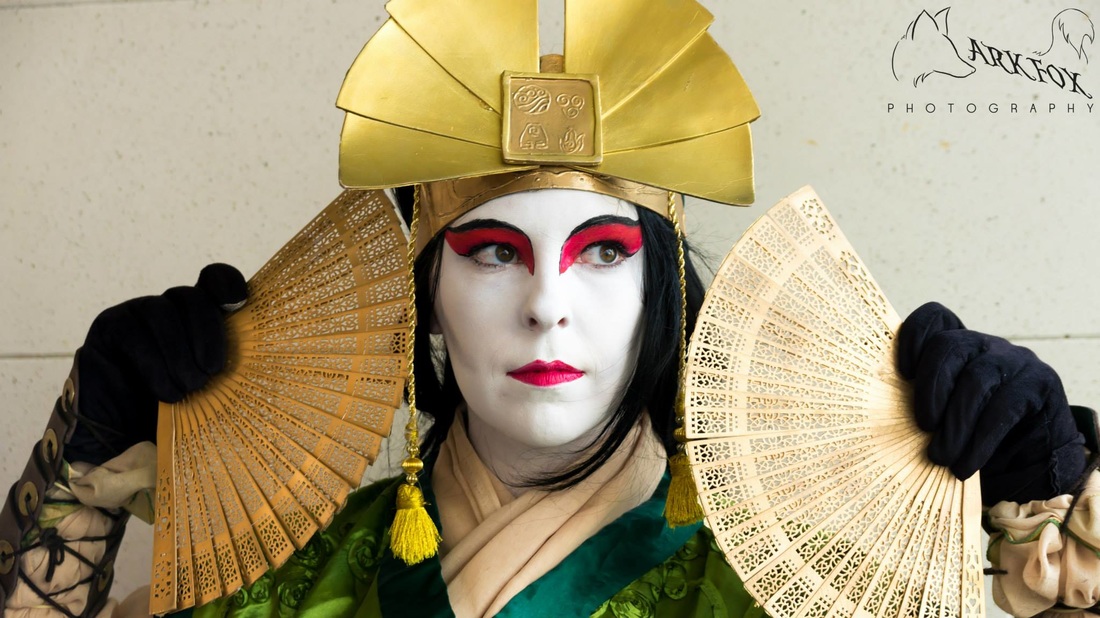
Note: this tutorial was transported over from the old Wordpress site, which is no longer active. Welcome to my first “official” cosplay write-up. I will do these for a few of my costumes to both help out other cosplayers and to have a place to show my progress! I premiered Avatar Kyoshi last Saturday at Wizard World Philadelphia. I had a blast! I’m still trying to track down some pictures that people took of me. This post covers the accessories: Kyoshi’s bracers, obi, and headdress. A few things to note before I get started:
Bracers
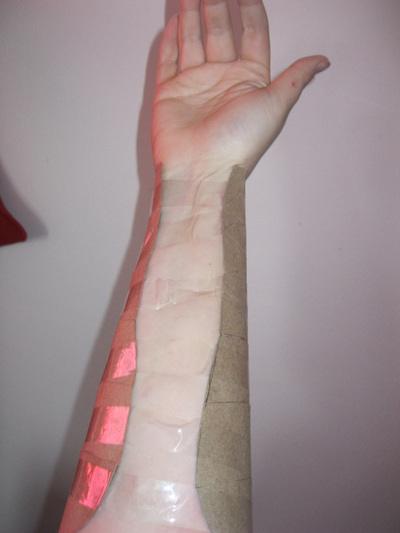
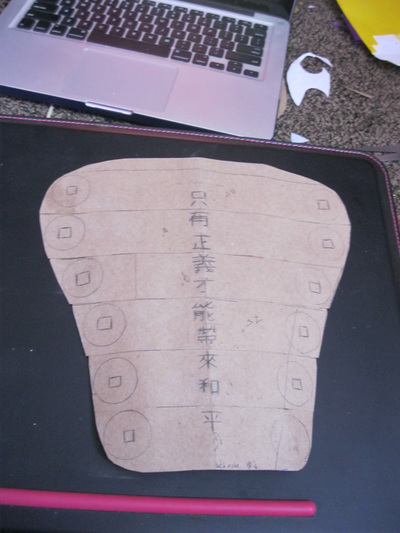
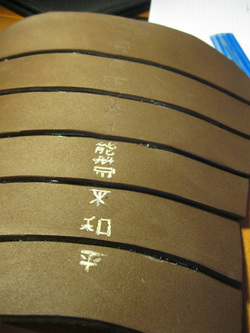
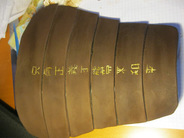
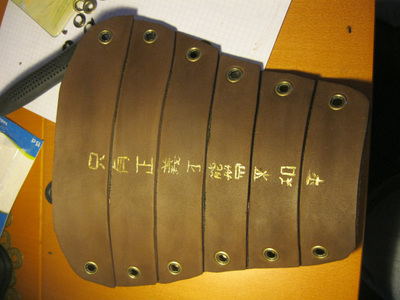
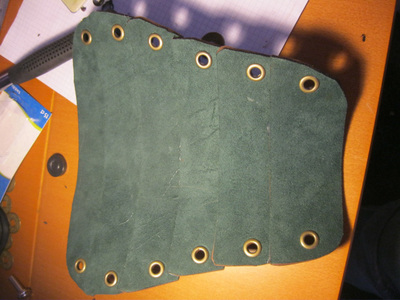
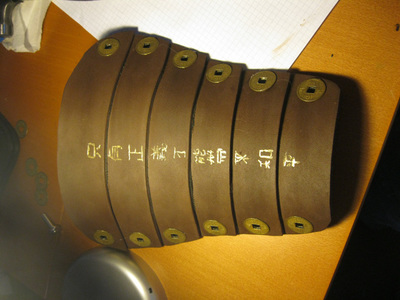
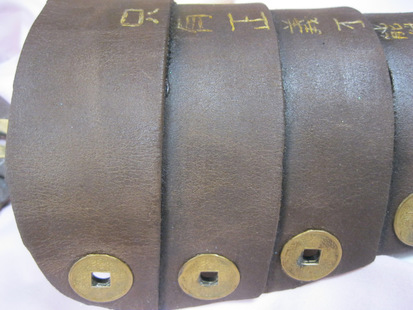
I also penciled in the decorations I wanted. The lettering says “Only justice can bring peace” — the wisdom that Kyoshi offers to Aang while he is seeking guidance from past avatars. Once I was satisfied with the mock-up, I traced the pieces onto the craft foam. I sealed the foam with my iron on the highest setting and I also heat’n’bonded some forest green microsuede to the back — I figured it would look better in the end than unfinished craft foam. Next, I stenciled the Chinese lettering onto the malleable foam. Then, finally, I cut the pieces out.
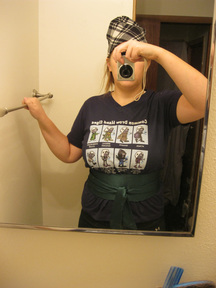
I added some weathering with black acrylic paint at the borders of the foam. Paint is hard, and it’s something I REALLY need to get better at if I want to continue cosplaying. I also added some glossy Mod Podge to one corner before deciding I didn’t like how it looked. I thought I was done. But then, about a week later, I noticed the coat of Mod Podge had cracked a little, making it look more genuine, if a little shiny still. To counteract the shine, I tried a touch more of brown shoe polish. I loved it, and immediately Mod Podge’d and polished the rest of the bracers. The final product looks like worn, cracked leather — exactly the look I was going for. I will definitely be using this technique in the future. I finished off the bracers with a couple of yards of brown suede cord, which looked much nicer than the black shoelaces I had been tying them up with. Obi
Headdress
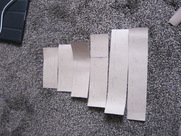
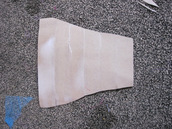
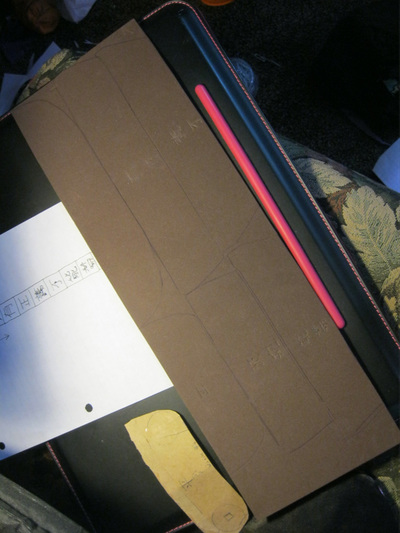
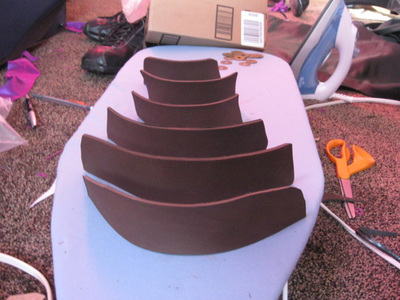
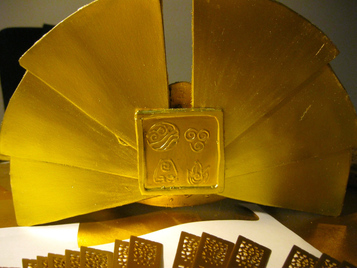
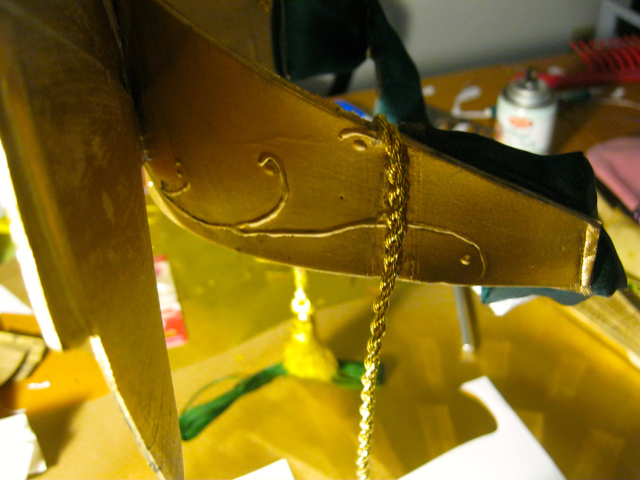
I started out by making a pattern (as one always should). I used the same stiff brown paper above to cut out the fan shape, the square, and the base. For the fan shape, I decided to do six separate panels instead of two semicircles. It adds more dimension and makes the design look more realistic. I also did two layers on the middle square: the main square and a border. Again, more dimension and more realistic.
That about covers it for Kyoshi's accessories; next up, the skirts and kimono-thing!
1 Comment
|
CosblogA weird mash-up of physics, math, education, sewing, and stanning Hordrapta Categories
All
Archives
April 2019
|
 RSS Feed
